


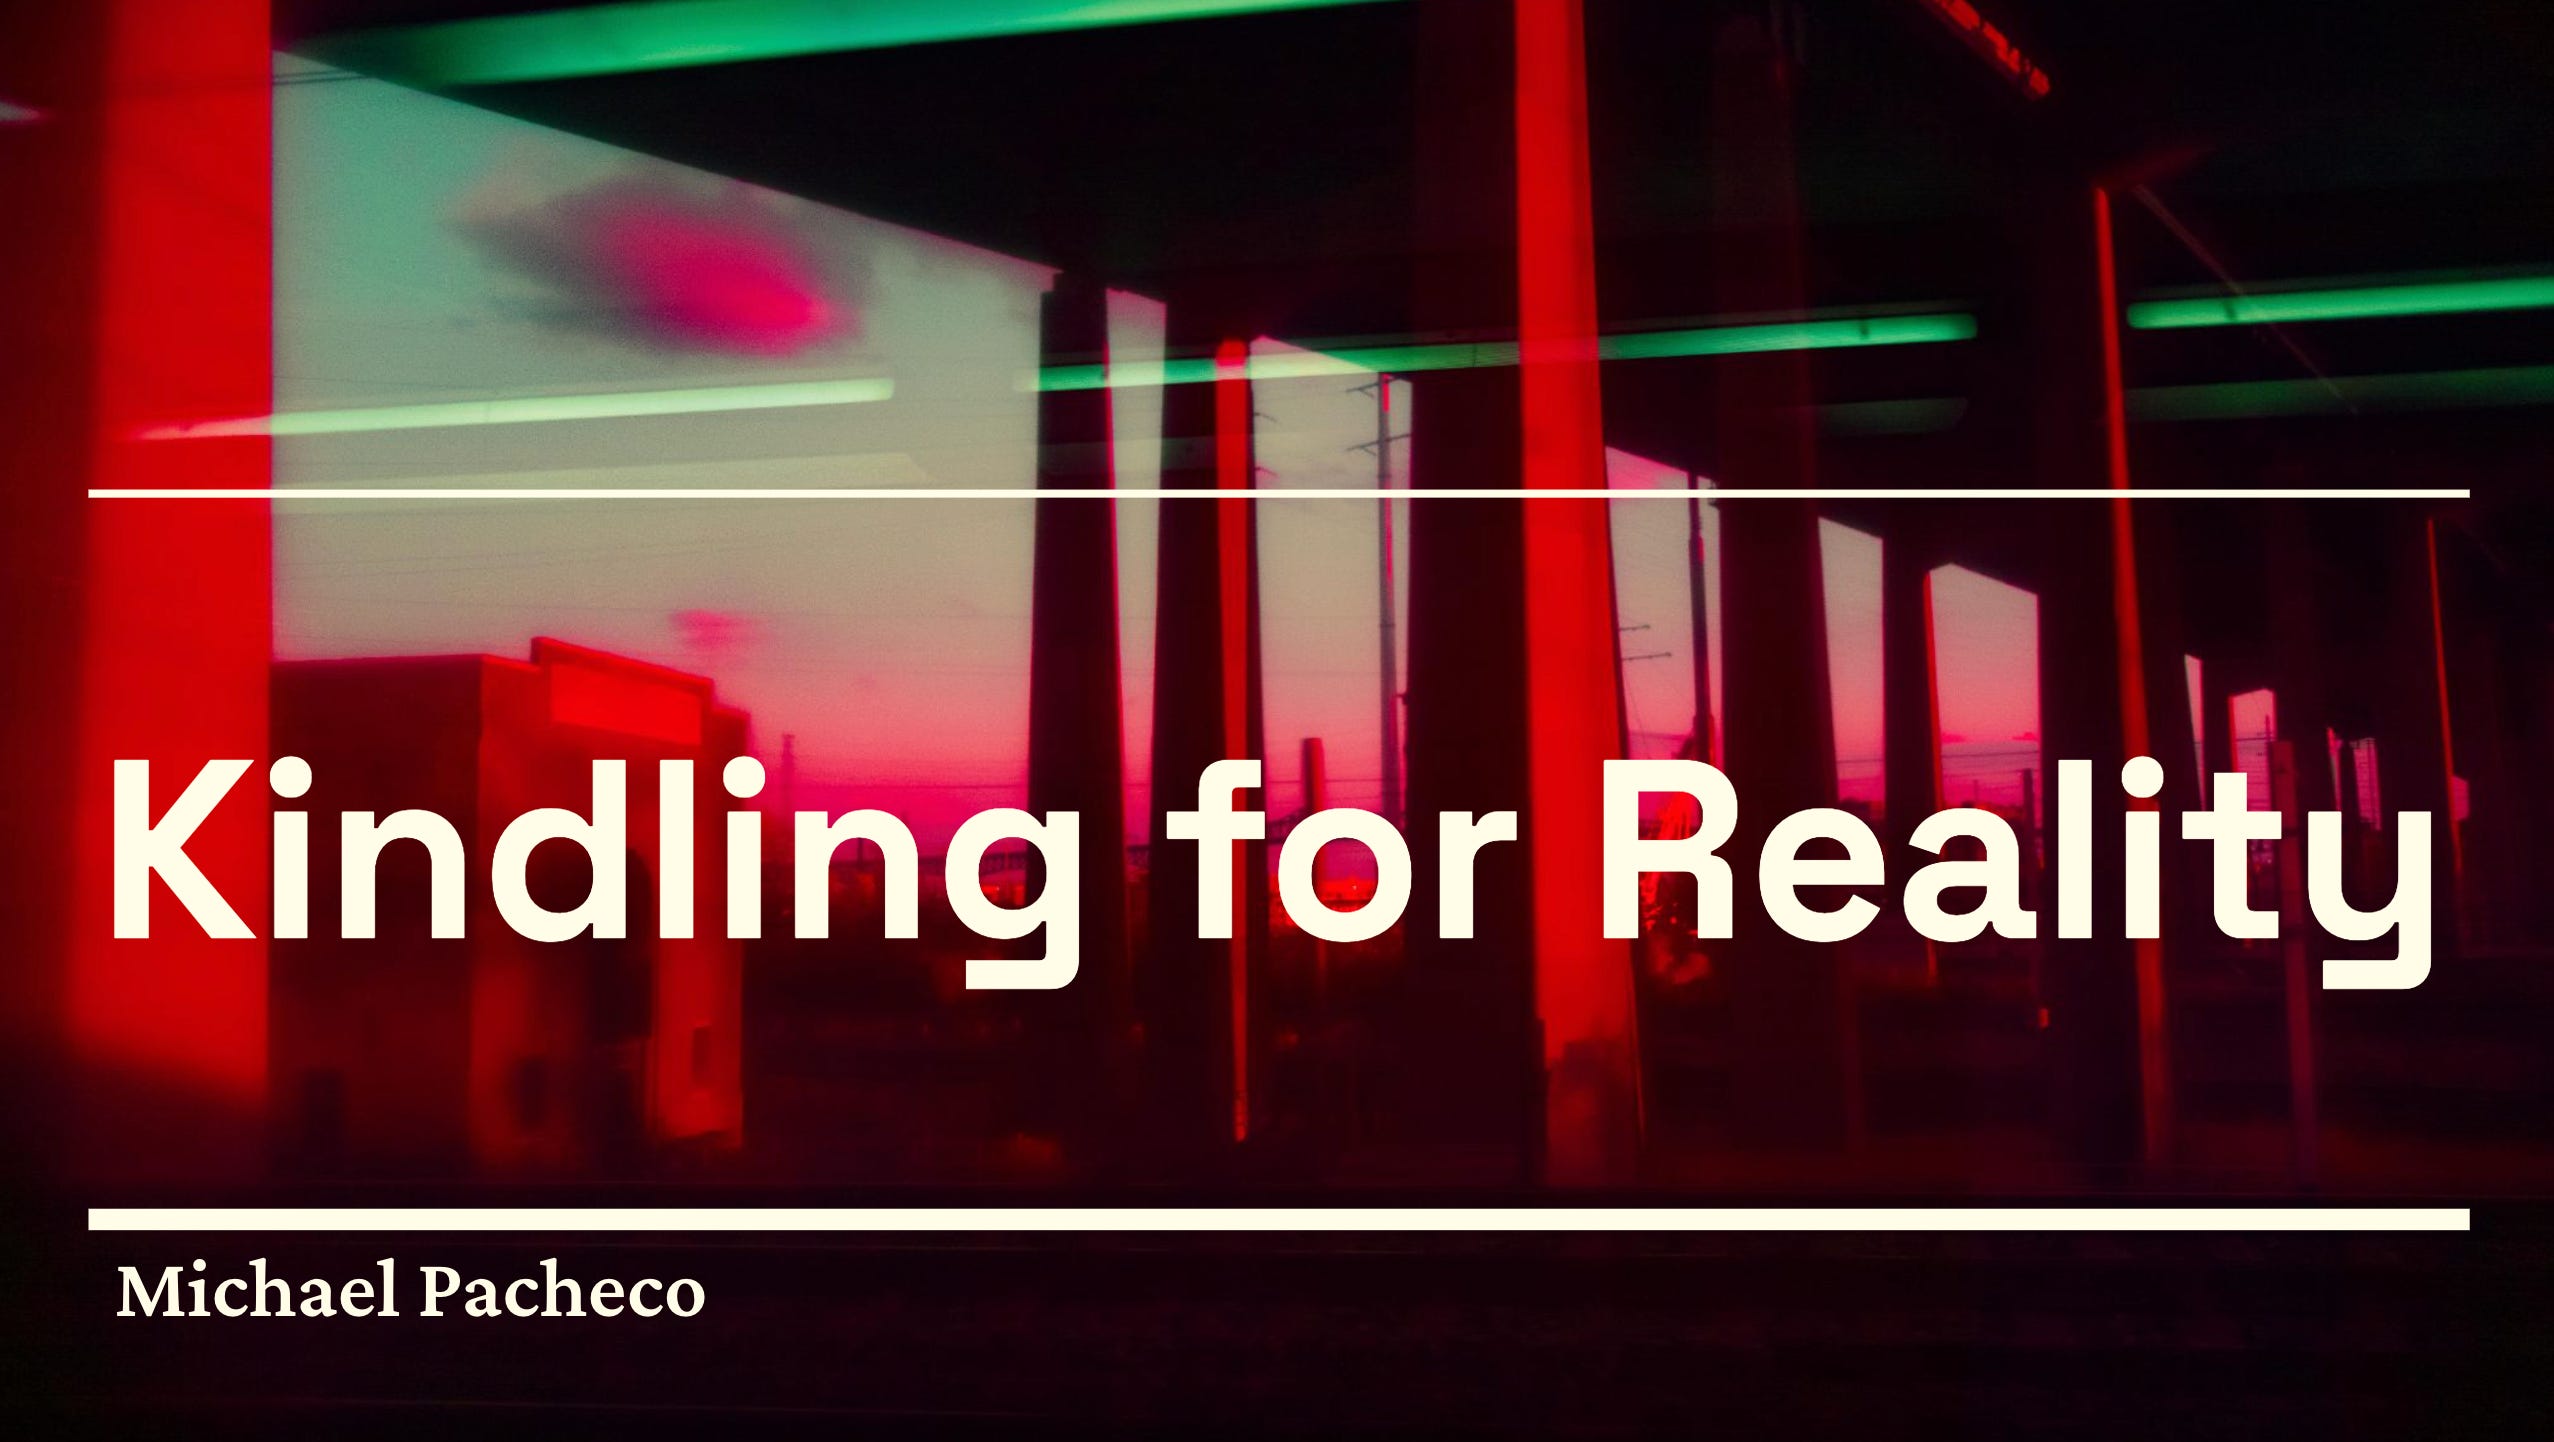
Infrared photography reveals a hidden dimension of light invisible to human eyes. In this livestream, I sat down with photographer Michael Pacheco to explore what makes infrared such a compelling artistic tool, how the technology works, and the 12-year journey behind his personal project called Kindling for Reality.
PS: Connect with Michael via his instagram or personal website.
Michael brought camera equipment, a detailed slide deck explaining the electromagnetic spectrum, and years of hands-on experience shooting in infrared. You’ll discover technical foundations, but more importantly, you’ll encounter artistic experimentation, persistence, and the practice of seeing through a different lens (no pun intended!)
Get comfortable, put some headphones, and watch the full 1-hour livestreaming. I’ve outlined the key chapters to guide you through the conversation, so you know what to expect.


Part 1: Understanding the electromagnetic spectrum
To shoot infrared, you first need to understand what you’re actually capturing. Michael begins by explaining how light exists across a spectrum of wavelengths. Visible light (everything humans can see) occupies only a small slice from 400 to 700 nanometers.

Infrared light sits just beyond the red end of that spectrum, starting at 700 nanometers and extending to around 850 nanometers (what we call near-infrared). That’s the invisible heat you feel radiating from the sun, the same light your TV remote transmits.
What’s fascinating is that birds can see ultraviolet light, which sits on the opposite end of the spectrum. This means flowers might appear entirely different to bees and birds than they do to us. They see patterns we’ll never perceive without specialized equipment. The same kinda applies to infrared photography. Your camera, when properly equipped, captures an invisible spectrum of light.
Watch the video to see Michael’s visual explanation of the full spectrum and why this distinction matters for everything that follows.

Part 2: How digital cameras block infrared
Every digital camera can technically sense infrared light. Your camera’s sensor is sensitive to wavelengths far beyond what your eyes can see. The problem is an infrared cut filter placed directly over the sensor. This glass barrier prevents infrared from interfering with normal photography, maintaining color accuracy and proper focus.

Removing that filter is the foundation for infrared photography. Michael walks through this challenge in the video, showing an actual camera with the filter removed. He outlines two paths forward: expensive camera conversion with specialized companies, or the budget-friendly approach of using an external infrared filter on your lens.
Part 3: Infrared filters and camera conversion
An infrared filter is essentially a dense piece of glass you screw onto your lens. It blocks all visible light while allowing infrared to pass through. Different filters pass different amounts of infrared wavelength, which affects the final look of your images.
Michael brought a Sigma camera that has a removable IR cut filter, only sigmas SD and SD-H camera line can do this, so this specific camera doesn't need to be modified by Kolari Vision, he can take the filter out by hand and put it back anytime, which is wild, and the best of both worlds!

The trade-off is significant: a converted camera becomes an infrared camera only. It can no longer shoot normal color photography (though conversion can be reversed by paying again). For dedicated infrared photographers, this sacrifice is worth it.
Part 4: The "Wood Effect”
The most striking characteristic of infrared photography is the Wood Effect, named after Robert Wood, the physicist who pioneered infrared photography in the early 1900s.
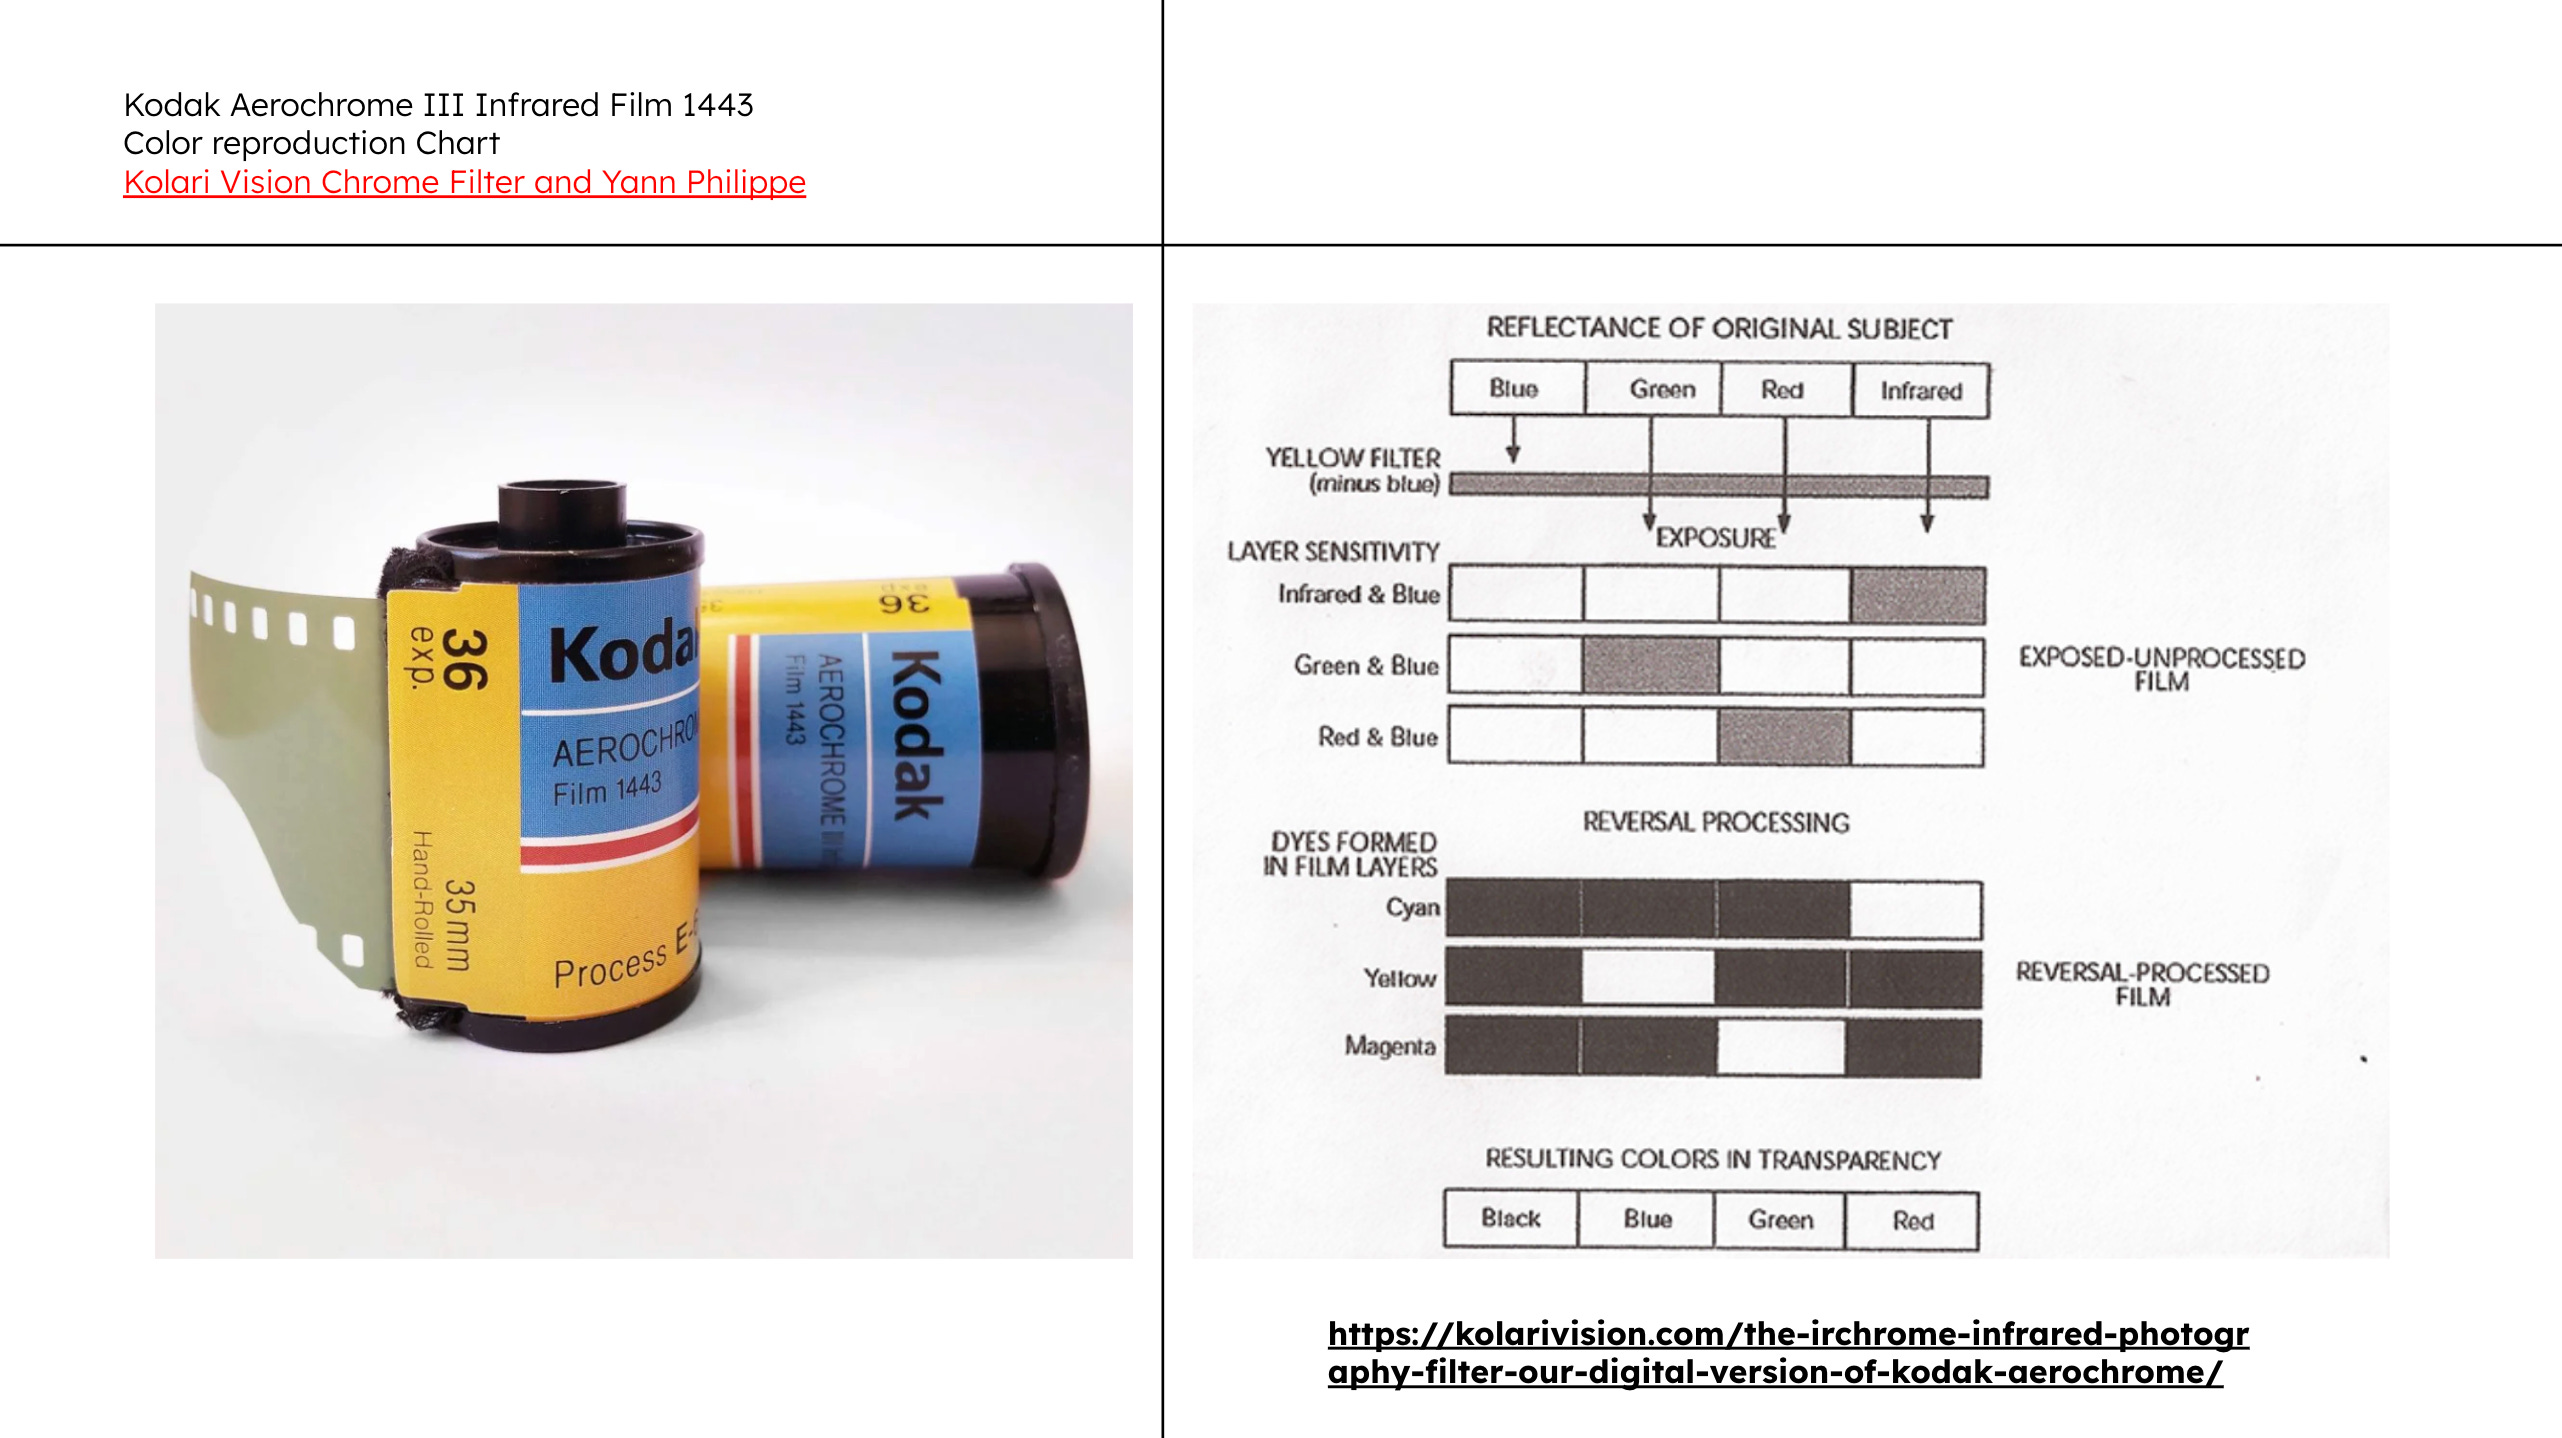
In infrared photos, green vegetation reflects enormous amounts of infrared light, appearing bright white or yellow. Skies transform to deep blue or even black. Water takes on dramatic qualities. The result is a dreamlike landscape that feels alien compared to normal photography.
The science is straightforward: chlorophyll interacts with infrared light completely differently than with visible light. The reflection is so intense that foliage practically glows in the captured image.

Michael demonstrates this effect with examples from his personal work in the slideshow portion of the livestream. Watch to see how radically familiar scenes transform.
Part 5: Experimental color
After years of developing his infrared technique, Michael spent a summer photographing the Azores, an archipelago known for dramatic volcanic landscapes. These images showcase infrared’s unique ability to capture lava rock and geological features.
He describes beginning to develop presets for infrared photography, though he emphasizes the experimental nature of this work. Some color combinations look unusual or uncomfortable. That’s intentional. He’s exploring different interpretations of the infrared spectrum rather than chasing a single “correct” aesthetic.

This is a fundamental insight: infrared photography rewards experimentation. There’s no single right way to process these images. Michael’s willingness to embrace failed tests and ugly mistakes is how artistic breakthroughs happen.
In the video, he shares examples from this project and discusses his next directions, including portraiture in infrared, a technique he’s only recently begun exploring.
Part 6: Infrared in cinema and fine art
During the conversation, we discussed how filmmaker Denis Villeneuve used infrared photography for specific scenes in Dune. Those sequences capture the aesthetic power of infrared while telling a story. This is a reminder that infrared serves fine art and commercial filmmaking equally well.

Kolari Vision has a very interesting post on How to Achieve the Infrared “Harkonnen Effect” in Dune: Part II – Kolari Vision
I also referenced an Andy Warhol installation in Dia Beacon, that resembles some of Mike's infrared techniques, showing how this approach connects to art history and contemporary practice.

These references matter because they position infrared outside the technical hobby space. It’s a serious artistic language with applications in cinema, gallery work, and editorial photography.
Part 7: Why this work matters (and how to start)
Michael concludes by reflecting on why he thinks this type of photography is valuable. Not everything needs to be immediately perfect. Experimental work is art. The point of pushing a medium to its limits isn’t to create flawless images every time. It’s to discover what becomes possible when you ignore convention.

For photographers interested in starting their infrared journey, the barriers are lower than you might think. An external infrared filter costs under $100. A tripod and a clear day are the only other requirements.
The hard part isn’t the equipment. It’s the patience to learn a different seeing. It’s standing in harsh midday sunlight (when most photographers stay inside), then looking at a familiar landscape and recognizing it could become something otherworldly.
Infrared photography is powerful because it changes how you see.

Further resources
Connect with Michael Pacheco and explore his full portfolio through the links in this post. His Kindling for Reality project spans 12 years of infrared exploration. It’s a study in committing to a visual language and refining it over time.
The full livestream runs approximately one hour and covers significantly more technical detail, personal anecdotes, and visual examples than this summary can capture. Press play above to watch the complete conversation. I hope you enjoy!


