


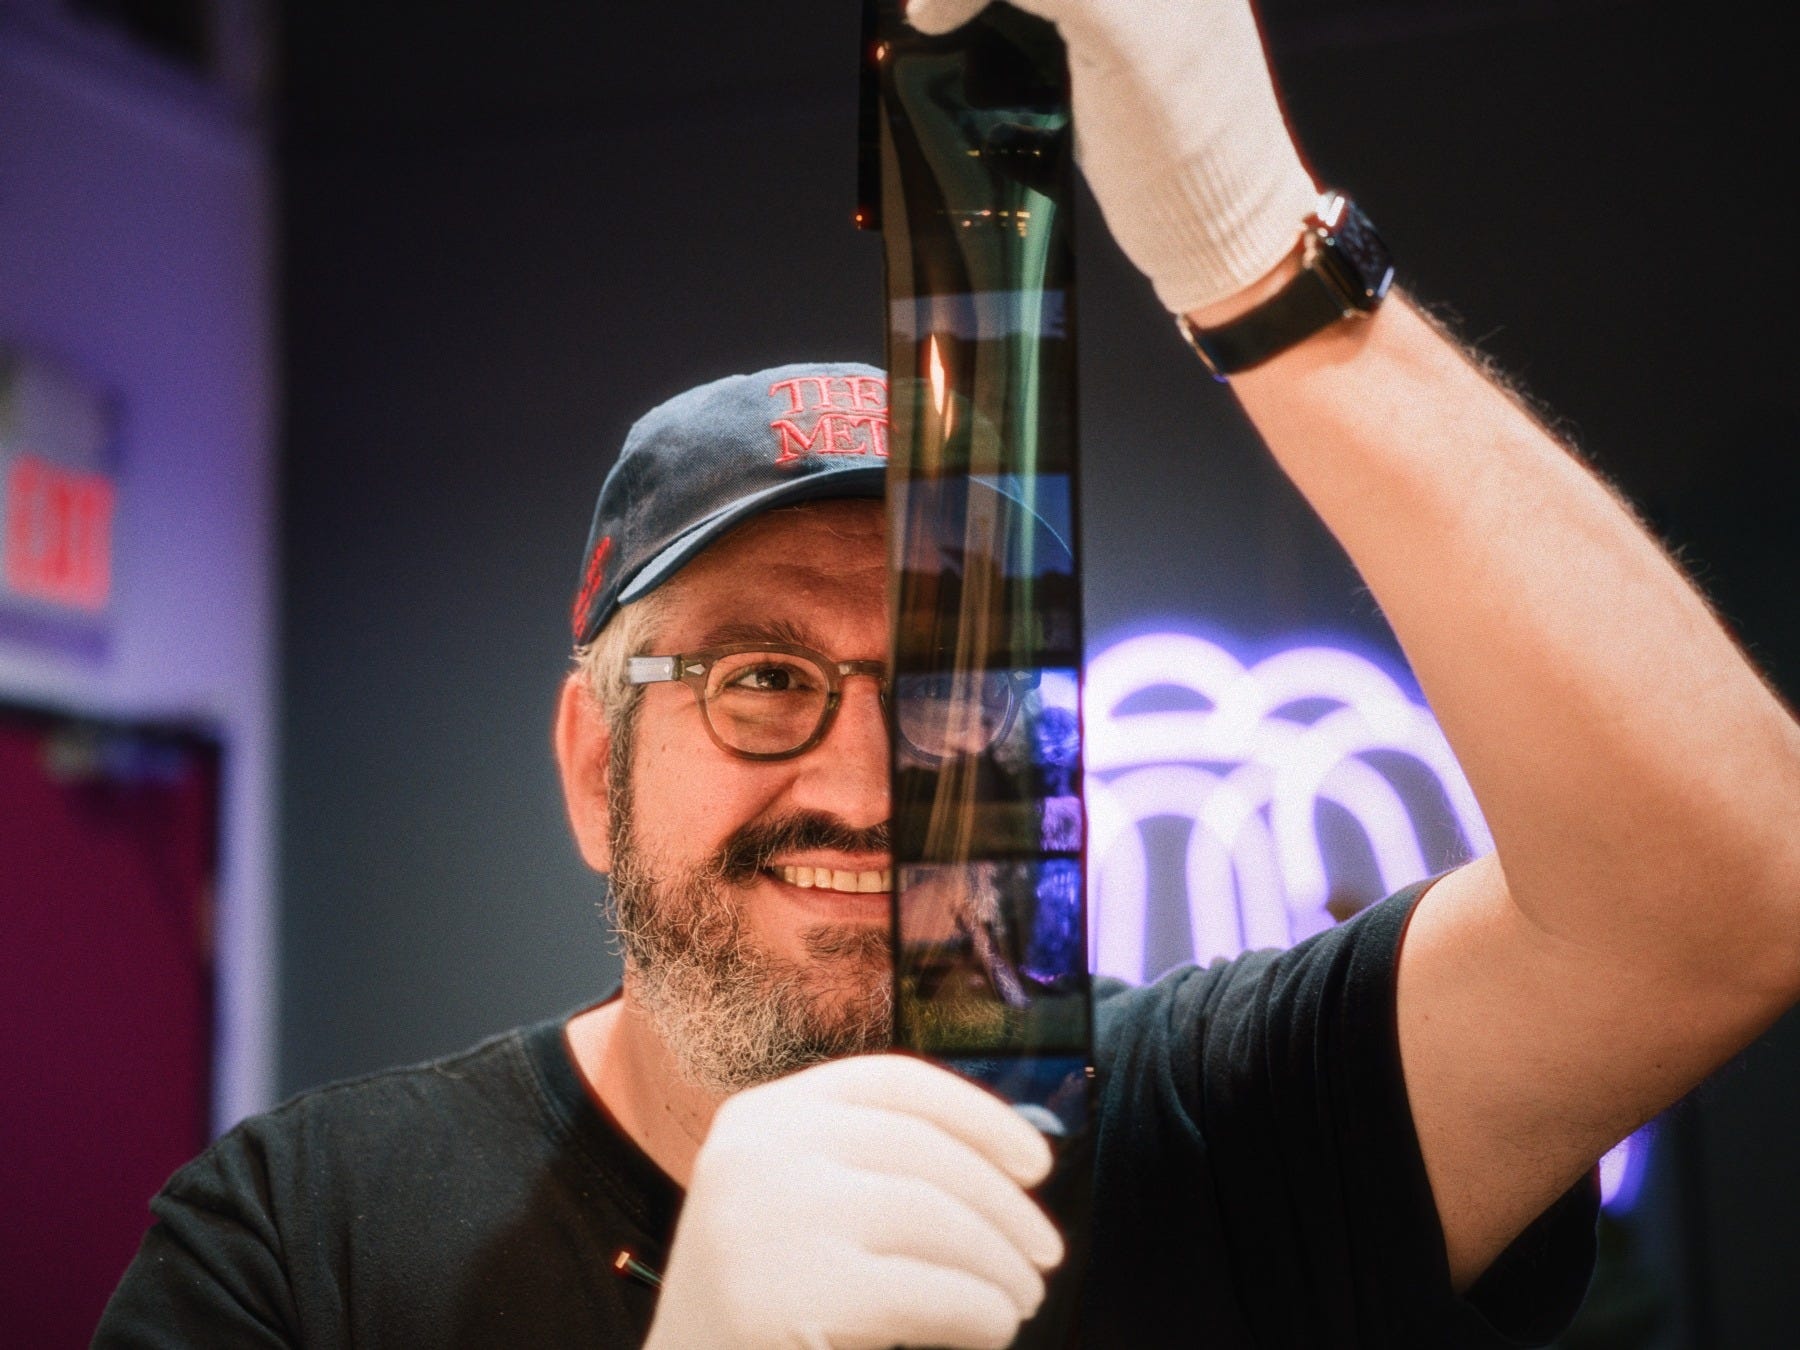
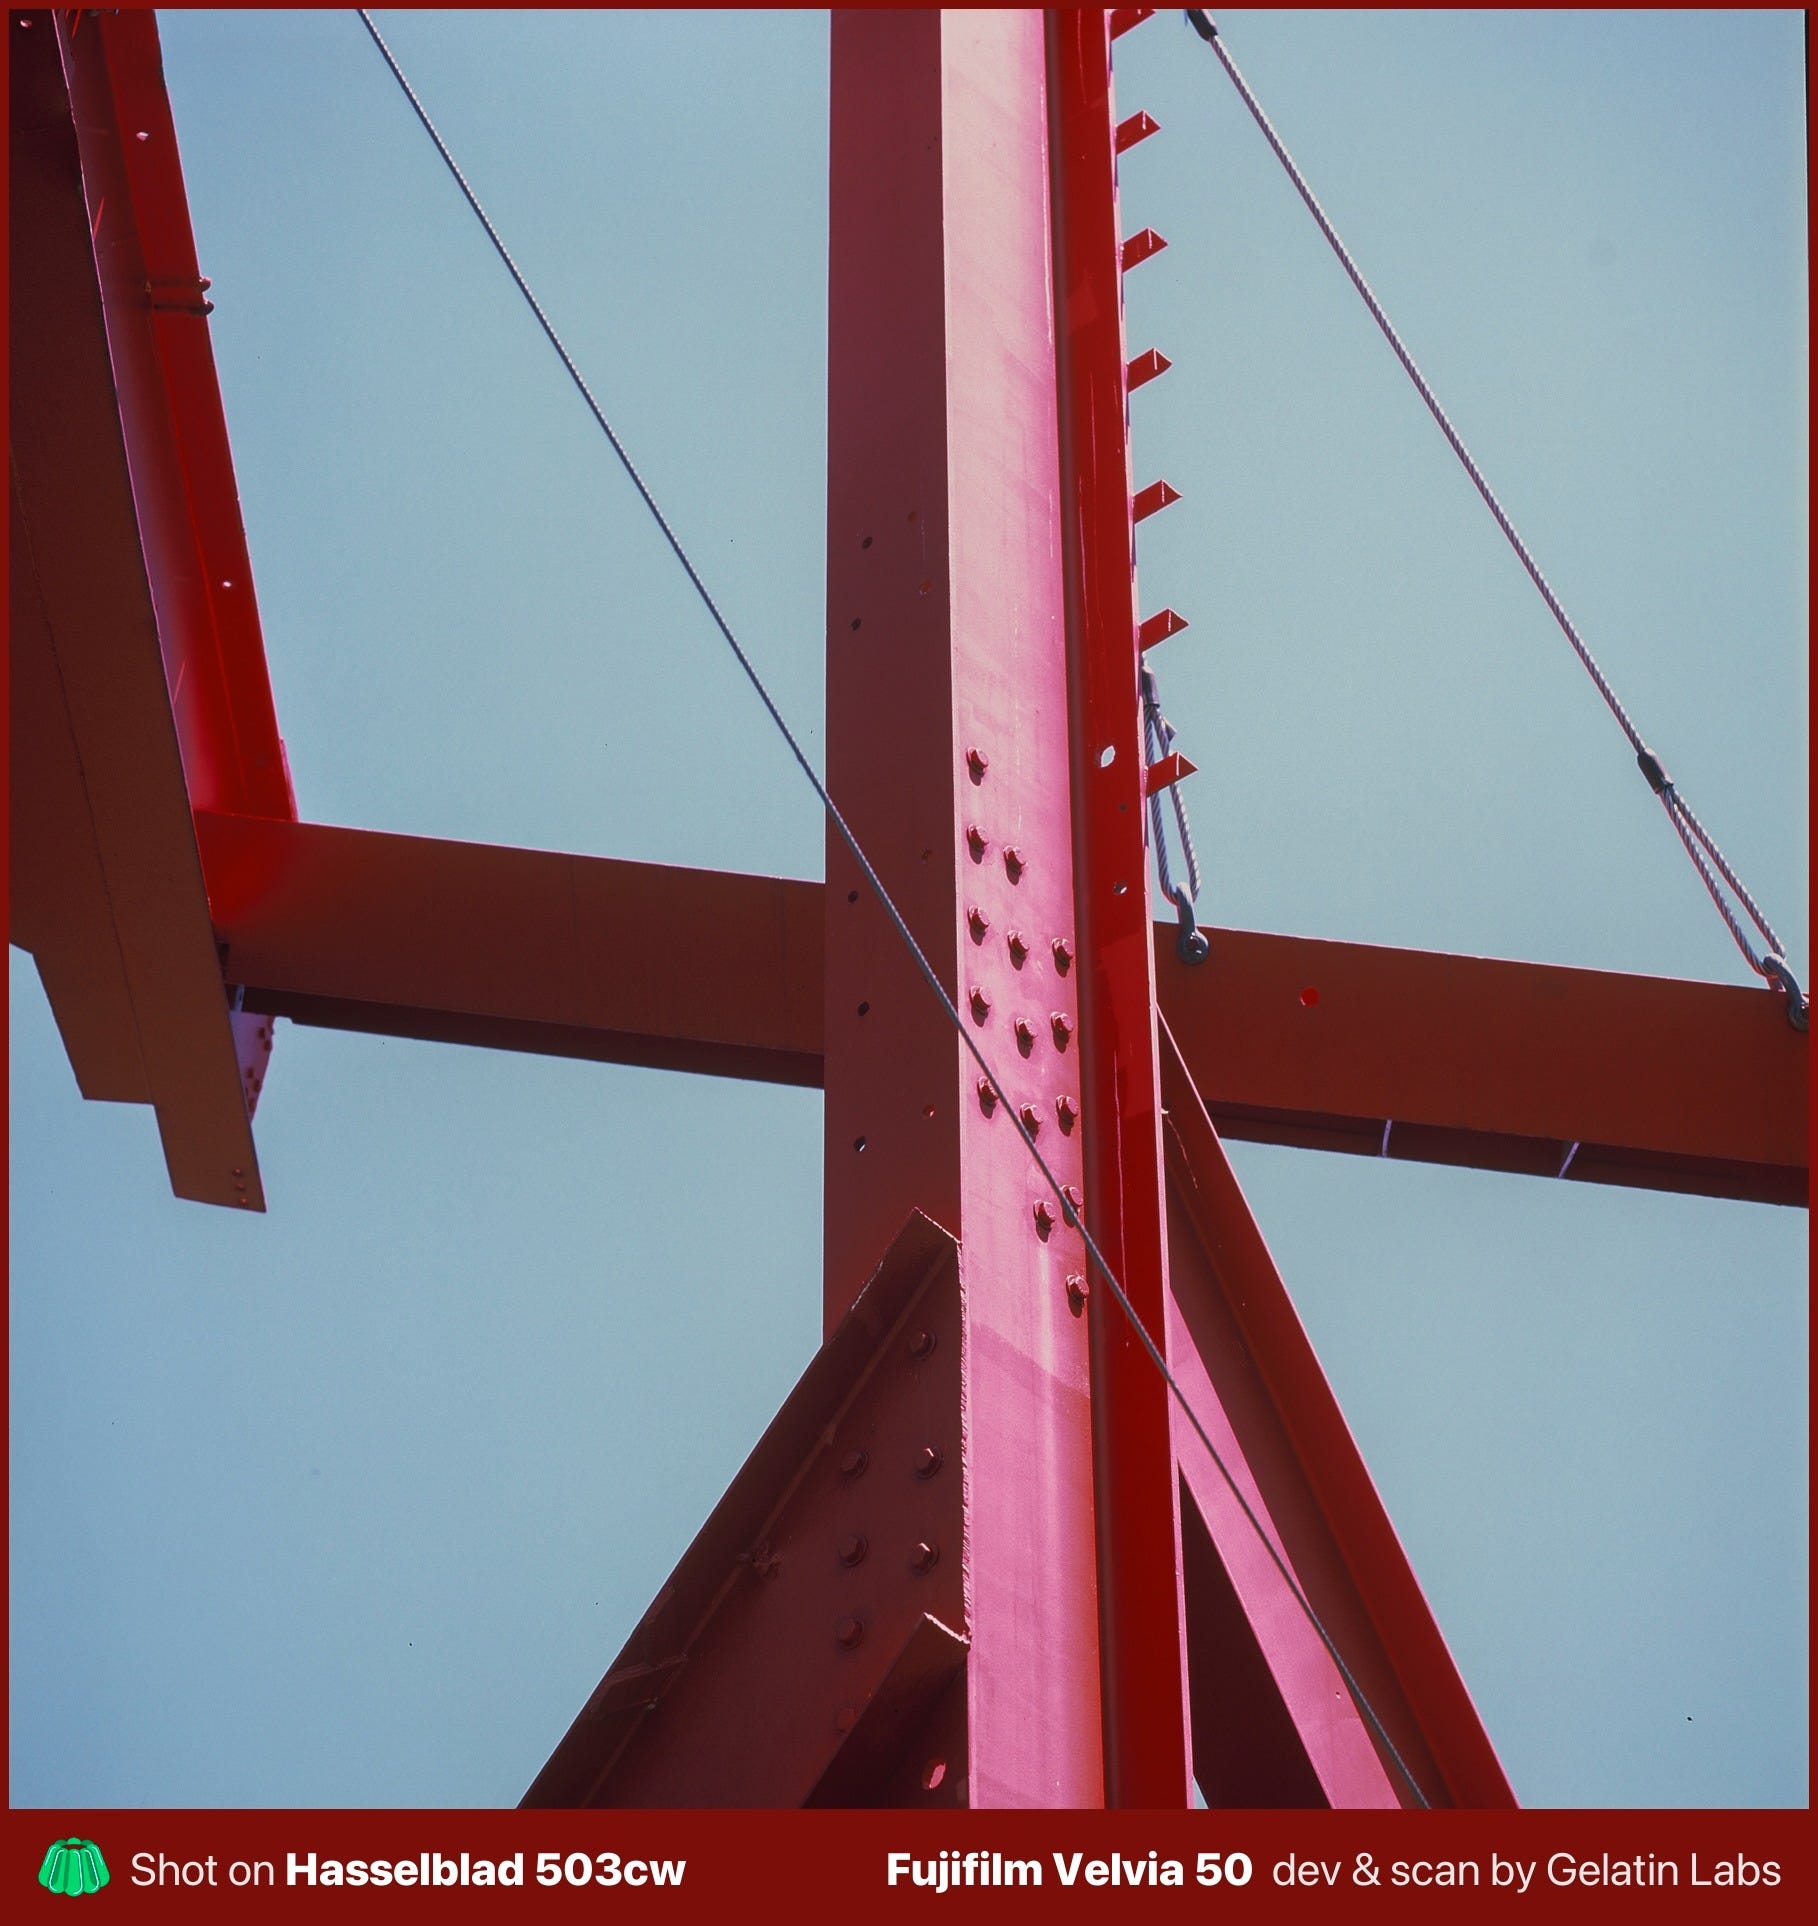
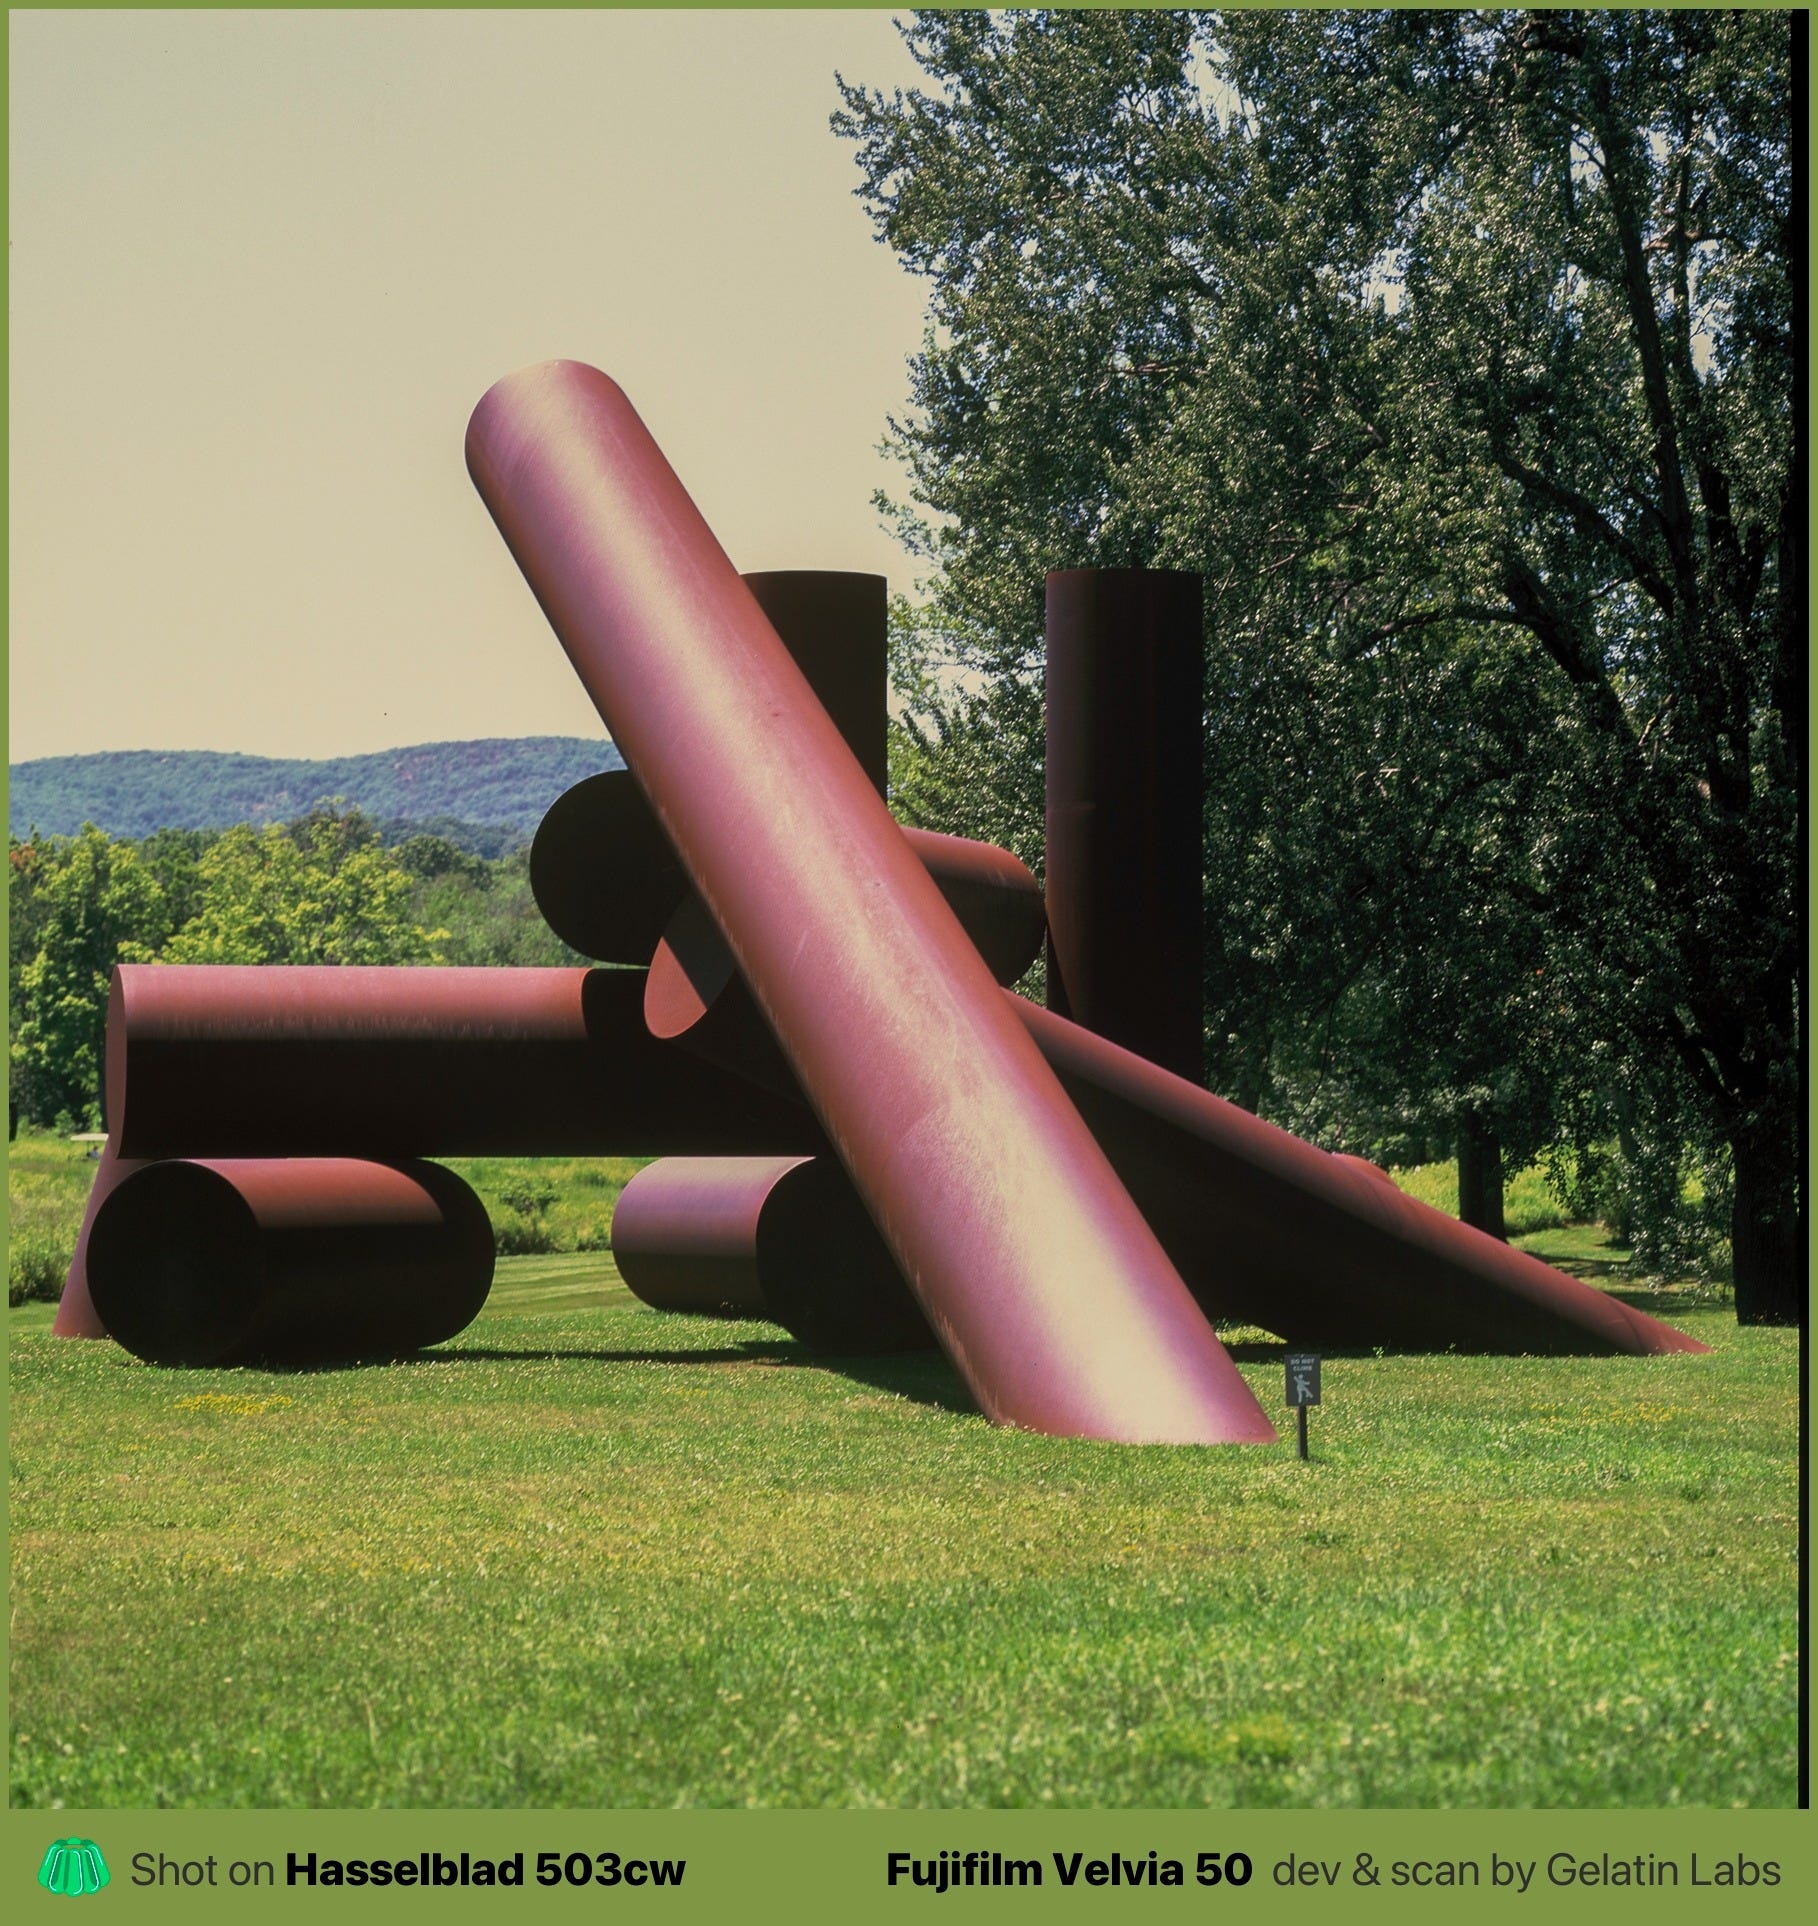
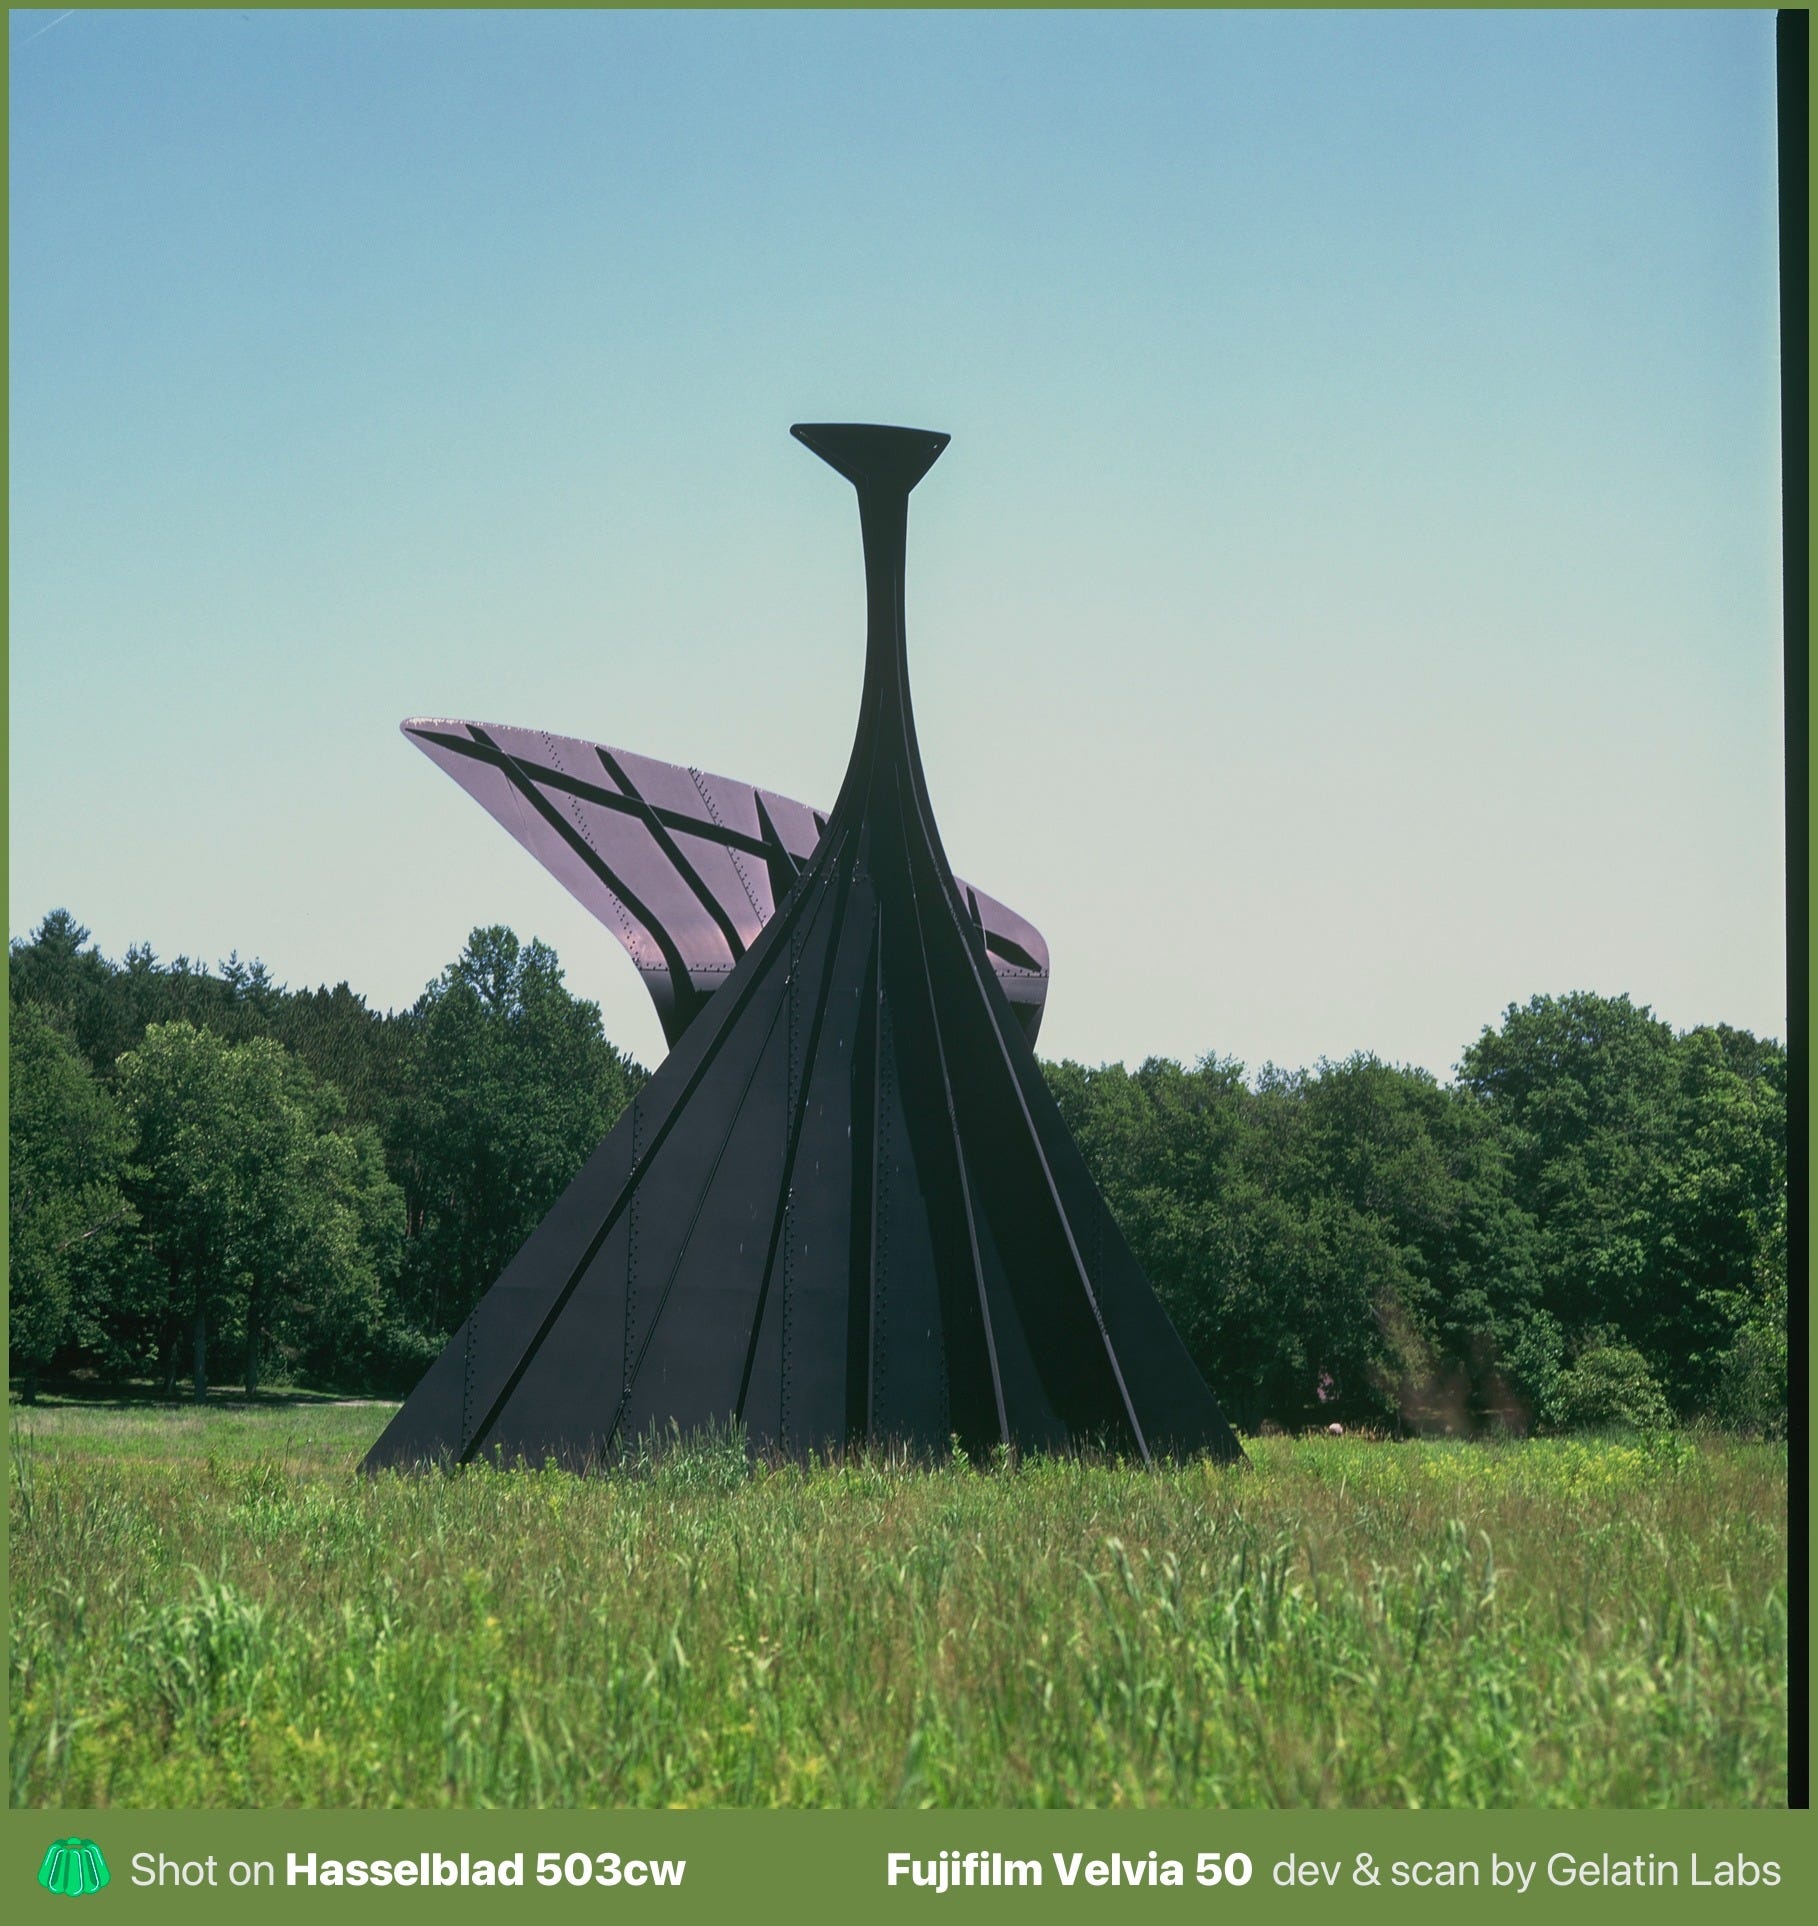
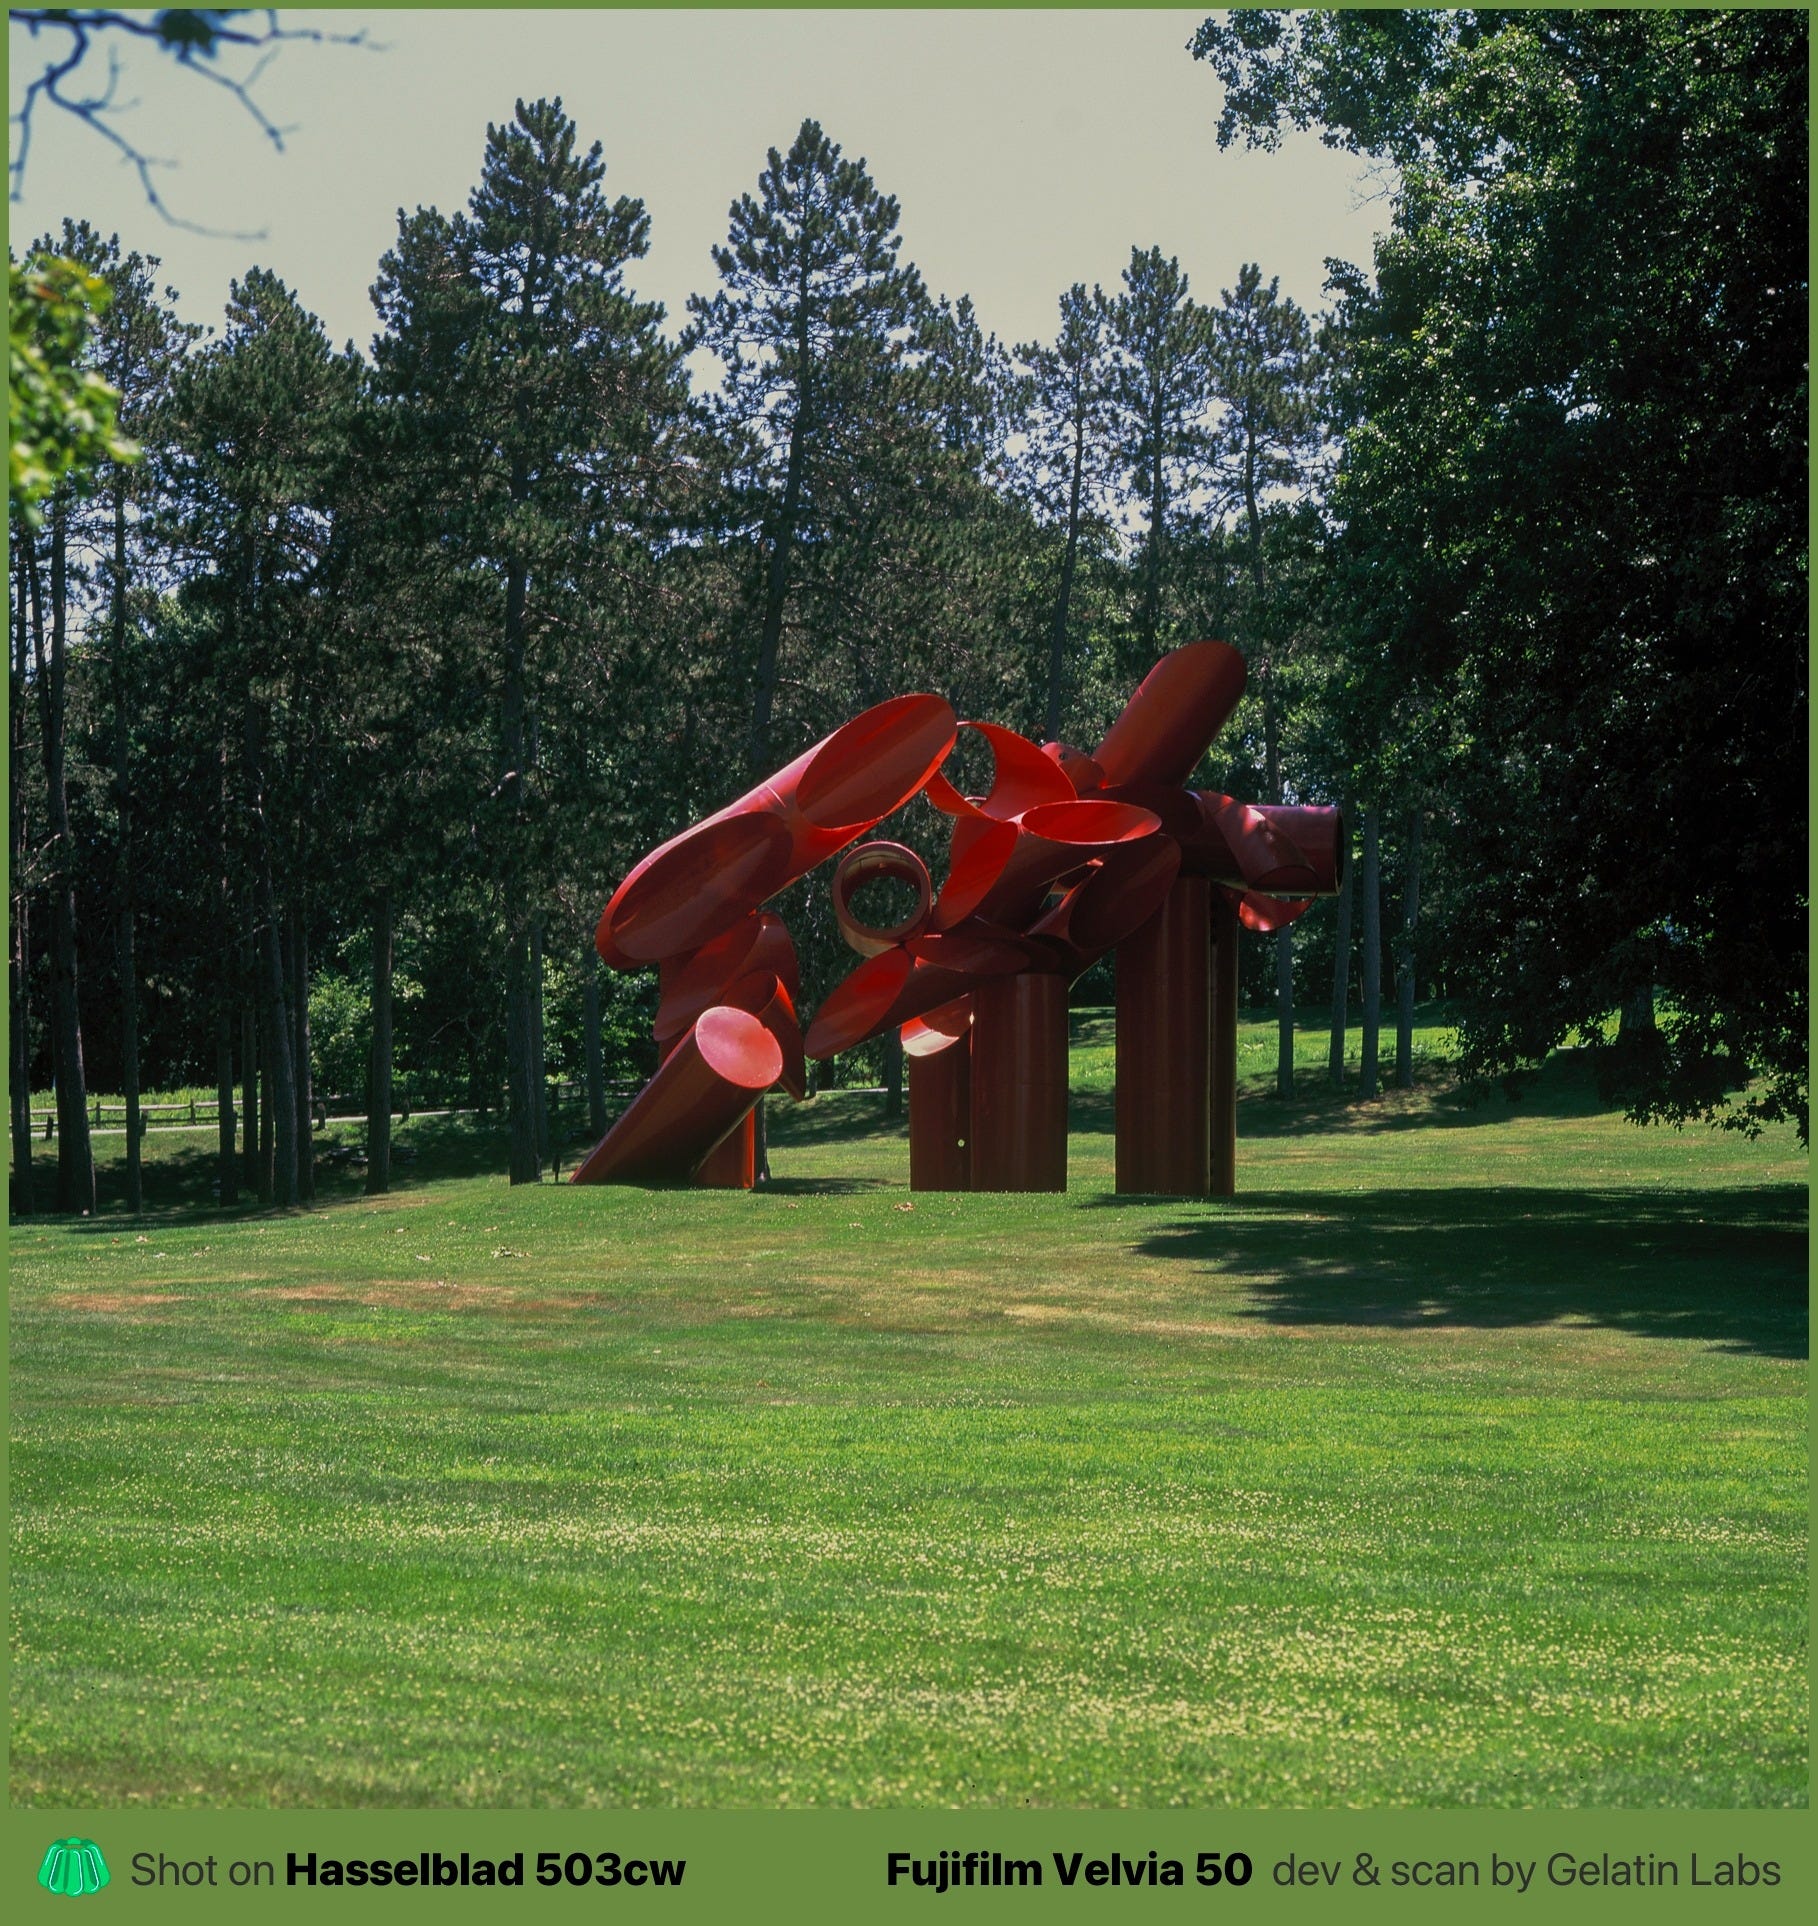
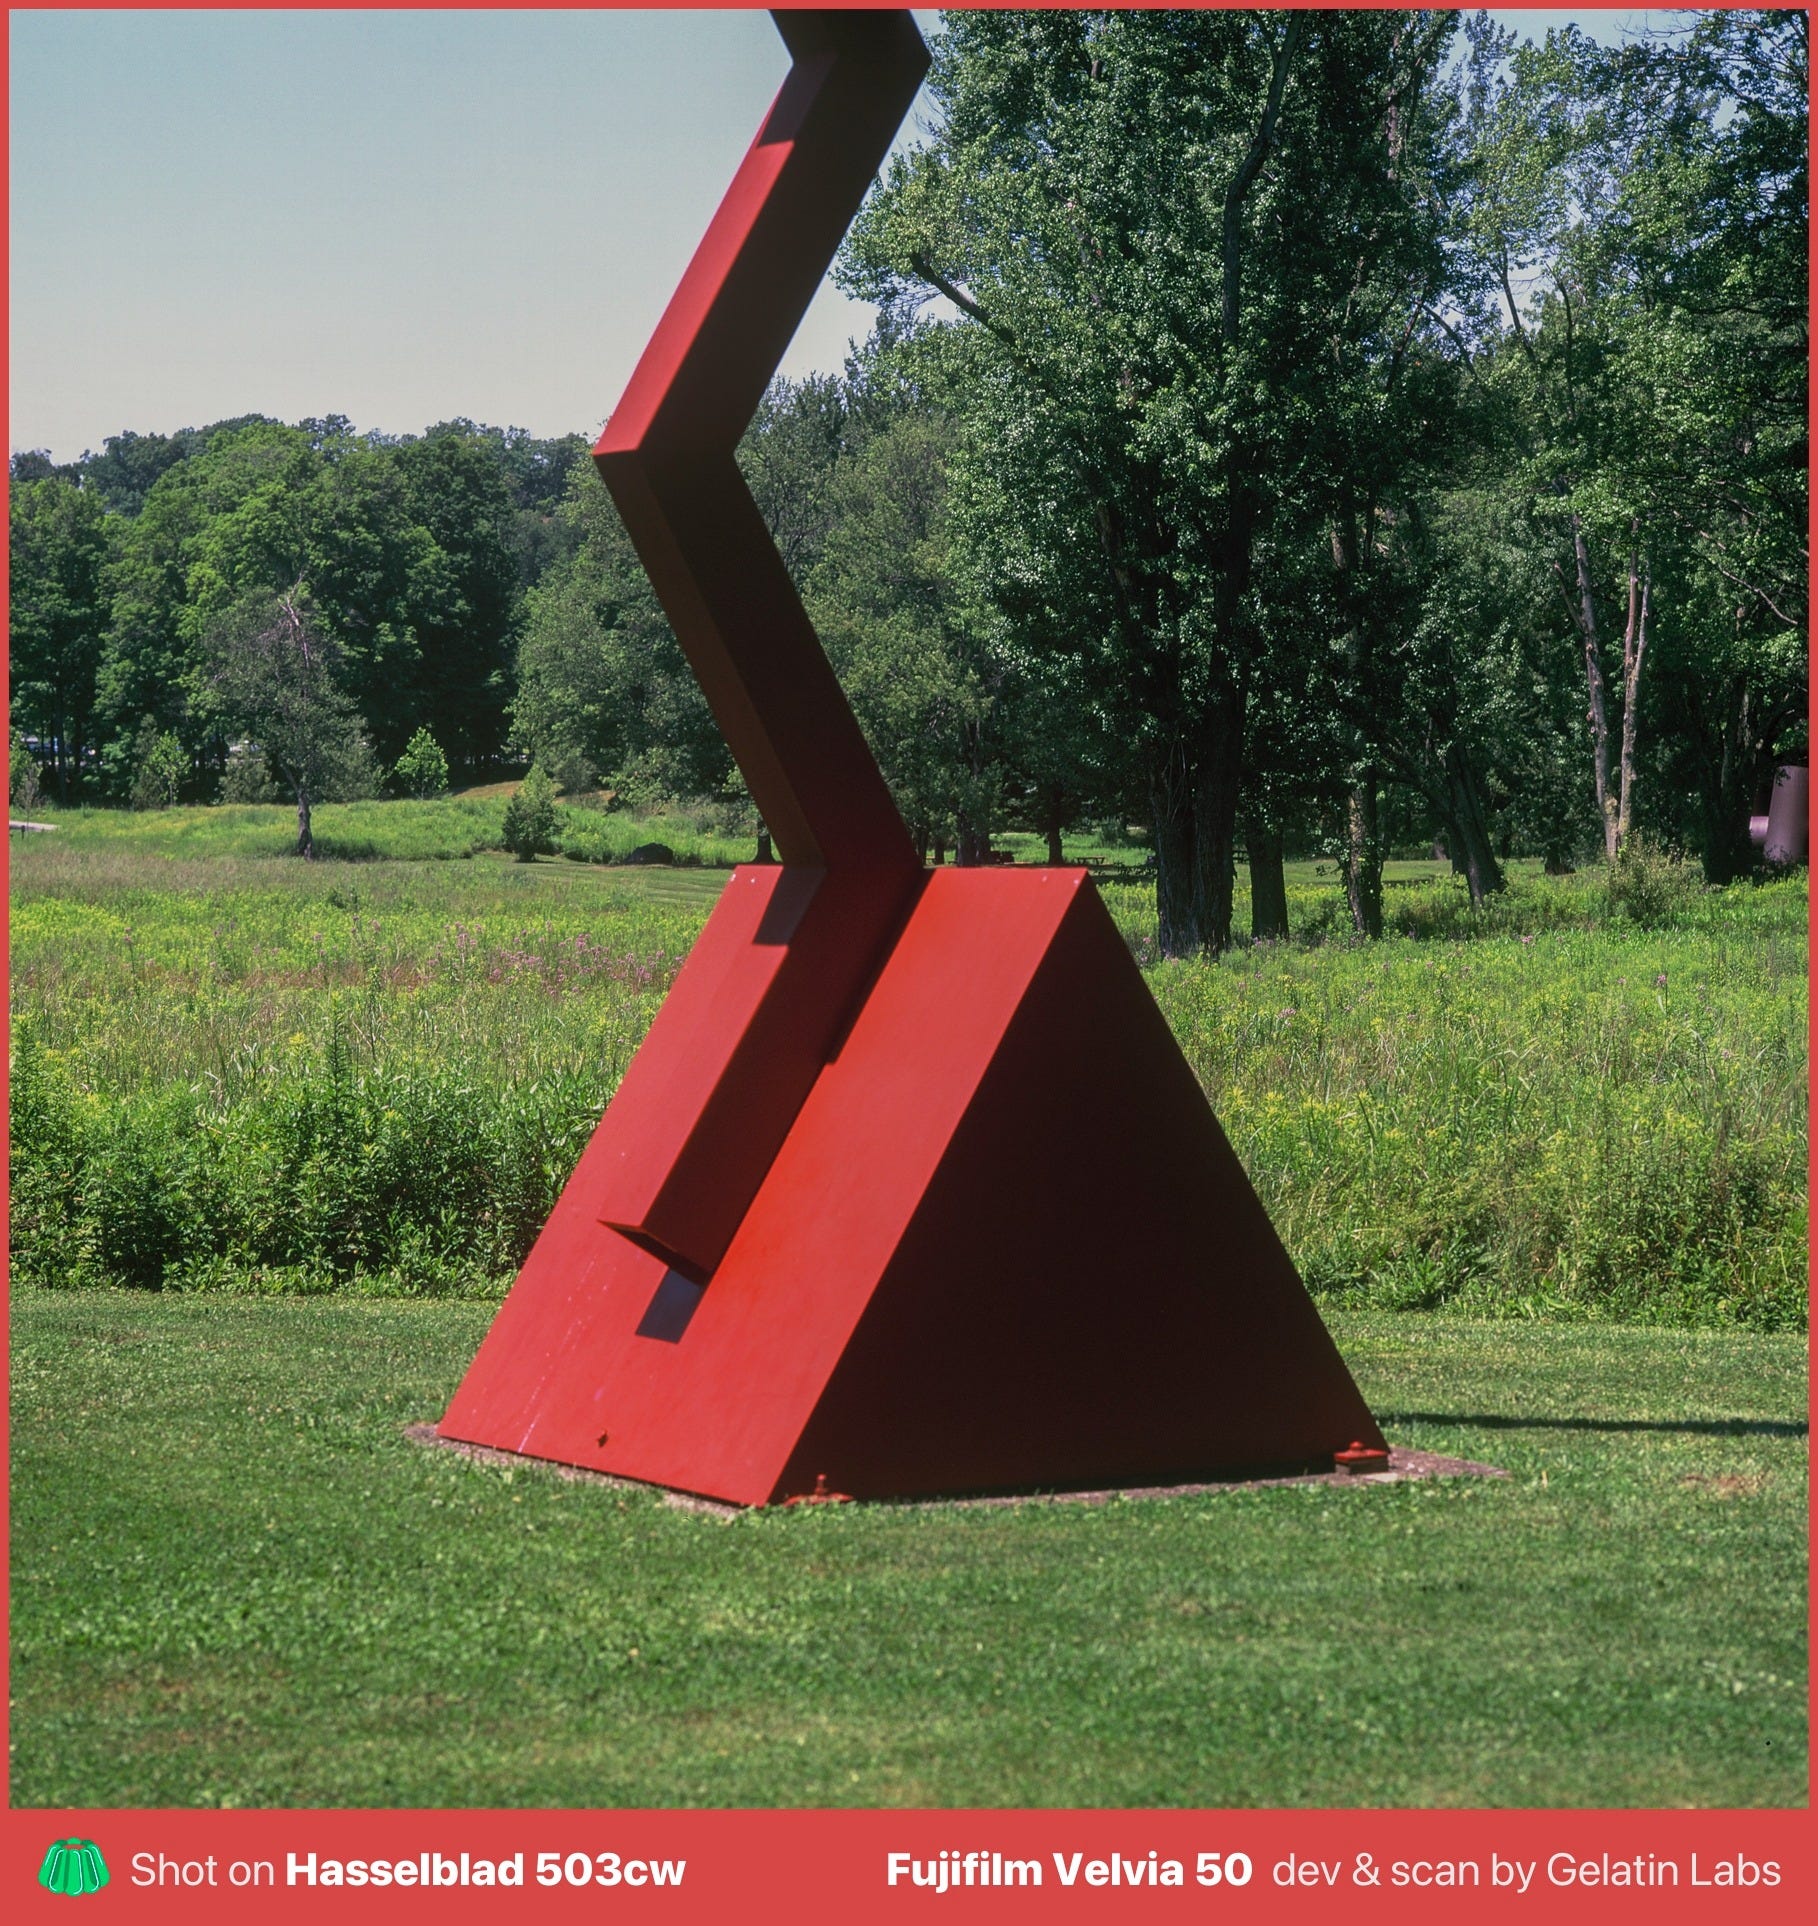
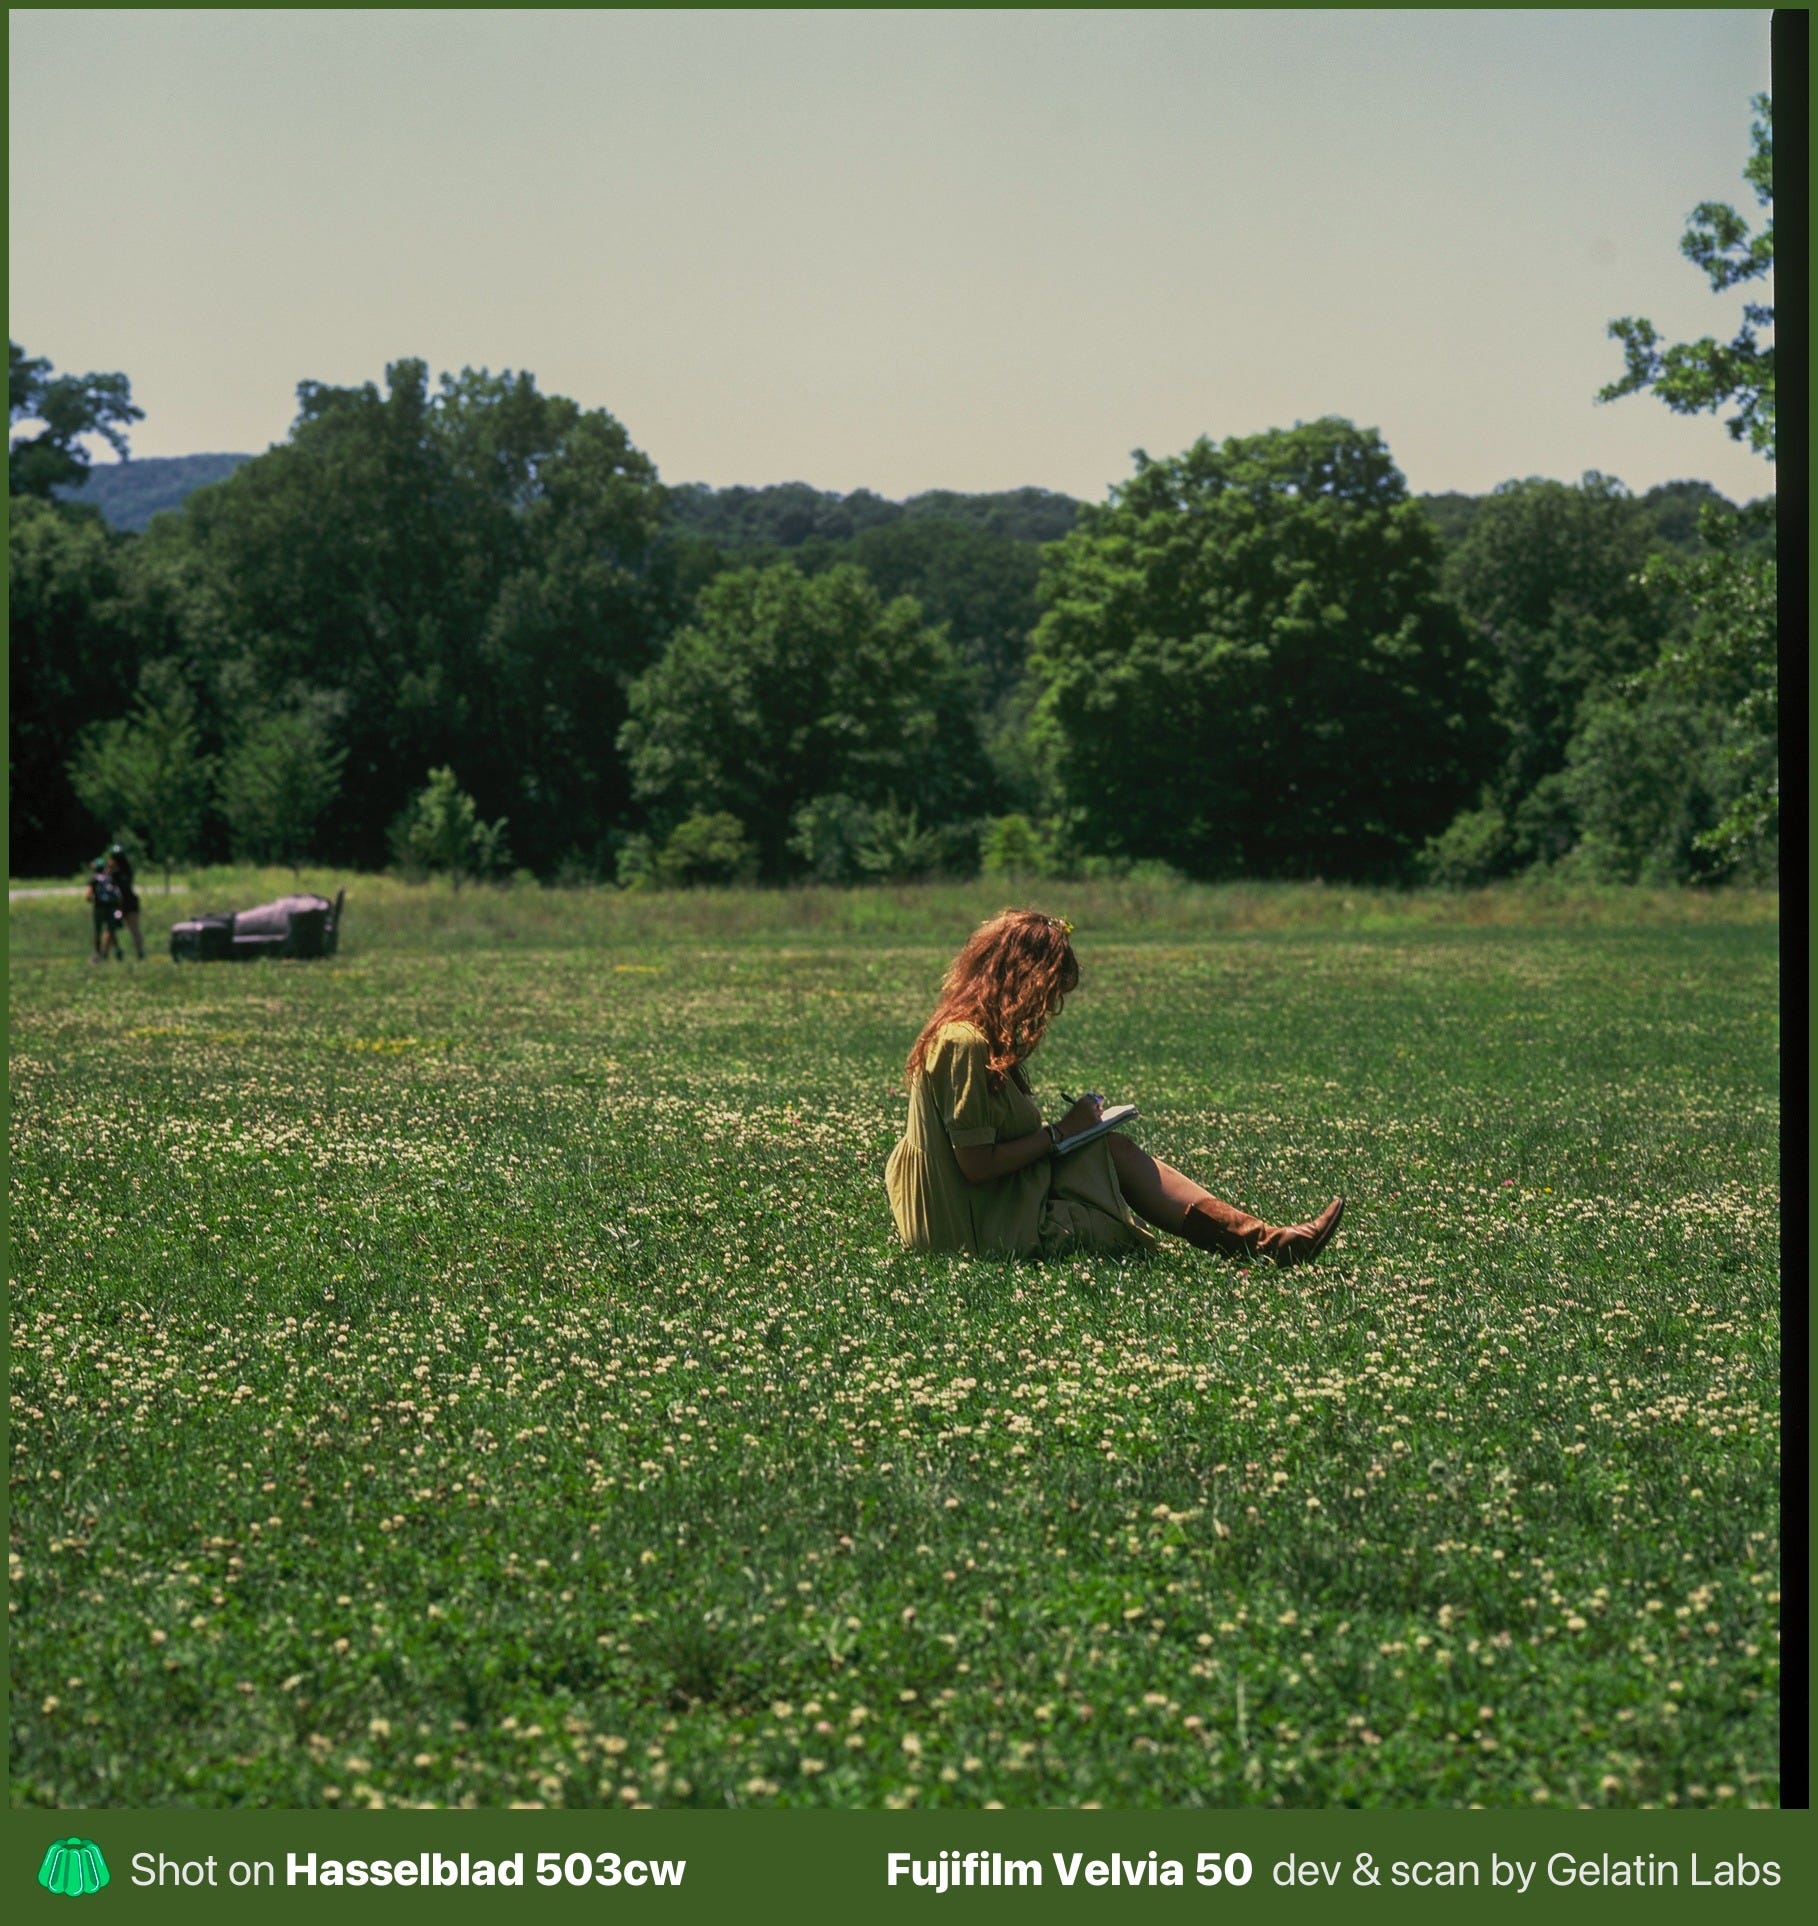
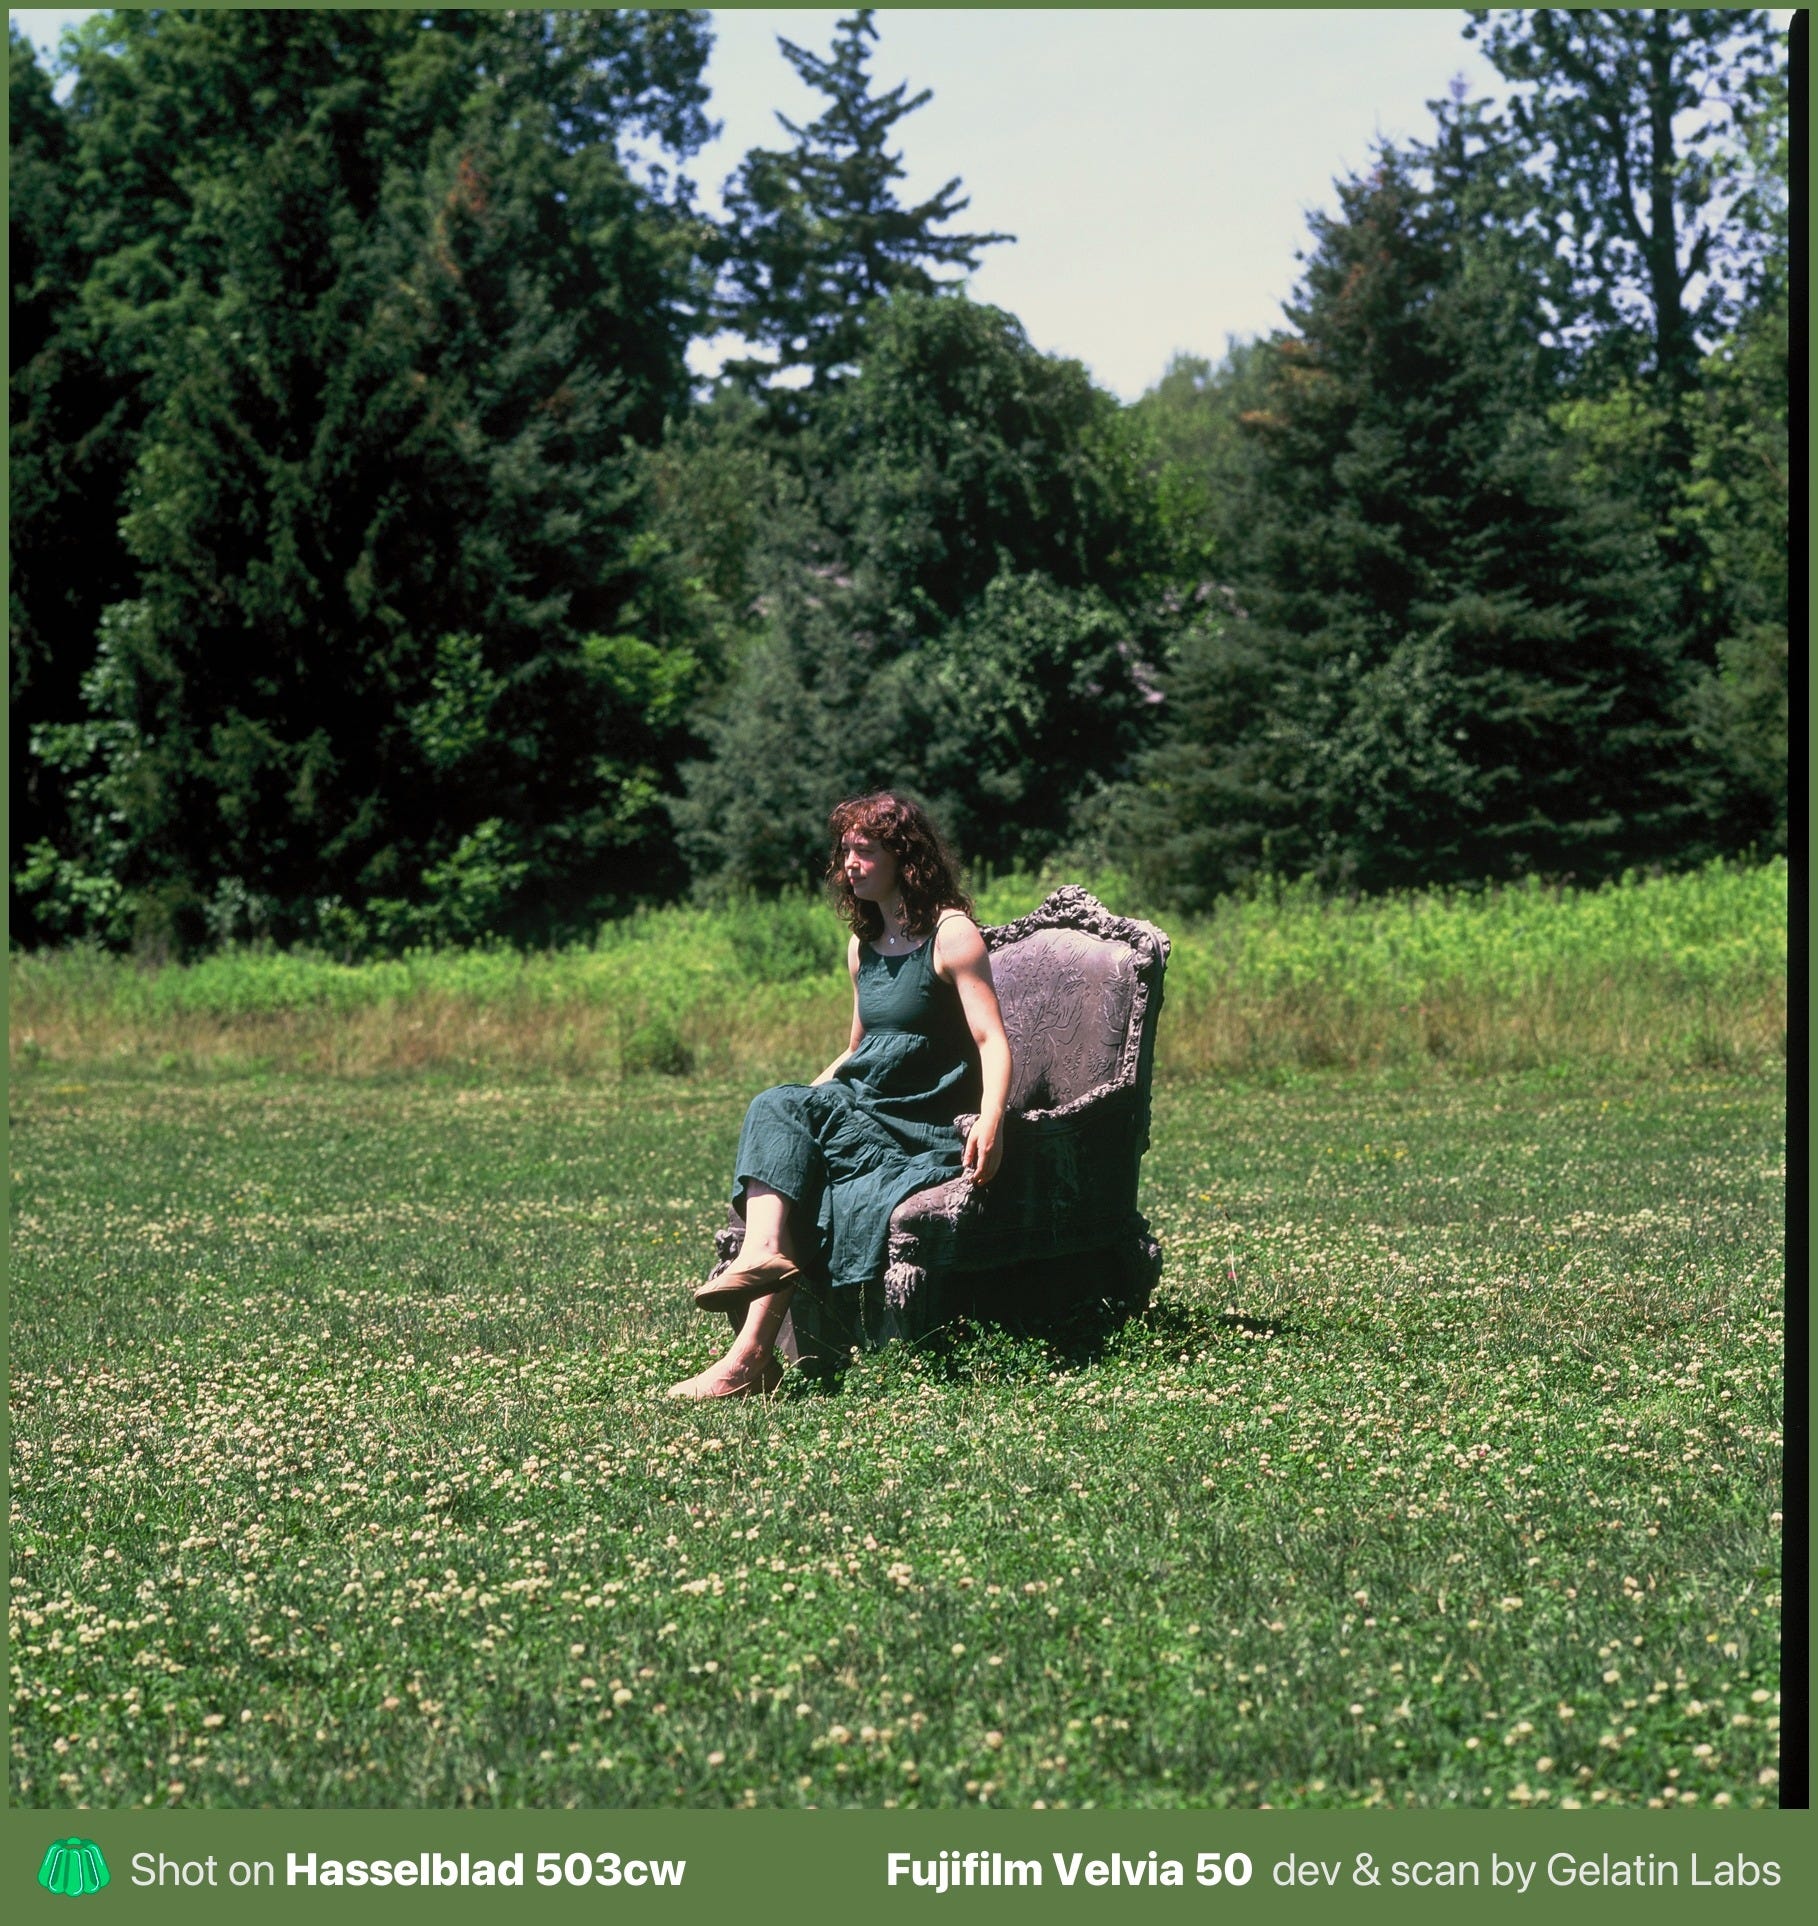
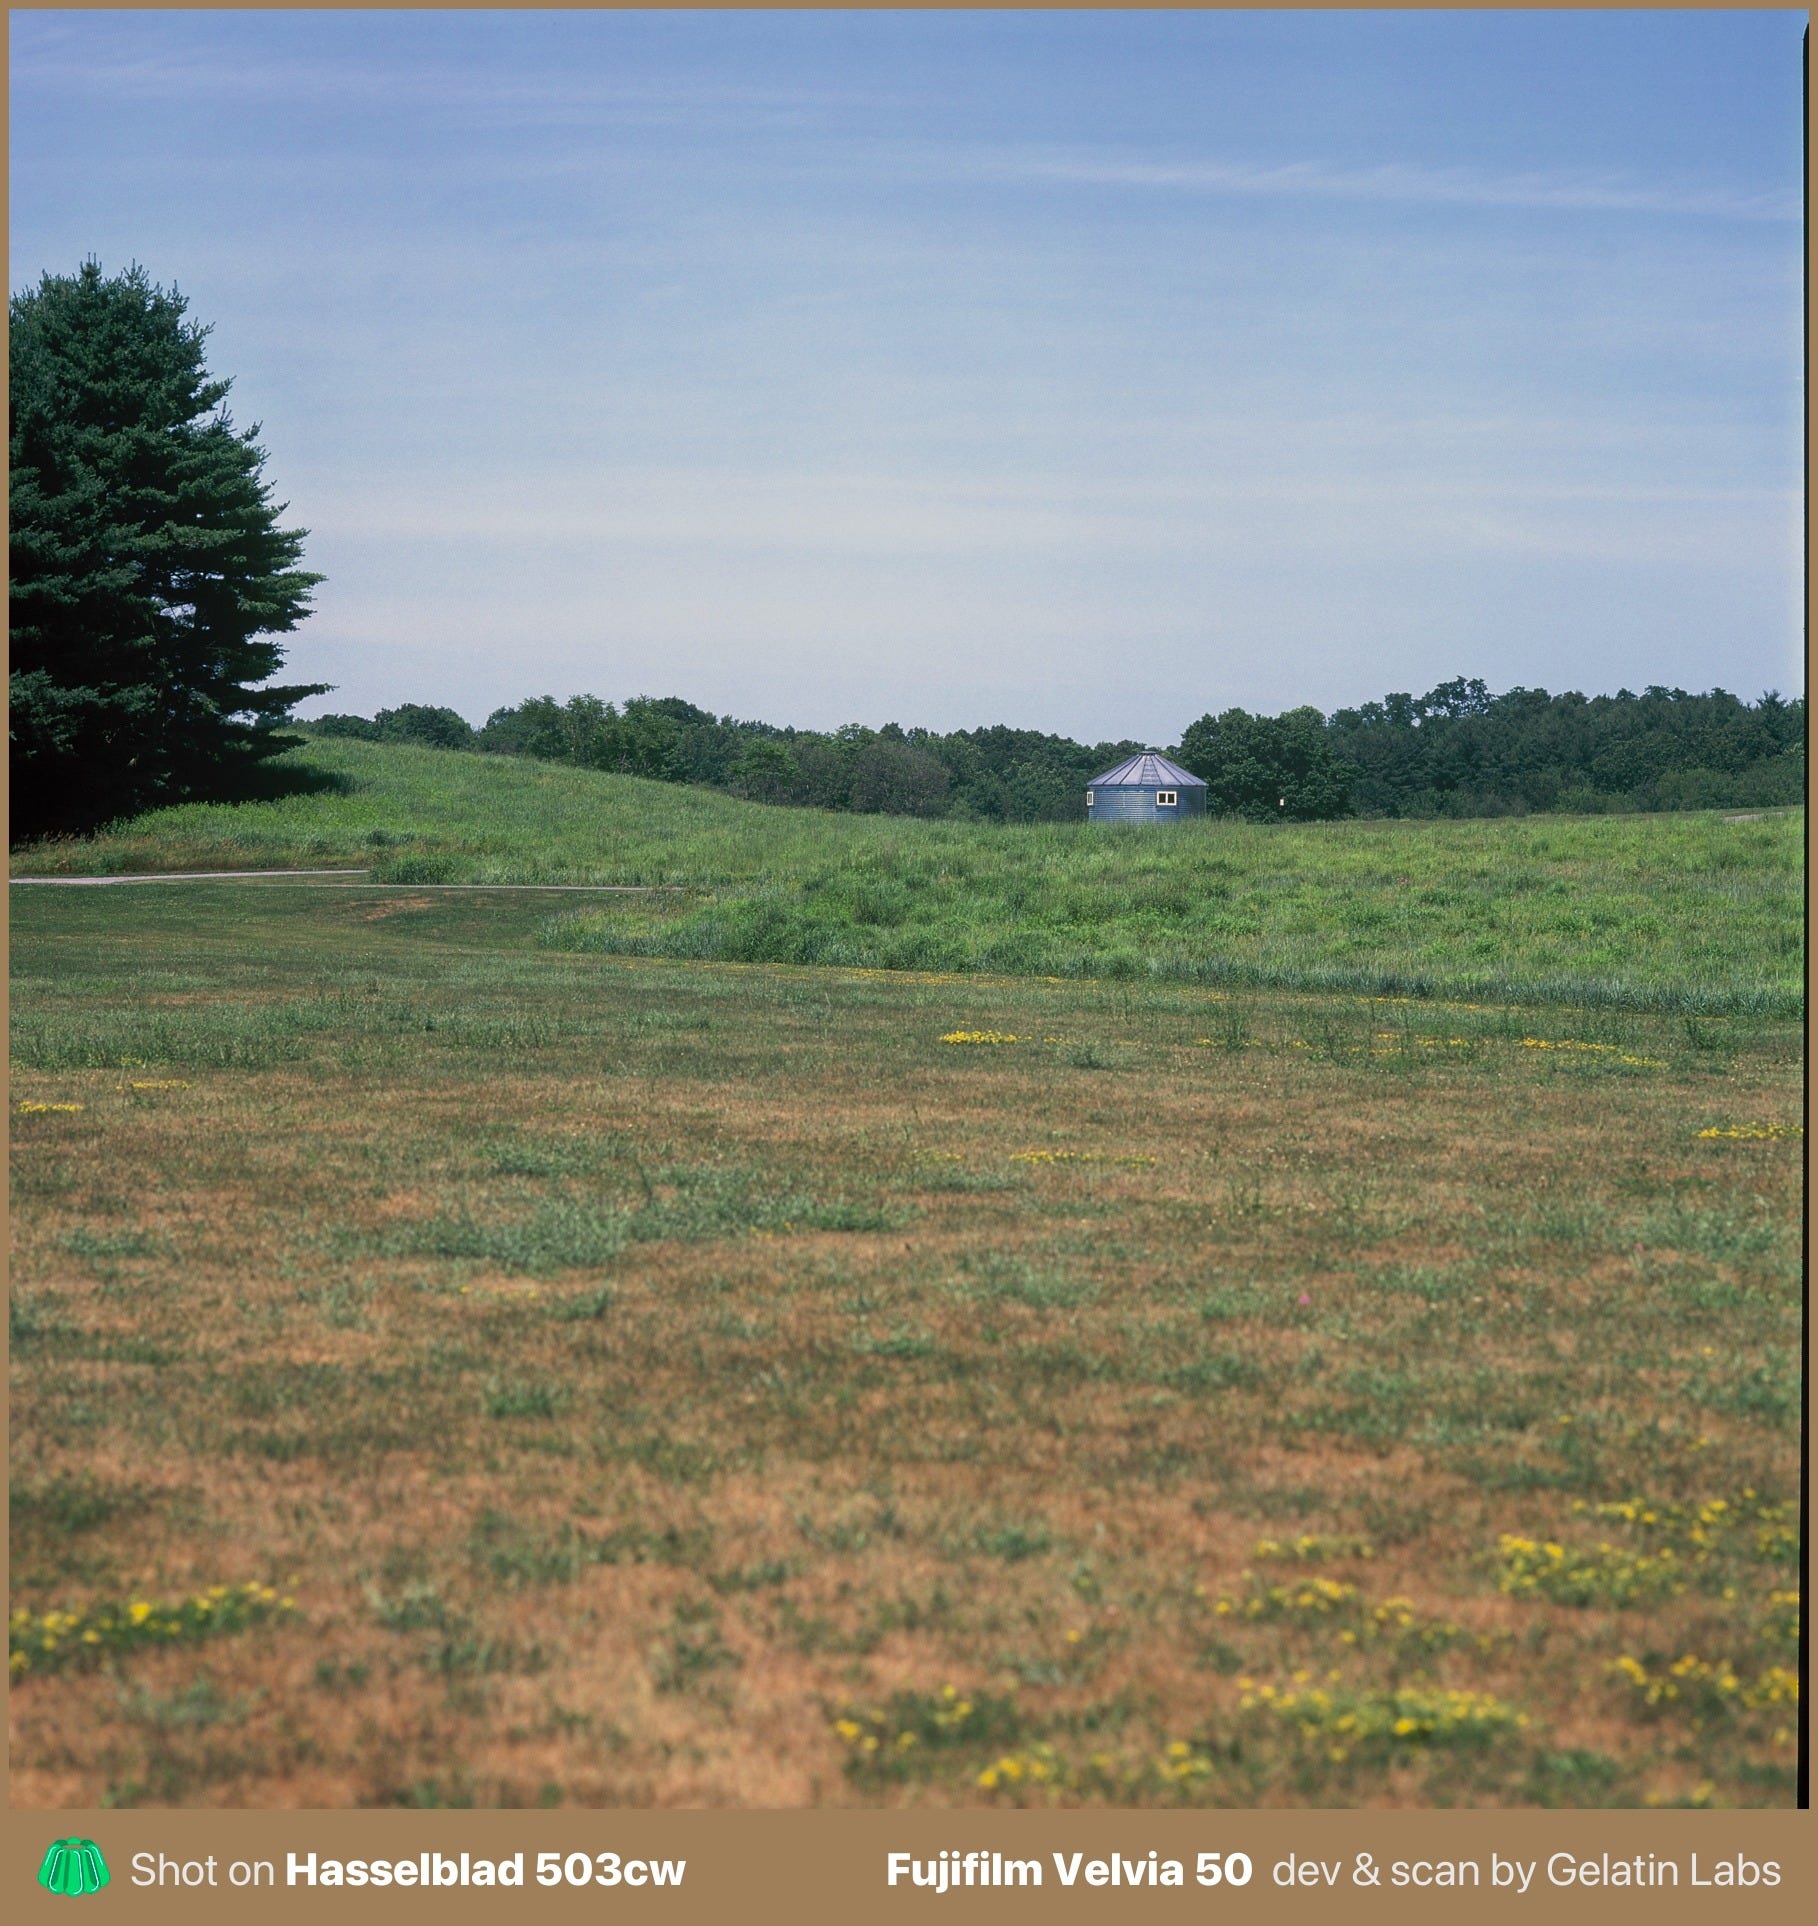
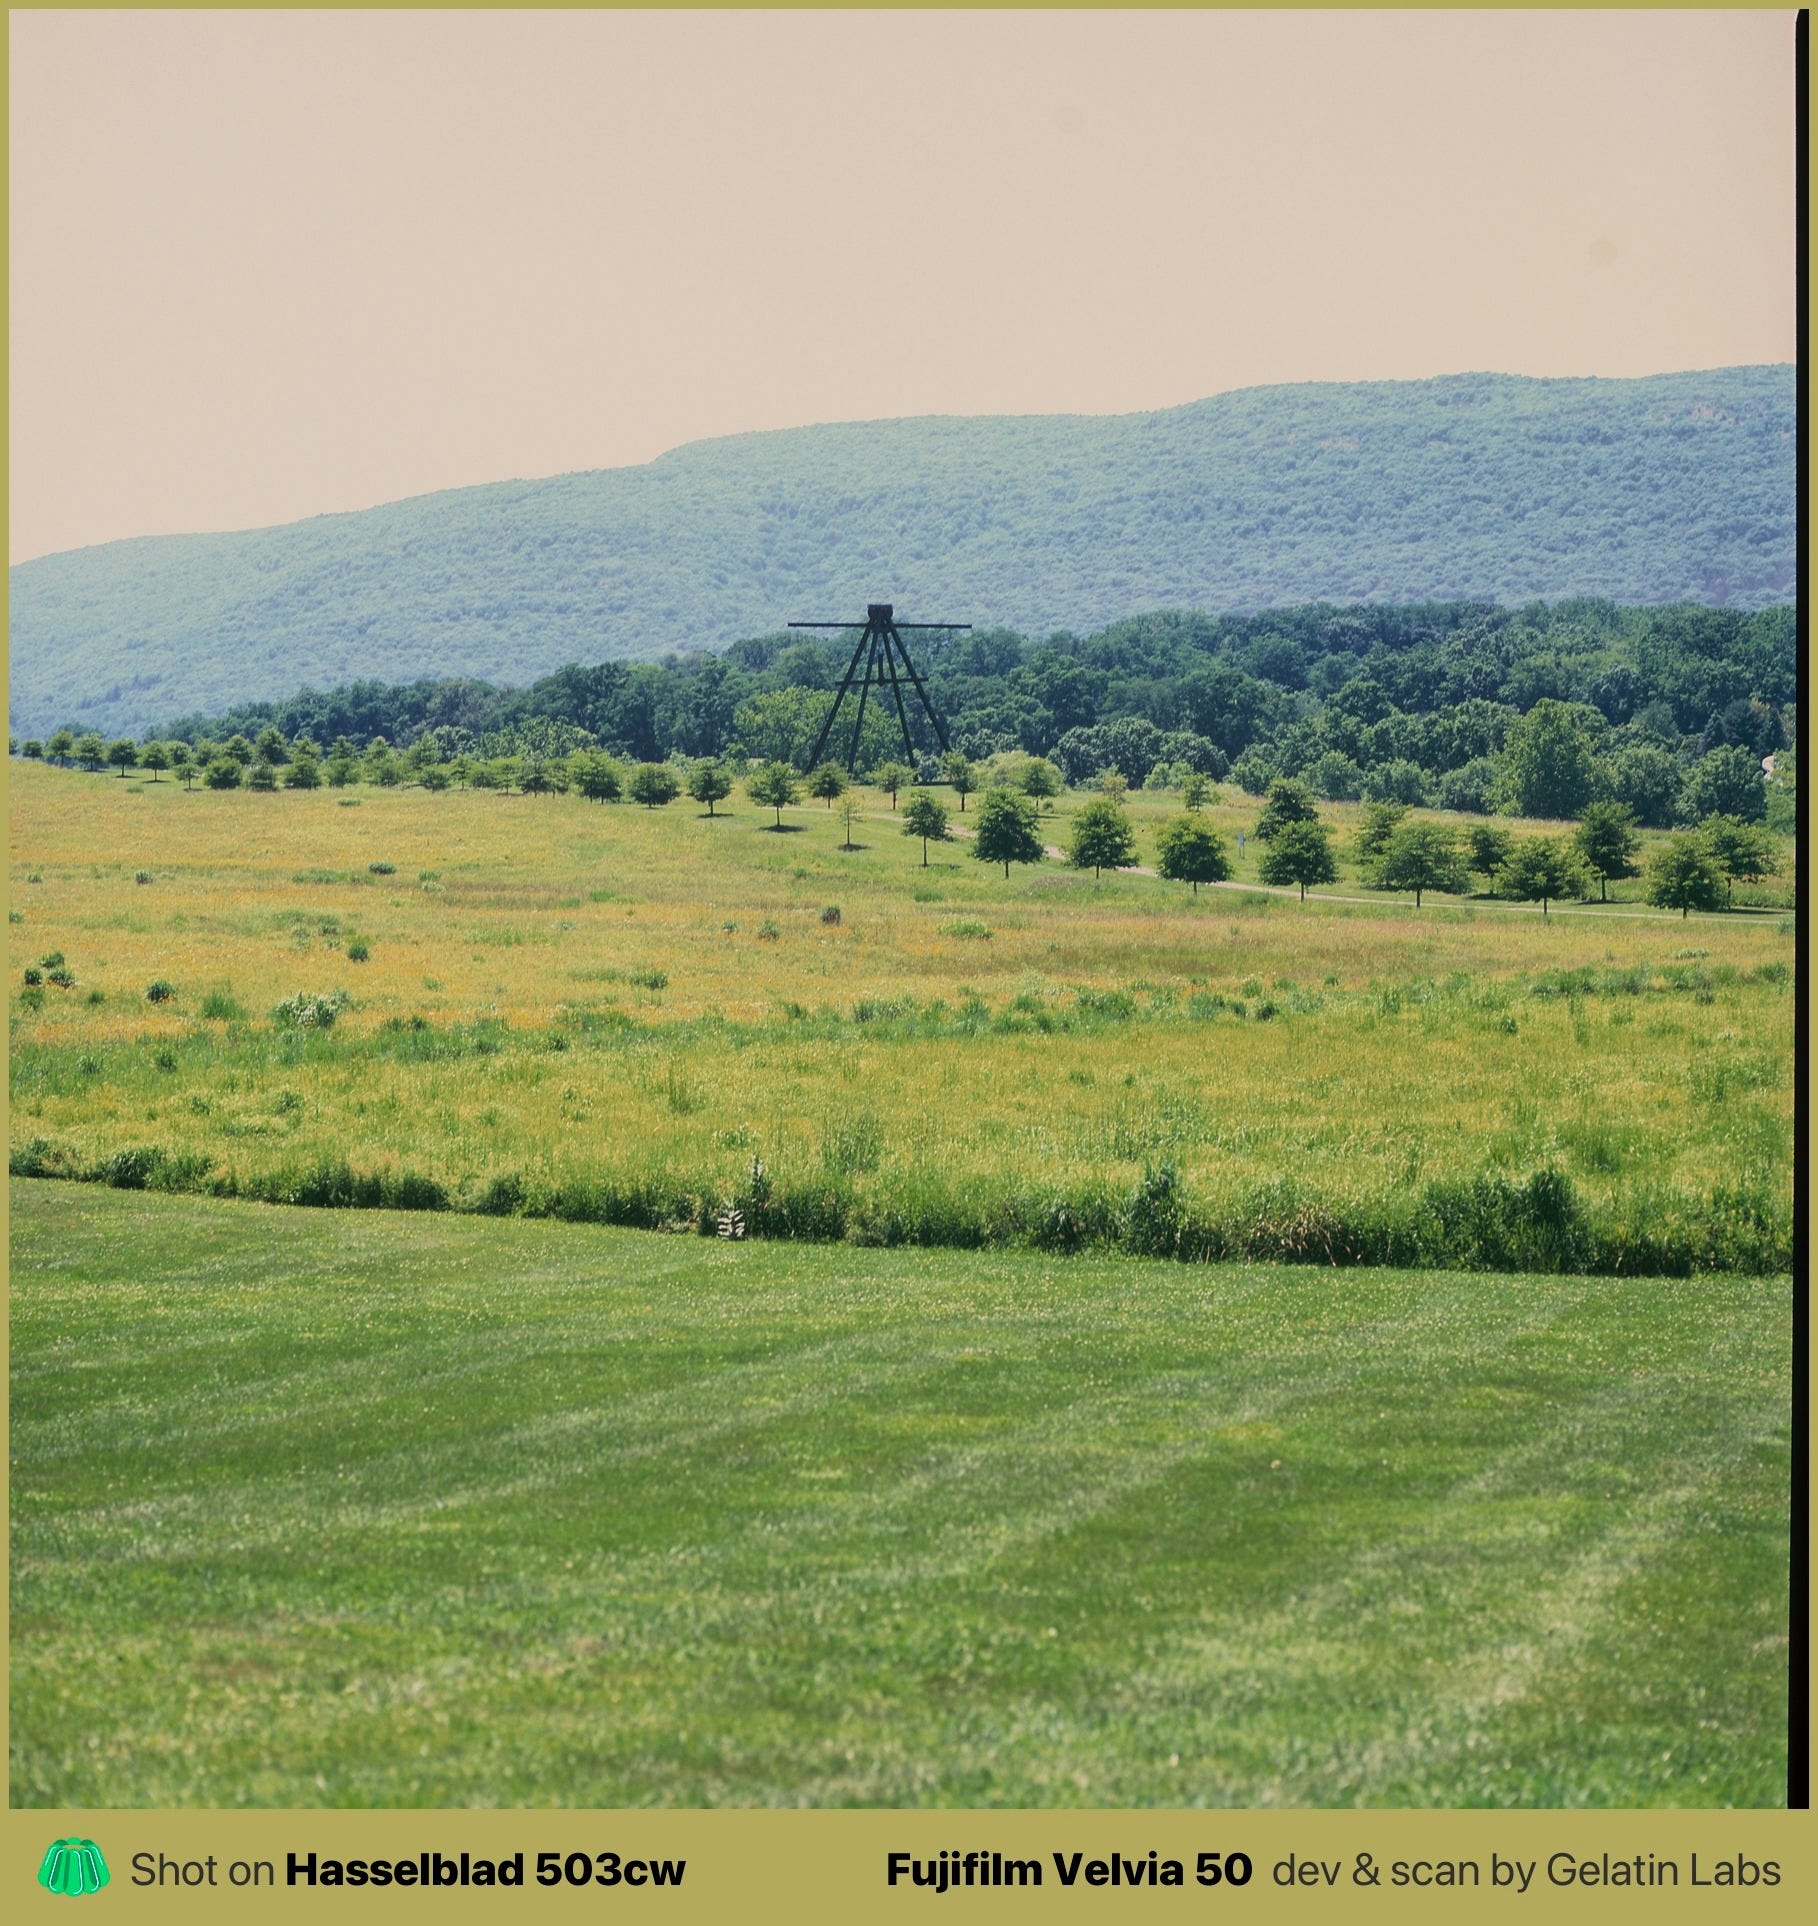
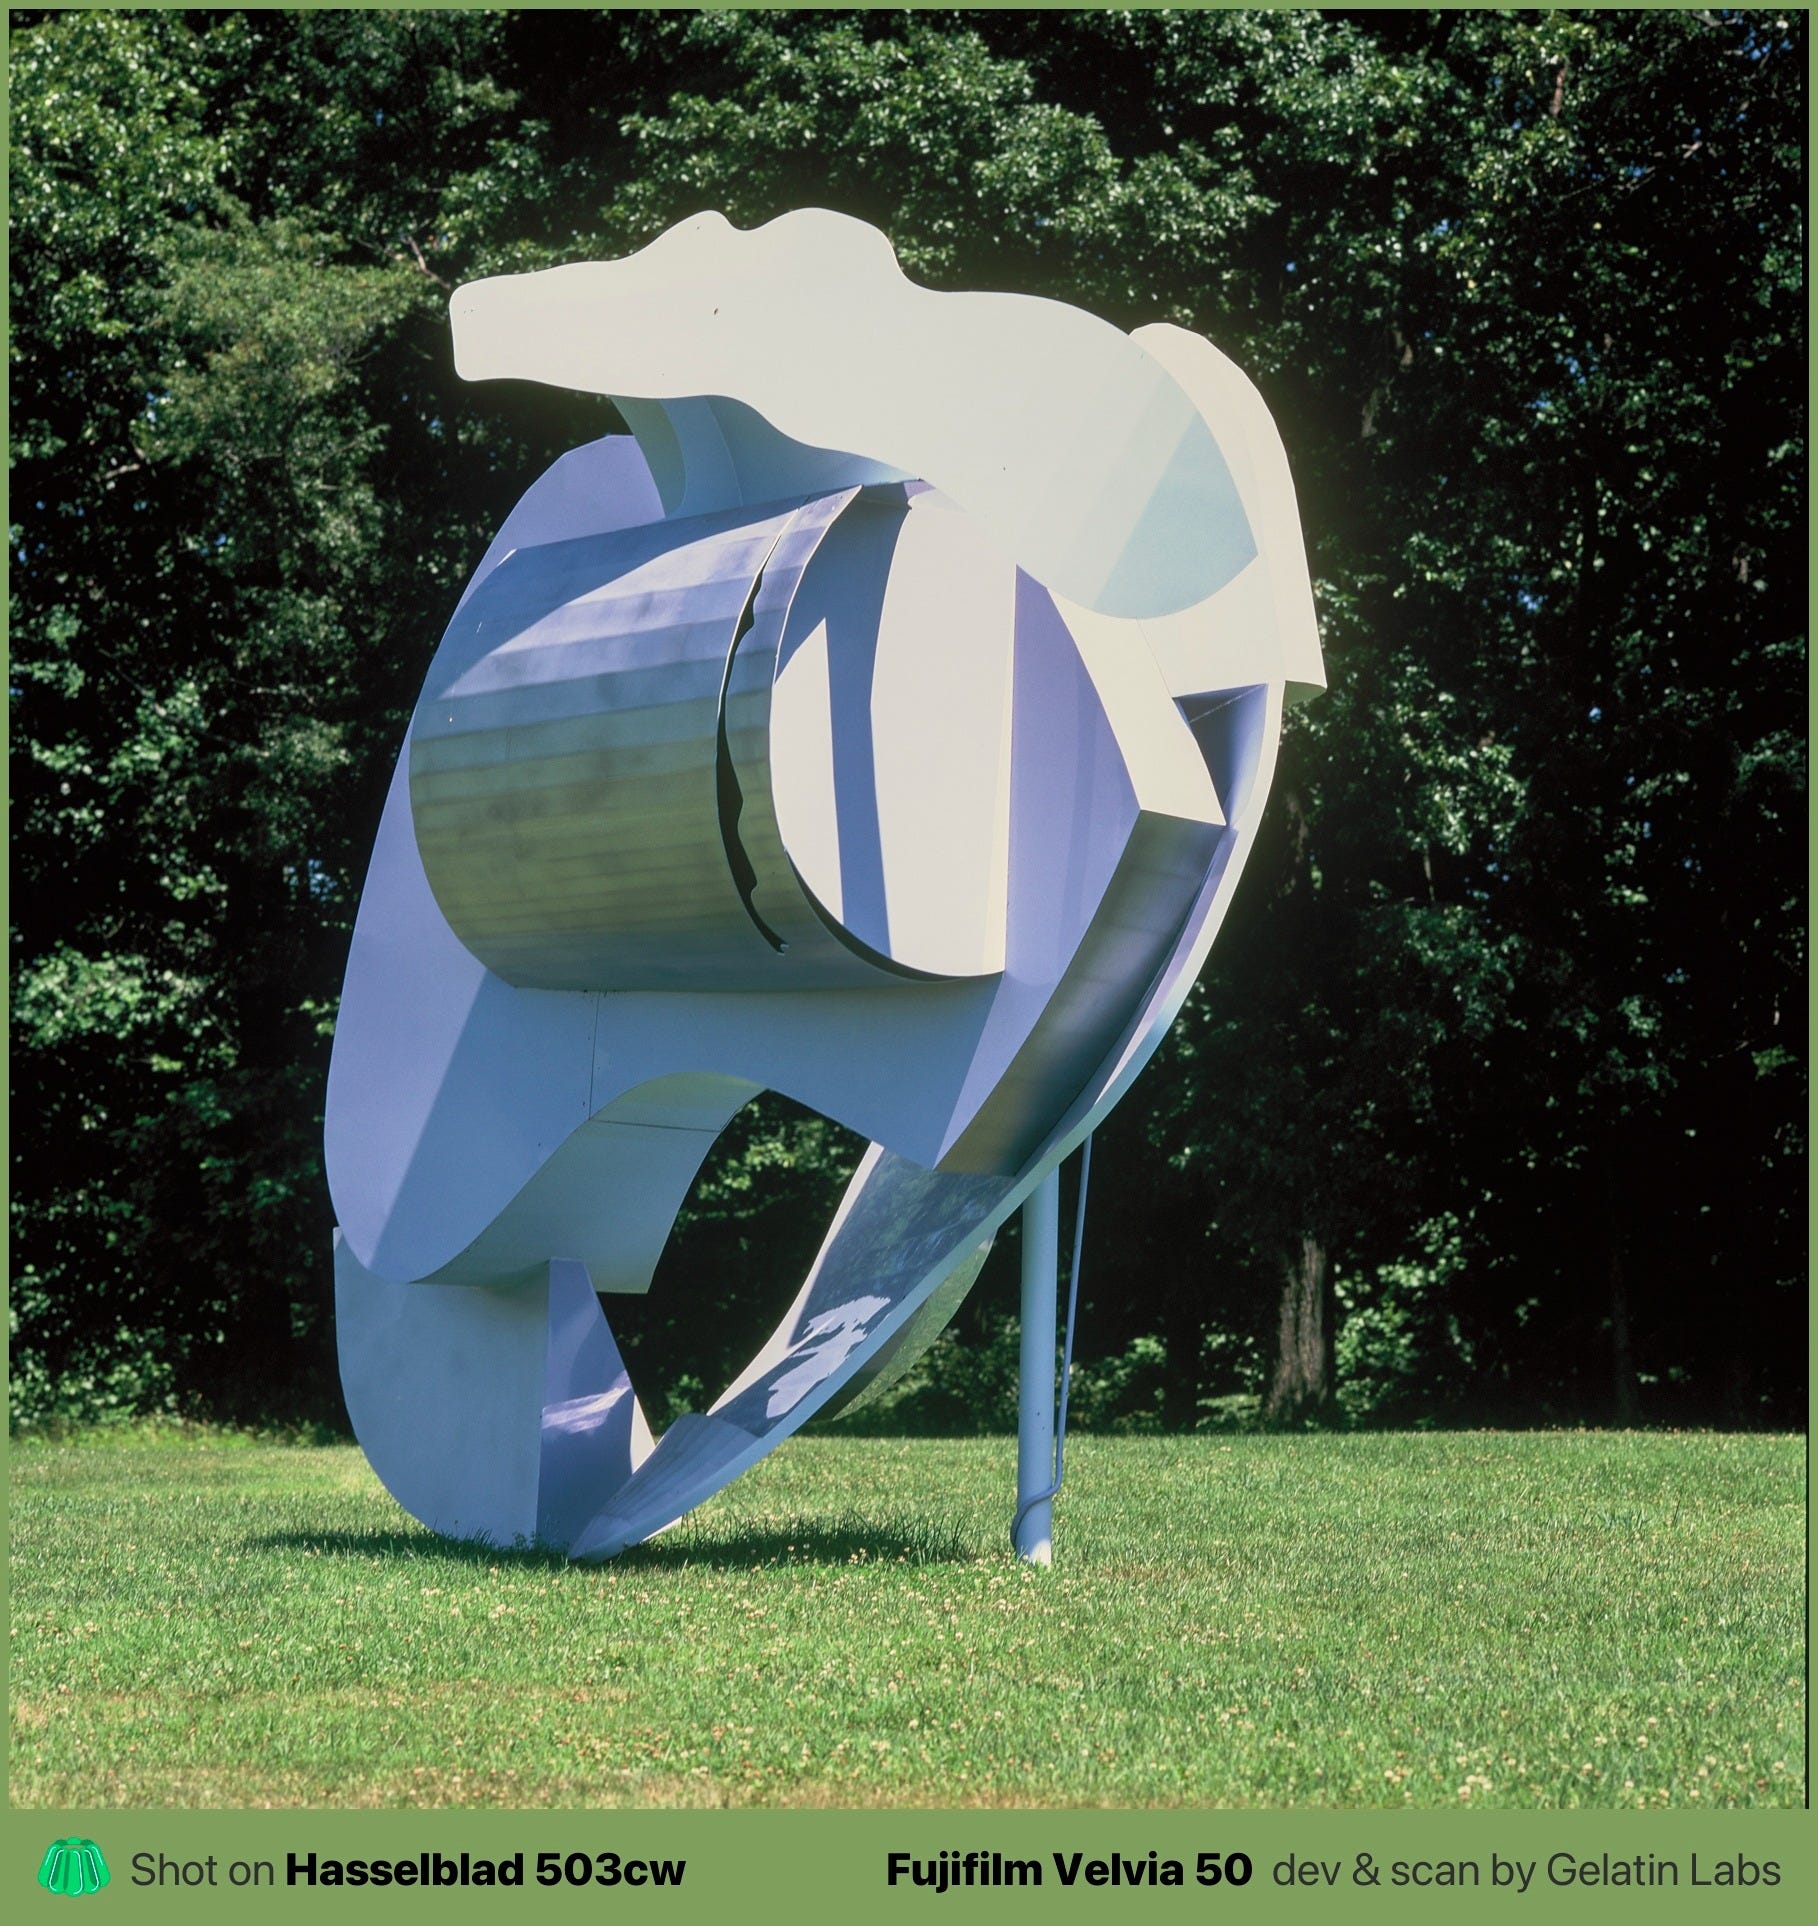
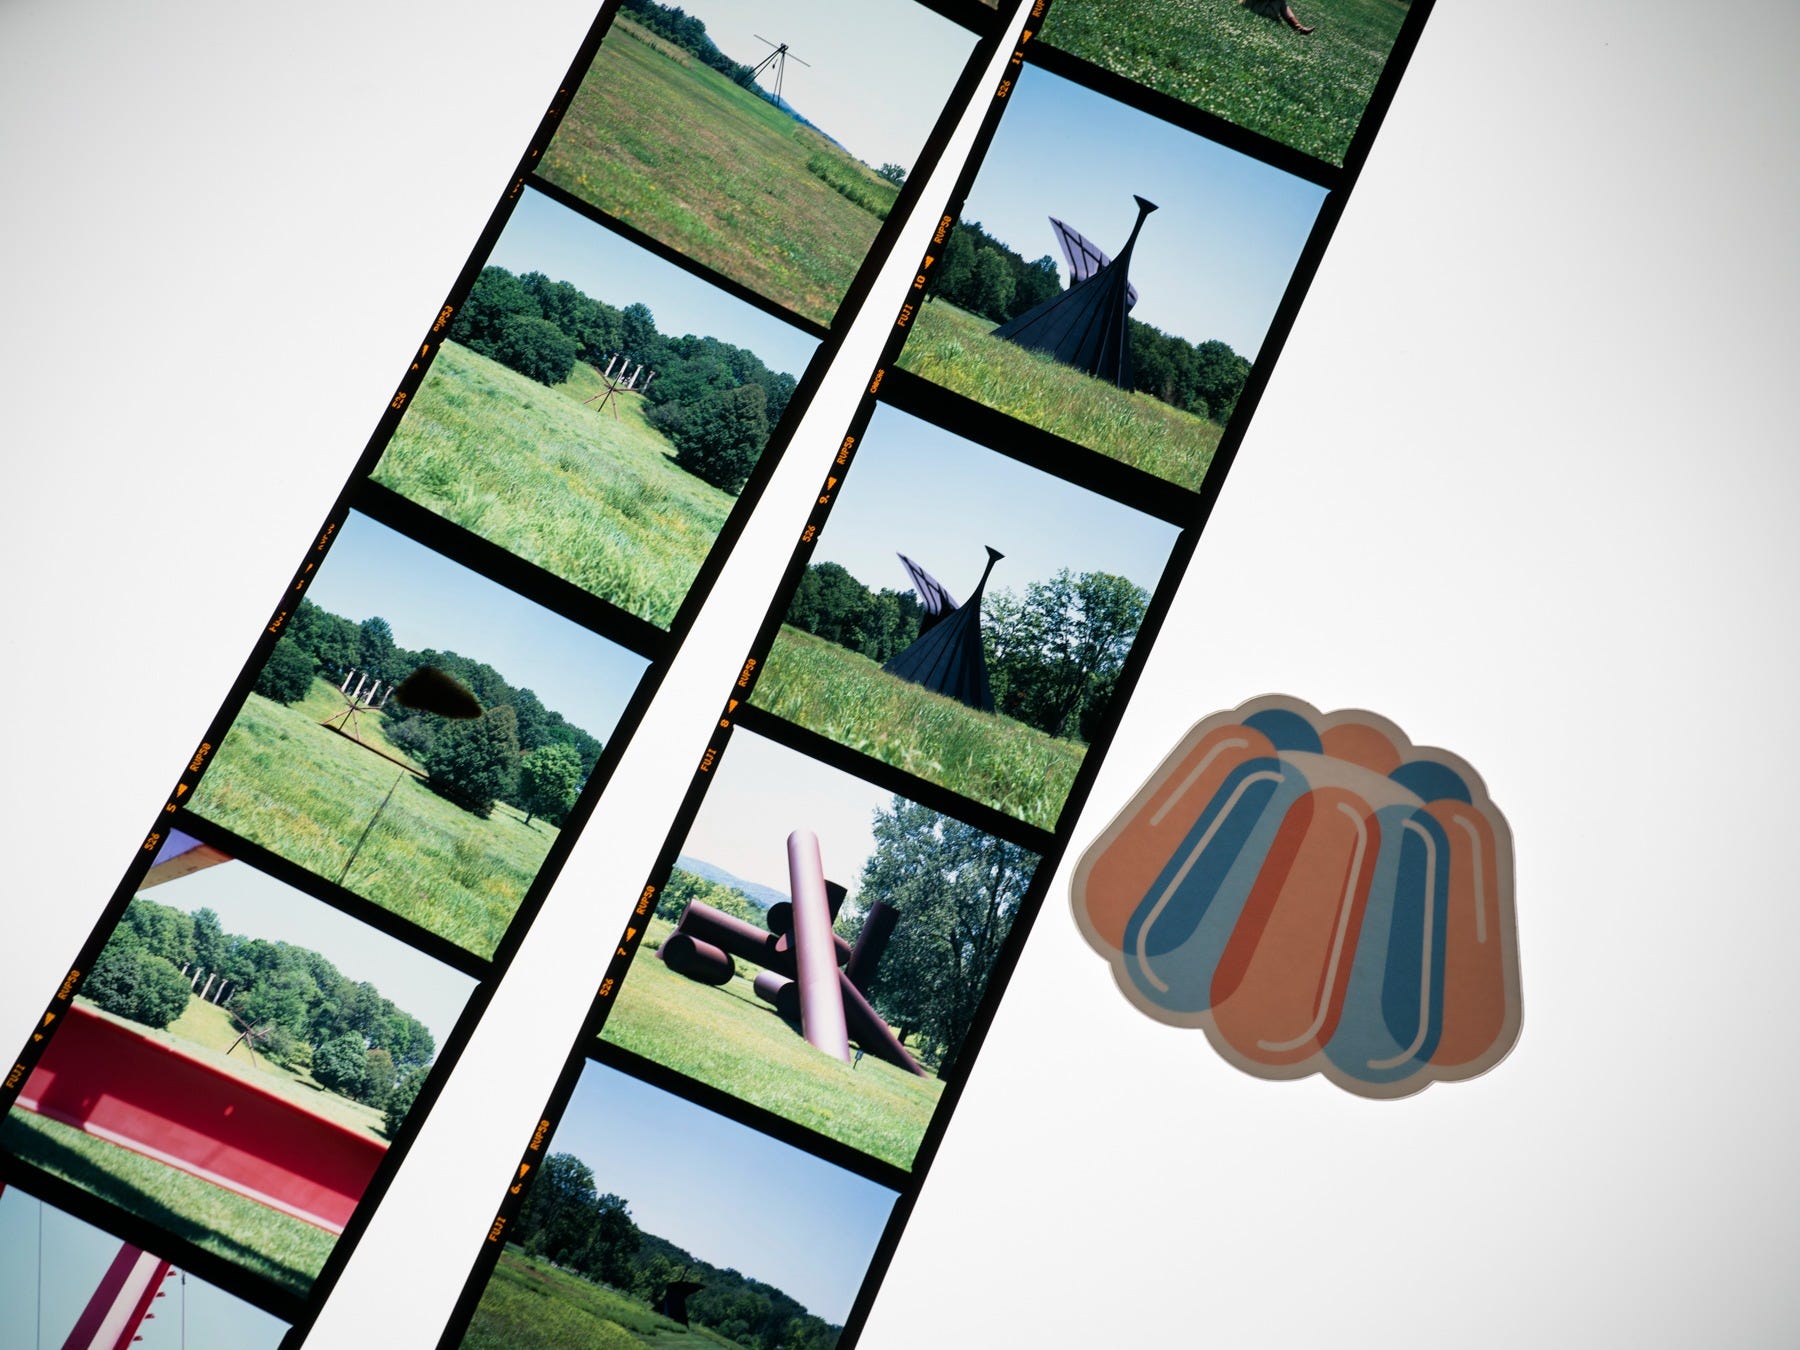
Every photo in this post came out of one bright afternoon at Storm King Art Center, shot on Velvia 50 in a Hasselblad 503CW. The 503CW has no light meter in it. Velvia 50 (a positive film developed in E-6 chemistry) has almost no room for error, something like five stops of range before shadows go deep black or highlights go fully white, and slides don’t leave you much to recover afterward. I metered every frame with a handheld incident meter, and Gelatin Labs developed and scanned it.
That’s the whole post: techniques for dealing with slide film with different light meter types. What follows is why that method works and when it doesn’t.
I hope it helps you understanding light metering better so you can architect your shots just like the artists architected the sculptures in Storm King Arts Center.
Quick thing first, as this might save you some reading: if your camera is a point-and-shoot with no exposure controls, it’s already metering and setting exposure for you the way it was designed to, and probably it does that job well enough most of the time. Go shoot, and enjoy it, and save this post for the moment you start wanting to have more control over your exposure with a manual camera.
Let me start with a fact: film doesn’t give you an instant preview, and why that might be a point of frustration…
Film doesn’t show you anything until it might be too late
With no LCD preview, histogram or capture assistants, every frame is a decision you have to make before you press the shutter button, and you find out whether it worked days later, potentially after spending money for a Lab to develop, we don’t want that to happen, and that’s why metering matters more on film than on digital, hence relying on an external light meter. On digital you can be wrong and fix it. On film, you can be wrong (thinking you’re right), and have a bad surprise after developing.
That’s a problem that might get worse when you shoot slides, because if you can go to places again and redo the shot, the loss is time and money, but if you are taking film shots with bad light metering at a trip, that might be more unforgiving (as probably you might get in a plane again!).
We don’t want that to happen, and we are here to help you prevent it.
Let’s dive deeper into light meters.
The reflective meter is configured against grey targets
There are two types of light meters: reflected ones, and incident ones. This article I wrote dives deeper into that difference: The difference between incident and reflective light meters.
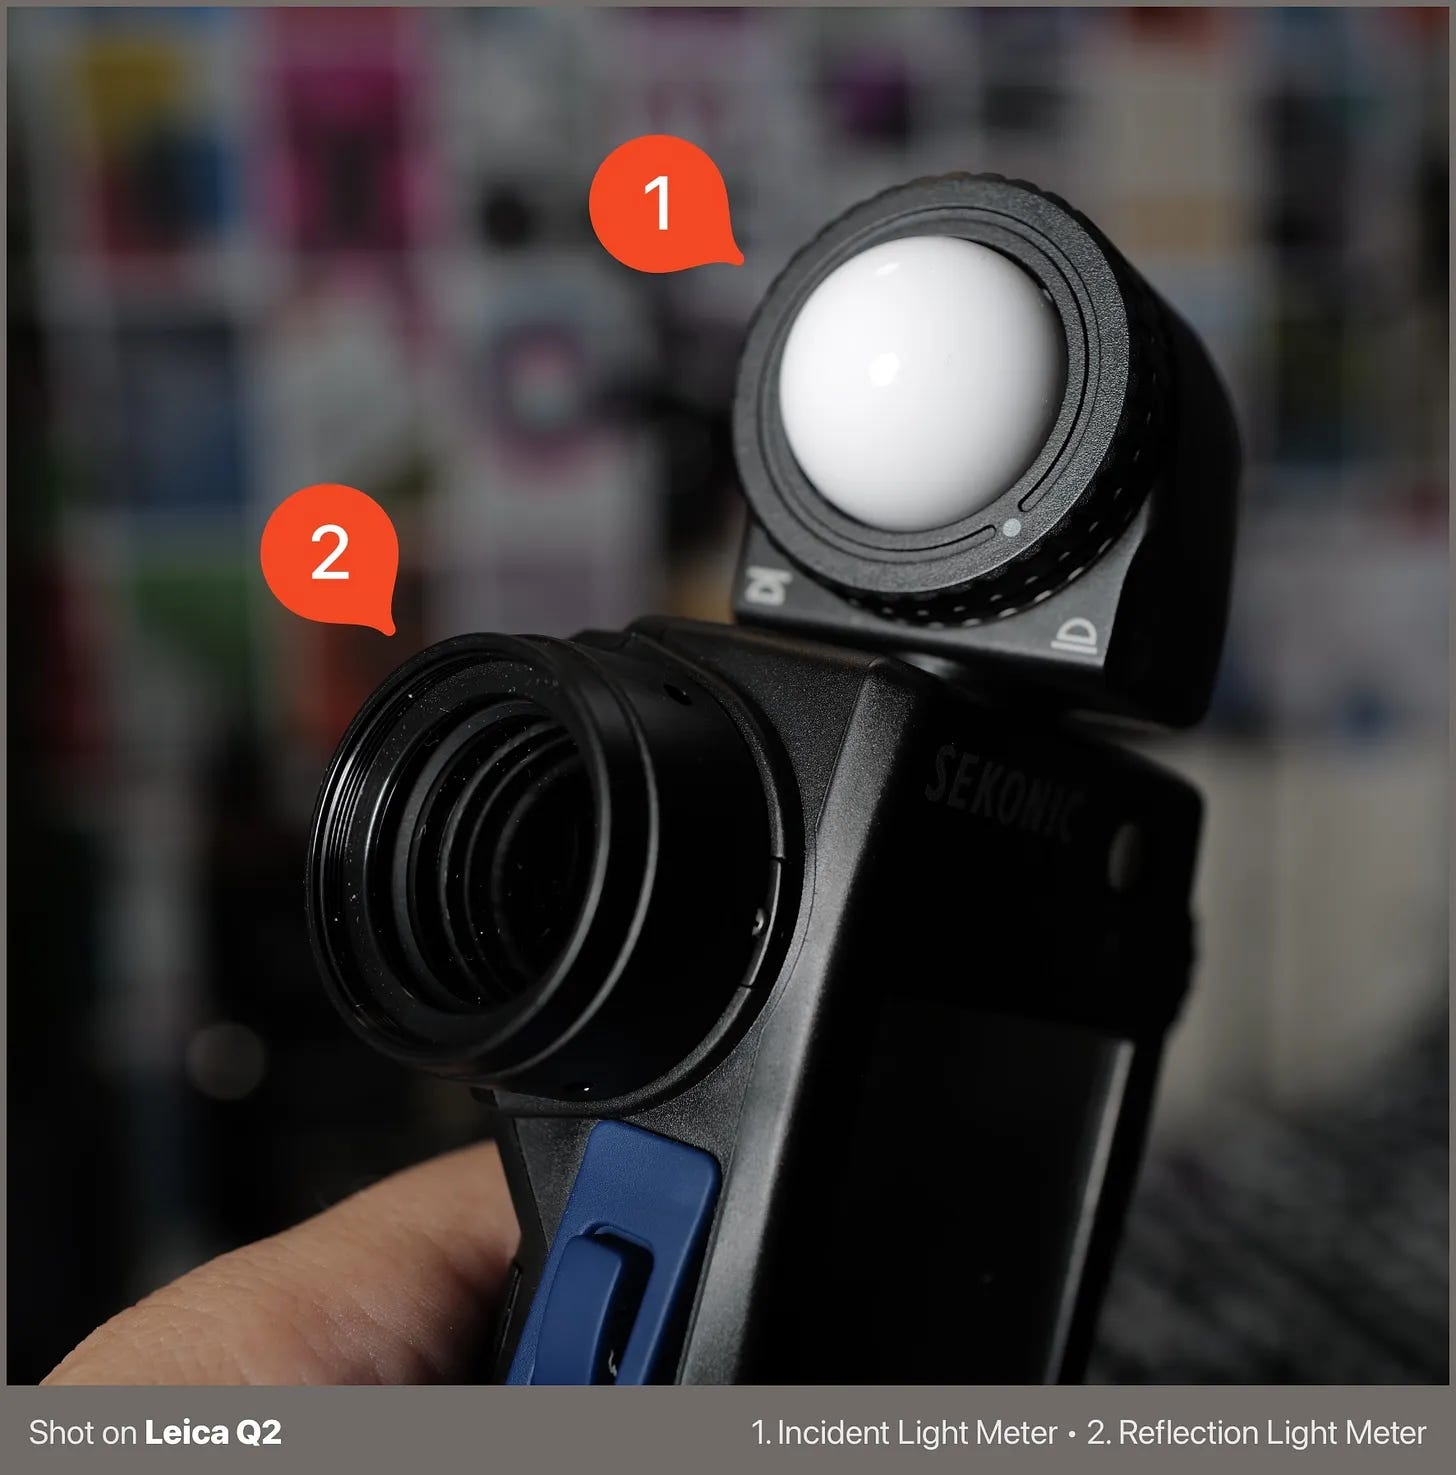
Here are more details about both light meter types: a reflected meter (which is likely the kind built into your camera), measures light bouncing off objects. It has no idea what it’s looking at, and it is factory-calibrated with a 18% grey card in mind, meaning the it averages out to middle grey, around 18% reflectance, and it hands you the exposure that would make whatever it sees land on that value.
Here’s a practical example: if you point it at a white wall (or a white towel, a target you know it’s fully white), it tells you to adjust exposure until the object renders 18% grey. This is easier to see if you eliminate colors and shoot b&w: the white target will literally look grey.
Point it at a dark mousepad, or a dark steel sculpture, and the opposite happens, and the steel goes grey too (at the cost of blowing highlights to a clipping state). That’s because the meter will tell you to either increase the ISO, lower the aperture, or reduce the shutter speed to capture enough of the dark target.
That’s because white targets reflect more light, while dark ones do the opposite. The reflective light meters are configured in the factory to measure against something, so they tell you to adjust exposure to match against 18% grey targets.
This is easier to imagine when you convert scenes to black and white, and I invite you to get your digital camera and do some tests and see for yourself. Set the camera to grayscale JPGs and target a white wall with a spot light meter from your camera: you will see that the white wall will look 18% grey.
Test it out and let us know in the comments about your findings!
A textured white wall actually sits about two stops brighter than middle grey. That’s where it belongs in the picture. Deep shadow sits a couple of stops the other way, and that’s where it belongs. A reflected meter flattens both toward the middle unless you know how far to push back, and knowing how far to push back is a skill you have to train your eyeballs and build experience over time.
There are techniques to measure multiple points in the same exposure, like highlights, shadows, middle points, and calculate averages. If you want to dive deeper into this, check out the zone system, co-created by no one else than Ansel Adams and Fred Archer ,two of the biggest names in landscape photography in History!
But back to our scenario, the thing is that sometimes, an incident light meter might be just simpler to use, because…
It allows you to measure the light, not the objects!
Incident meters are these ones with a white dome on it, rather than using from the camera viewport, you stand where your subject is, point the dome back toward the camera, and it reads the light falling on the scene, not the light reflecting from objects in that scene. It doesn’t care whether your subject is white, black, or weathered steel, and that’s where the name comes from.
What comes back is the exposure for the light itself. Incident meters will make the white wall land two stops up, where it belongs, while making the shadow land down where it also belongs. Shadows stay shadows, highlights stay highlights, and the relationships between tones in the scene survive onto the film.
That’s key for correct exposures, especially if you are shooting slide film, which is less forgiving with exposure mistakes. I love using incident light meter for landscapes because…
It removes a decision, reducing stress
While spot metering is powerful, and it’s what most people recommend for careful work, especially if you have a spot meter capable of measuring with a precision of 1 degree (in other words: really really a spot), it arrives with a question attached: “Where do I point it?”
Meter the highlight, meter the shadow, split the difference, place it on a zone. As I wrote before, that’s a real skill, it takes practice, and it’s one more thing to get wrong while the light is moving.
An incident meter removes the question. There’s nowhere to aim. You put it in the light and press the button, and as long as you are sharing the same light condition, you are fine (and this is important - “share the same light condition”).
Note that I’m not arguing spot metering is worse! For scenes where you can’t reach your subject it’s the only honest option, and it deserves its own post, with Ansel Adams and the zone system and all of it.
For what I was doing at Storm King, multiple spot measurements would have gotten me to roughly the same numbers, but with more steps, more measurements, under 100F on a Summer day.
Why this works for landscapes
The catch is simple. Incident metering only works when the light falling on you is the same light falling on your subject.
At Storm King (and most outdoor shoots, like photowalks) that was true. I was standing in the same open sun as the sculptures, a few steps away from most of them. Same sky, same Sun (hopefully, lol), same everything.
Something I like about the incident metering on sunny days is the fact that I can “set and forget”...
But there is a caveat: if I stay under a tree, while the thing I’m photographing sits in full sun, the incident meter tricks me. Same problem if a cloud passes over me and not over the subject. When I can’t share the light, this method doesn’t apply, and there’s no other solution than reverting to spot metering or walking towards the object to measure incoming light in there.
The “set and forget” and its caveat will also improve the attention I pay to the sky, and consequentially, to the light around myself.
You take a reading, set the camera, and that setting holds, but only until the light condition changes. So, instead of metering every frame, you start watching for the thing that would invalidate your reading. A cloud rolls in. You step into shade. The sun drops behind the hill. Then you meter again. The EV values will differ. You start noticing where the sun sits relative to your subject, which is something you should be noticing anyway, I believe this will make you more familiar with the light, hence making you a better photographer.
In an ideal world you’d meter every shot. In practice, if the sun is high and nothing around you has changed, the reading from three frames ago is still good.
If you don’t have a meter at all
Sunny 16 and cellphone spot light meters are my default fallback, and it’s worth mentioning.
Bright sun, no clouds. Set your aperture to f/16 and your shutter speed to the reciprocal of your film speed. ISO 100 film means 1/100, or whatever your camera has closest to it. From there you open up as the light drops. Light overcast, f/11. Overcast, f/8. Heavy overcast, f/5.6. Open shade, f/4.
It’s rough, and it’ll get you within a stop, which is fine on negative film, but risky on slides. Think of it as what you use when the battery dies.
That’s why I wanted to shoot slides to illustrate this post ;)
How it came out
Box speed, ISO 50, no adjustment. The exposures landed where I wanted them. A few shadows went deep, which is what Velvia does under hard sun, and I’m fine with that. Deep shadow reading as deep shadow is the correct answer. The colors held, the highlights on the lighter pieces didn’t blow out, and I didn’t lose a frame.
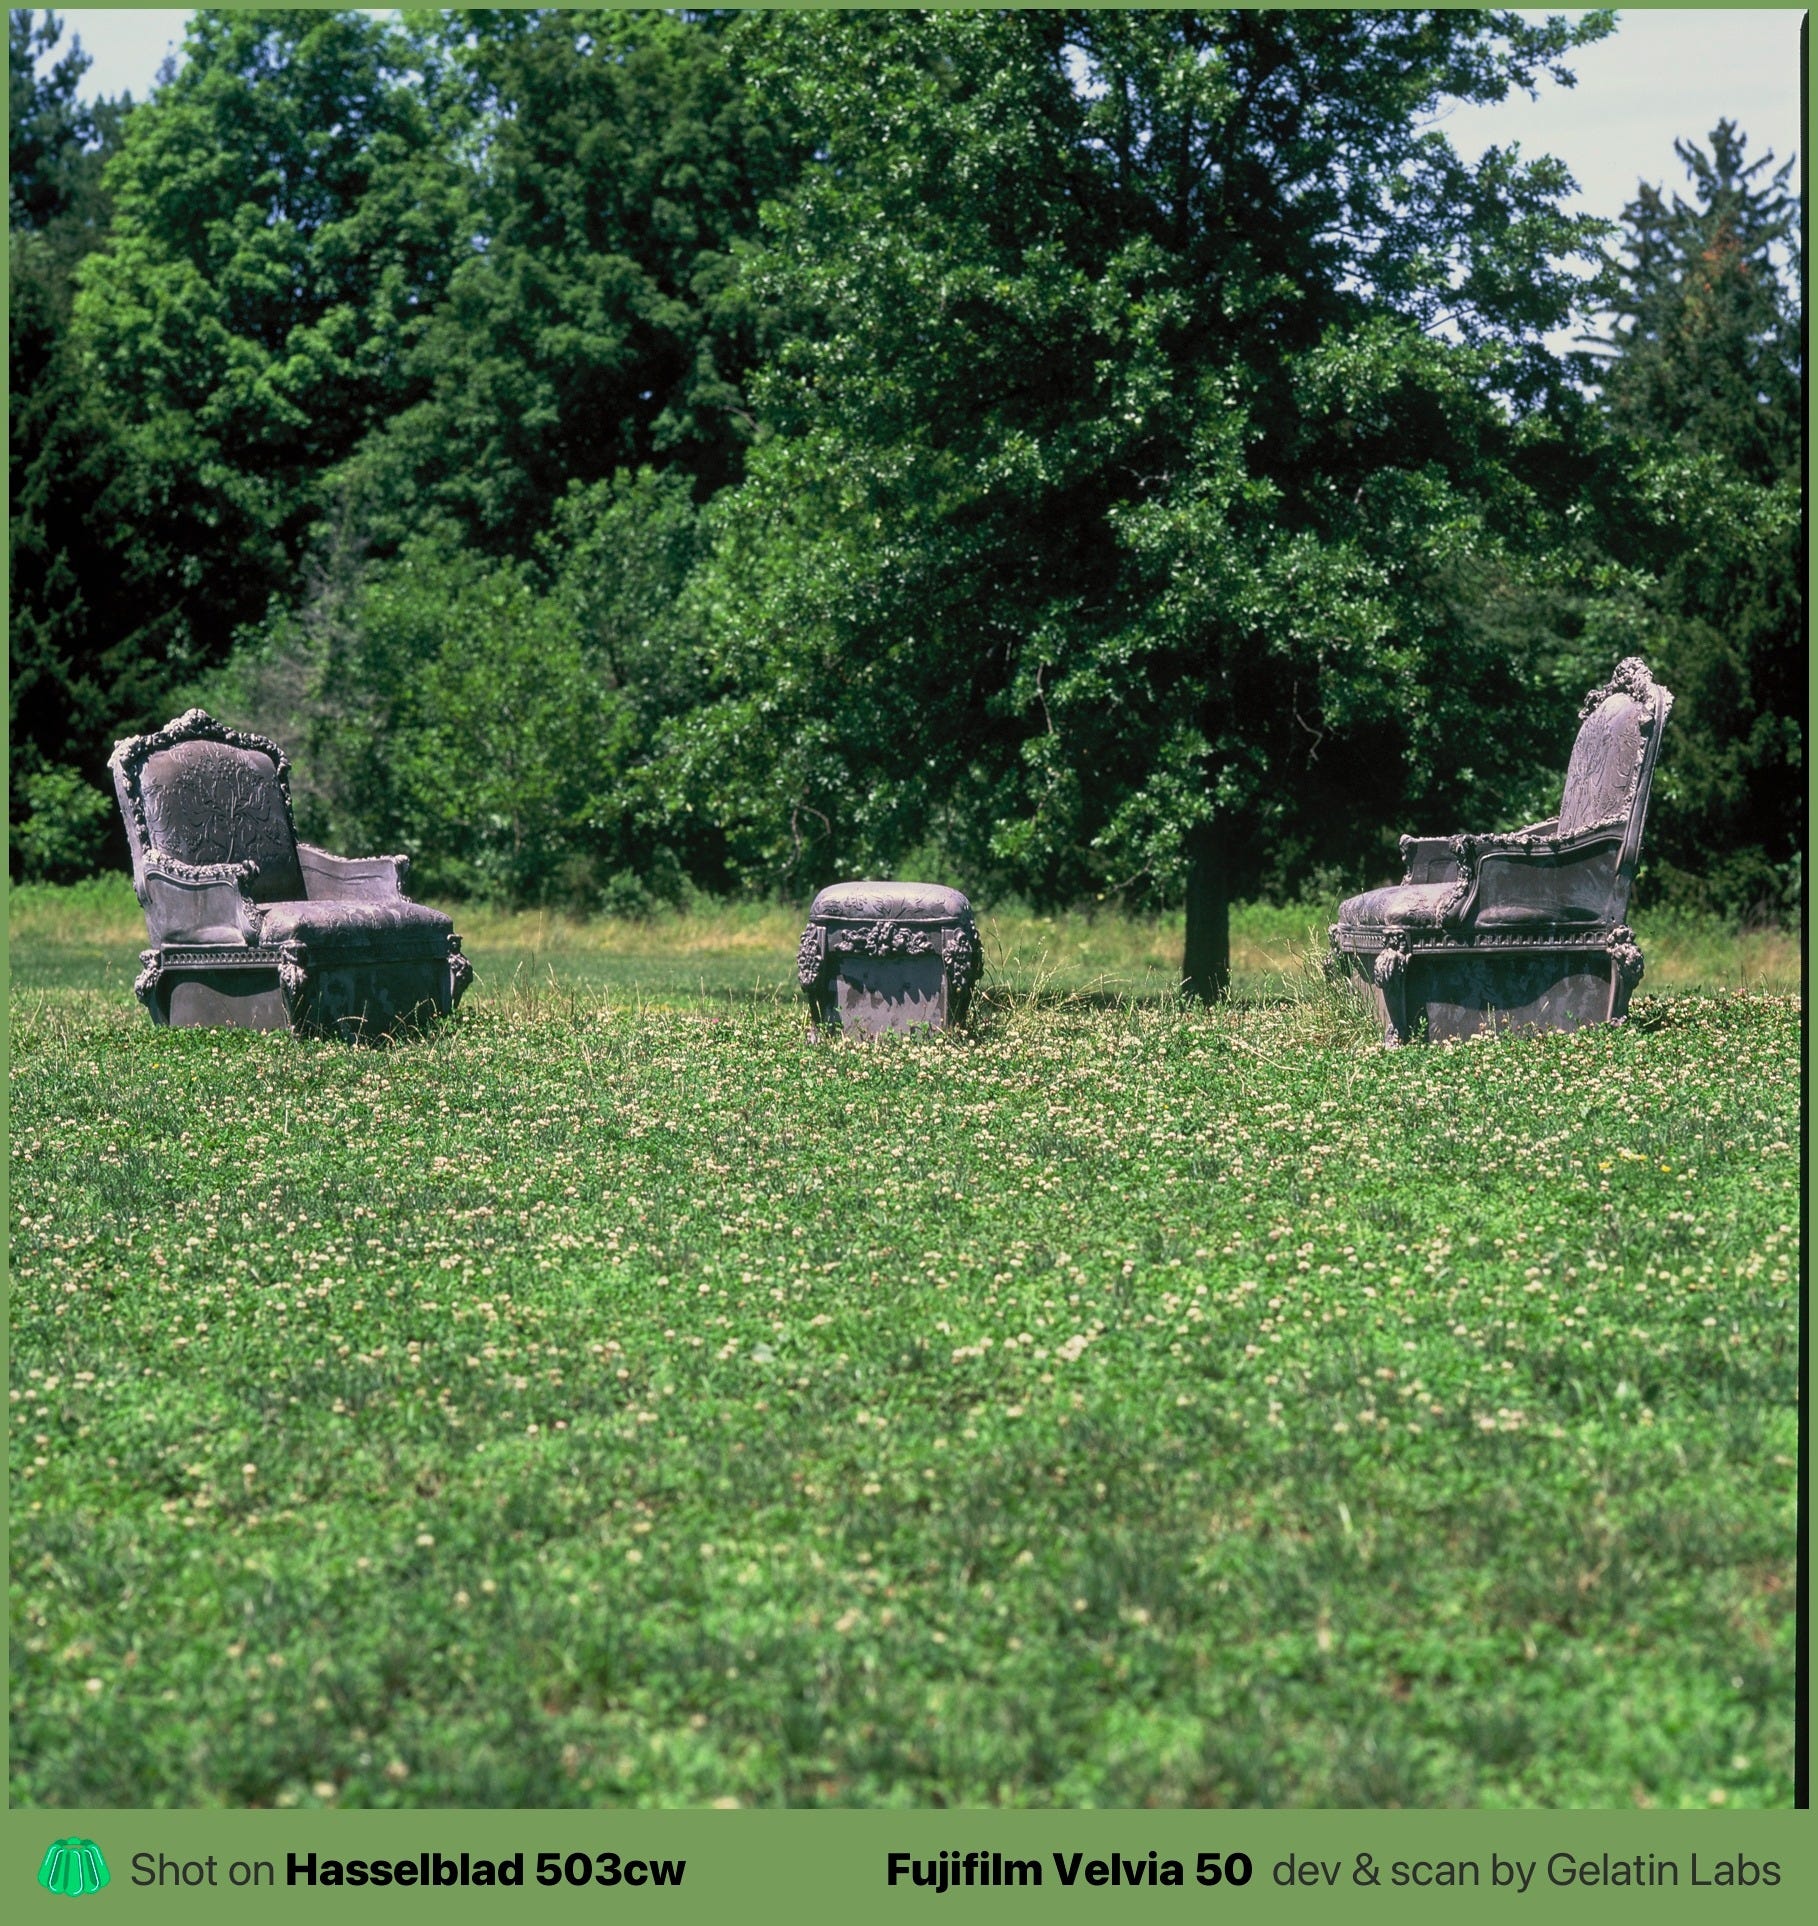
I am happy that nothing went wrong and every single frame on my expensive and unexpired Velvia 50 got nicely performed. Proudly developed and scanned by Gelatin Labs, making every penny invested on that film stock worth it!
So, do you need an incident light meter?
If your camera meters for you and you like your photos, no. Genuinely, no.
If you’re shooting a fully manual body, or slide film, or you keep getting scans back where the exposures wander around for reasons you can’t identify, an incident meter is the smallest change that fixes the most. They start cheap. You’ll use it for years across every camera you own, and when it eventually dies you replace the meter instead of paying to have a camera serviced.
If you are starting with film photography, I recommend starting there. The zone system can wait.

Please consider subscribing to Camera Clara for more articles right in your inbox! Quality over quantity, with the forever love for film photography and its techniques. With a paid subscription, you support an independent creator, get access to all posts, and you can shoot me a DM anytime, we can arrange video calls where I can help you with your photography.
Happy metering, good light and good luck, and thank you for reading so far!

For exterior portraits on medium format RB67, thoughts on best meter. I’ve been looking for a good external and using online apps that definitely weren’t up to the standard I need.
🔥