

STOP EXPOSURE GAMBLING and start training your eyeballs
I ignored what my camera told me to do, and film photography taught me why I was right. Bonus: this post includes a practical exercise to train your eye and help you get there as well.

I used to be a photographer who checked the LCD after every single frame, adjusting settings based on the histogram instead of learning to read the light in front of me.
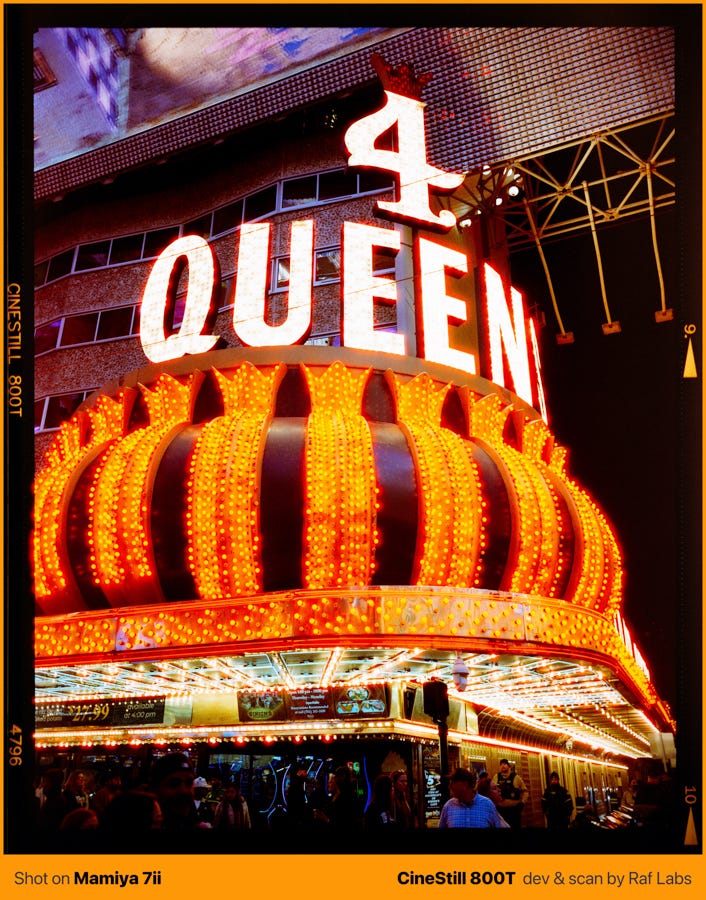
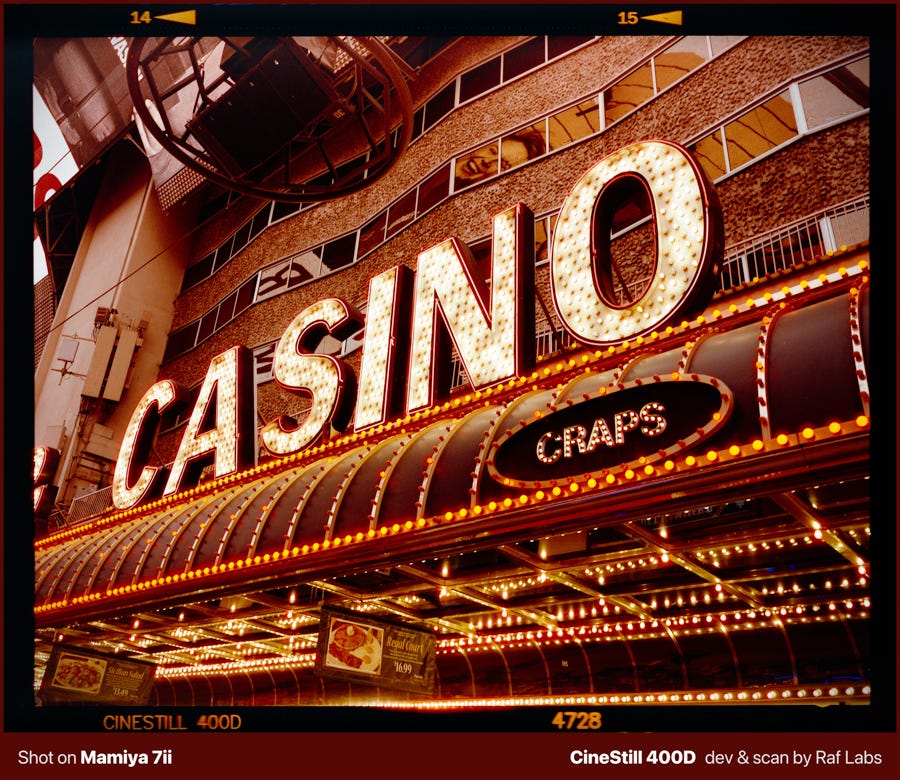
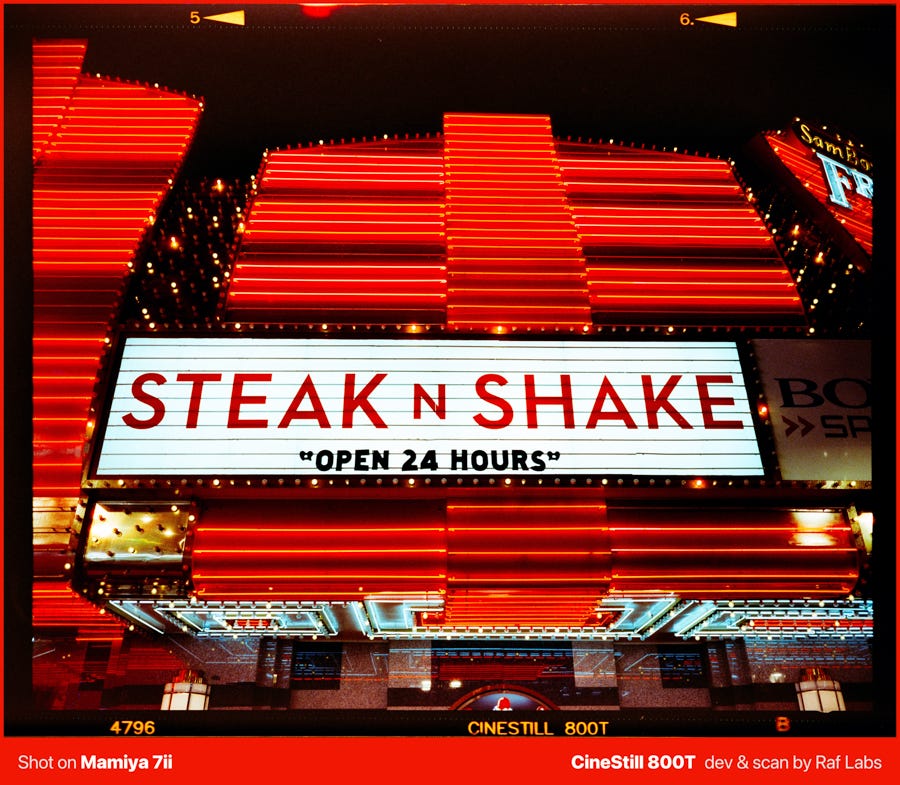
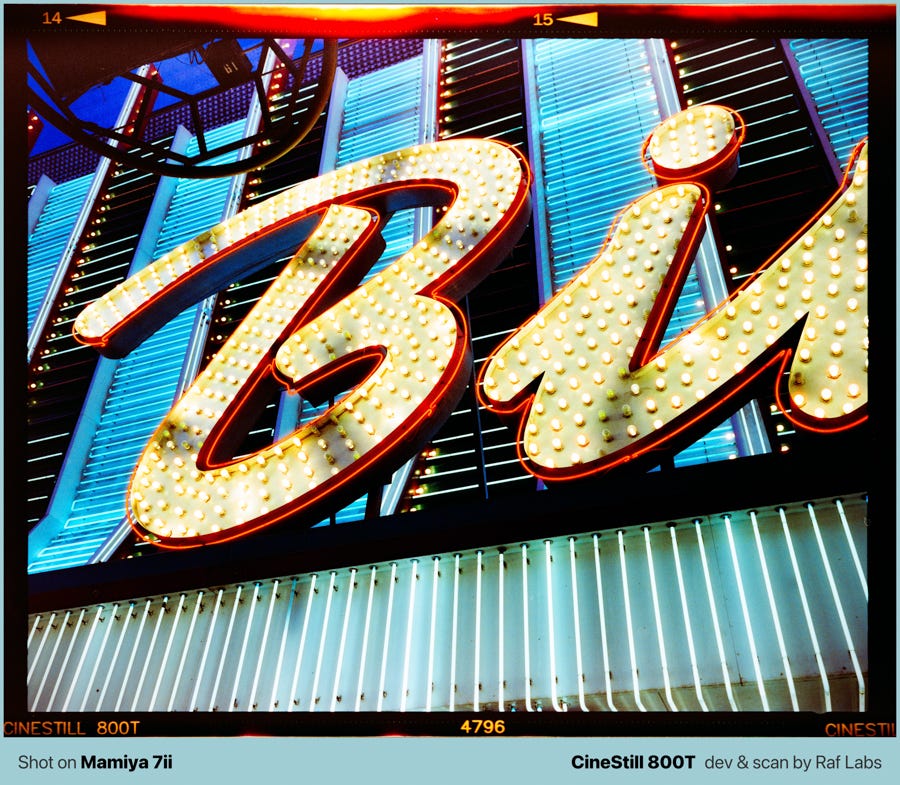
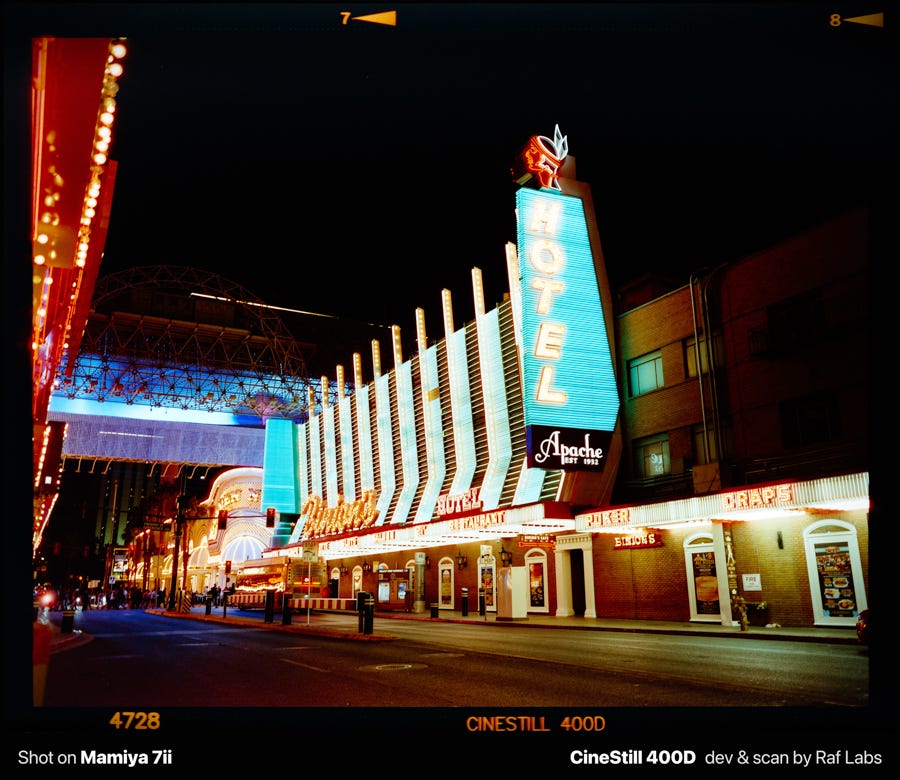
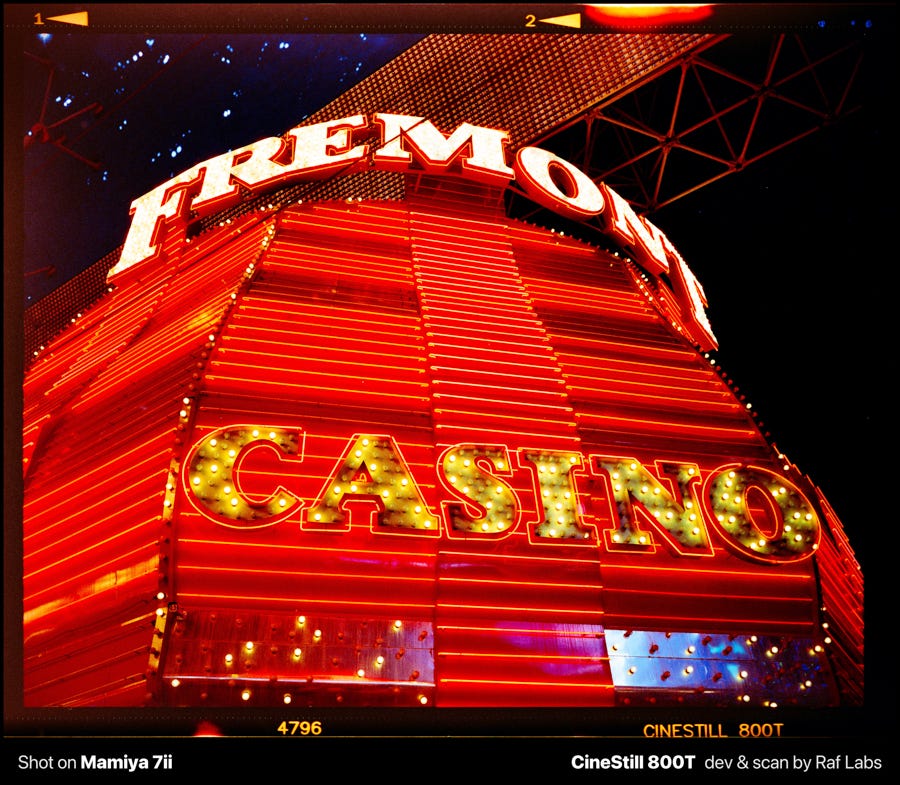
Film broke that habit by removing the option entirely. When I shot two rolls of medium format (6x7 at $1.50 per shot [self-developed!]) at Fremont Street in Las Vegas, I flew home across the country before seeing a single result, and the only thing I could rely on was my ability to read the scene with my eyes, but confident that I did a good job.
In this post, I want to share some insights regarding the importance of training your eye for exposure, scanning/converting your own negatives, and why this practice turns you into a better photographer. I also propose a challenge/exercise if you don't shoot film, so if you're a photographer that only shoots digital, there's good news.
Camera Clara is where I share what I've learned shooting and developing/scanning film at home. Consider subscribing, it's free and you have a bunch of insights about photography, right at your mailbox. There's a bunch of insightful content about everything related to the process of film photography, including shooting, developing, scanning, publishing, printing, etc.

Reading light when your meter can’t help you
The skill came from a simple practice I started years ago: guessing the exposure before checking my meter, then comparing. After months of being off by two or three stops, I started recognizing lighting conditions instinctively. That training paid off at Fremont Street, where my camera’s meter was not trustworthy, as neon signs flash on and off, cycle through patterns, change intensity every few seconds.
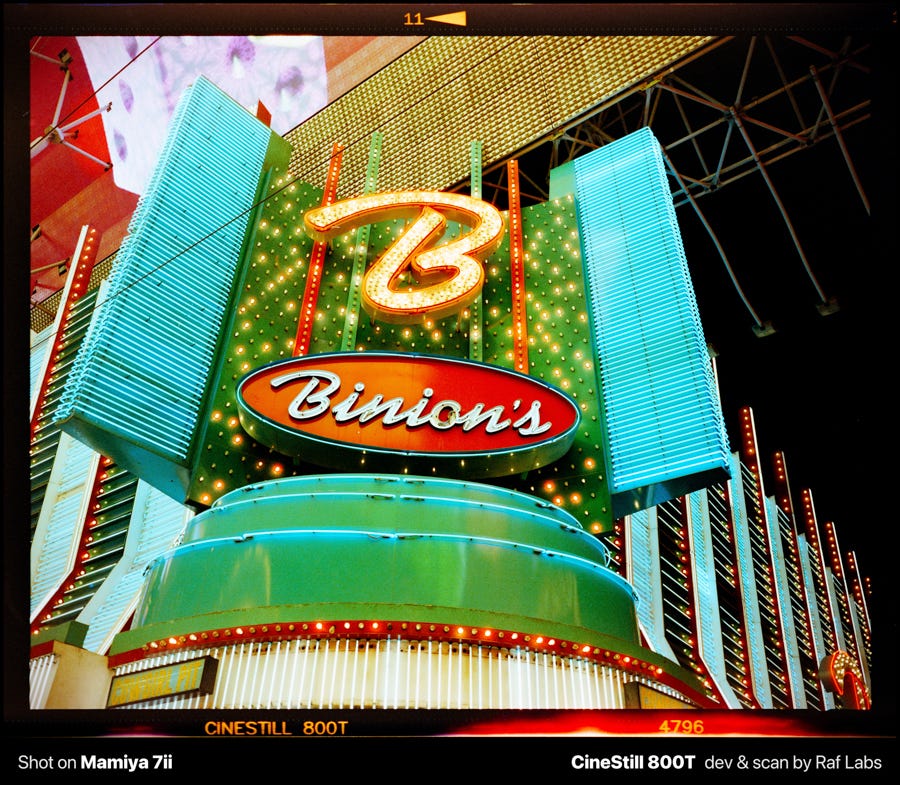
The thing is: any camera meter would give me wildly different readings depending on which sign happened to be bright at that moment.
So I ignored it, used all my “Times Square flashing billboards exposure experience” film gave me, watched the scene for a while to understand its rhythm, and dialed in +1.5 EV based on what my meter was telling me. No test shot, no verification, just a commitment to the decision. I know that CineStill doesn't have the Remjet layer, and over exposing a little bit on film is always welcome.
Film even helps me dealing with my anxiety and accepting/embracing the mistakes to get better, it looks like a suite that counters all the brainrot shitshow observed with the modern lifestyle of social media shit.
Development was done normally, without push or pulling. I also used a warm filter on the lens, which I wouldn't check if it was adding or removing f-stops because the Mamiya doesn't meter TTL.
Scanning actually matters more than developing, or reason #124863 to dev&scan your own photos
Developing your own film gets a lot of attention, but it’s not where the real learning happens to become a better photographer in this context. You can send rolls to a lab and still get great results.
That's because when a lab delivers corrected JPEGs, you’re seeing their interpretation of your image, not what the film actually recorded. If they brightened an underexposed frame or adjusted the color balance, you’ll never know whether you nailed the exposure or got saved by their software corrections.
DNG files and image correction algorithms nowadays are so effective, that you really must screw up bad (or use a Lomo camera, LOL) to have a wrongly-exposed photo, but the point is to have the middle justifying the ends, in other words, taking good photography straight out from camera.
That's how you can tell you are a good real photographer.
My point is that the Lab (although might be great and fabulous) breaks the feedback loop that makes you improve. When I scan and convert myself, I see the direct result of my in-camera decisions, mistakes included. Home development also does add one real advantage: speed. Processing the same day I shoot means the session is still fresh in my head, and I can connect specific frames to the lighting conditions and choices I remember making. Waiting weeks for a lab erases that context.
Notice the film borders, here's why they are important for this exercise
Look at the black borders around the frames from the same roll. The area shows consistent density across all shots, and the CineStill 800T text appears at the same similar orange tone throughout the roll. If I had corrected underexposed frames during conversion, those borders would show varying densities relative to each other, being some darker or more gray than others.
It's important to notice that to see if you got exposure right overall. I always scan showing the full film borders because it’s the only objective reference for whether exposures were consistent from the camera. When a lab crops it out and delivers corrected files, you lose the reference that would give you the ability to verify anything.
You lose the calibration ruler.
Out of twenty frames, fifteen came out exactly as I intended, and the film border proves it. I don't say that due to purism, but as a mechanism to evaluate if your exposure is being taken right from the camera, not from the computer and the ability of exposure sliders saving photos.
A challenge for digital photographers
The good thing about digital cameras is that you can simulate the film experience at no extra cost. Turn off the histogram, resist chimping, and shoot an entire session without checking a single image.
When you first read this, you might think it’s pointless because you could just review and adapt on the fly, I've been there too, but trust me…
There’s something about coming home with an SD card full of blown highlights and muddy shadows that teaches the lesson faster than any real-time correction ever could.
Remove the crutch now, reflect later. Be more deliberate with this process. Check the histogram when you’re editing, but resist the temptation to fix everything with sliders. Instead, take mental notes. What went wrong? What did you misjudge? Memorize what you need to do differently, knowing you can’t go back to that location and reshoot. That constraint is what makes the lesson stick.
Once you master that craft, turn back the in-camera histogram later, and now you're an airplane pilot that can fly on manual mode.
Happy (deliberate) shooting.

Learning to do things the hard way always pays off.