Learning film photography with studio flash through precise light metering
The essential guide to light meters and professional techniques, covering why light meters transform film flash photography, from guesswork to precision.
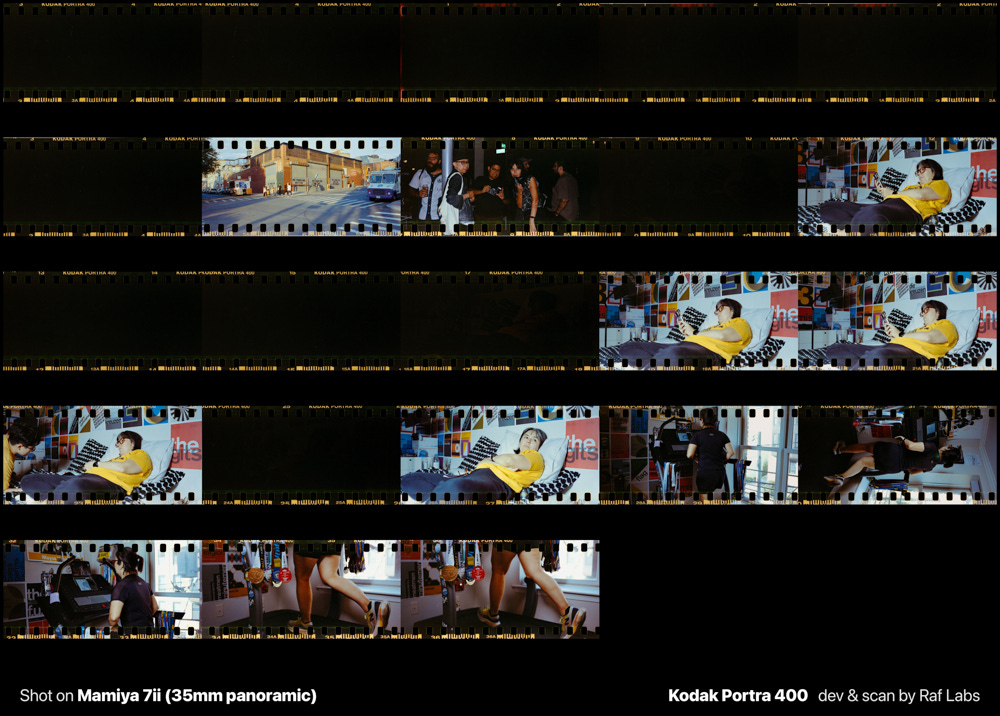
The first time I tried shooting film with studio flash, I trusted my eyes and decades of continuous light experience. Three rolls of film later, I had learned an expensive lesson: flash photography exists in a micro temporal dimension where light assembles and disassembles in milliseconds, creating a reality your eyes never witness. In this post I write about my findings, reflections, things that worked and things that didn't work, along with conclusions and best-practices.
Standing in my studio, staring at those underexposed scenes, I realized something fundamental. Flash photography operates like stepping into a parallel universe where time compresses into thousandths of a second, it's like taking a warp zone back and forth. During that brief moment, an entire lighting scenario plays out while your pupils remain dilated for the ambient room light. You’re essentially blind to the actual event happening in front of you.
As we know, film photography already demands precision because you cannot preview your shot instantly. Add flash to the equation, and you’re working within constraints that would humble any photographer who relies on intuition alone.
Understanding flash theory and mastering measurement tools becomes the difference between creating art and burning money.
So, let's talk about it. In this post I will share some of my experience with flash photography, studio lights, and of course, film. I think it's important to start by talking about light meter types.
Understanding light meter types
Those failed rolls taught me that measuring light requires understanding what you’re actually measuring. I had been thinking about light meters as simple exposure calculators, when they’re actually sophisticated instruments that reveal different aspects of your lighting scenario.
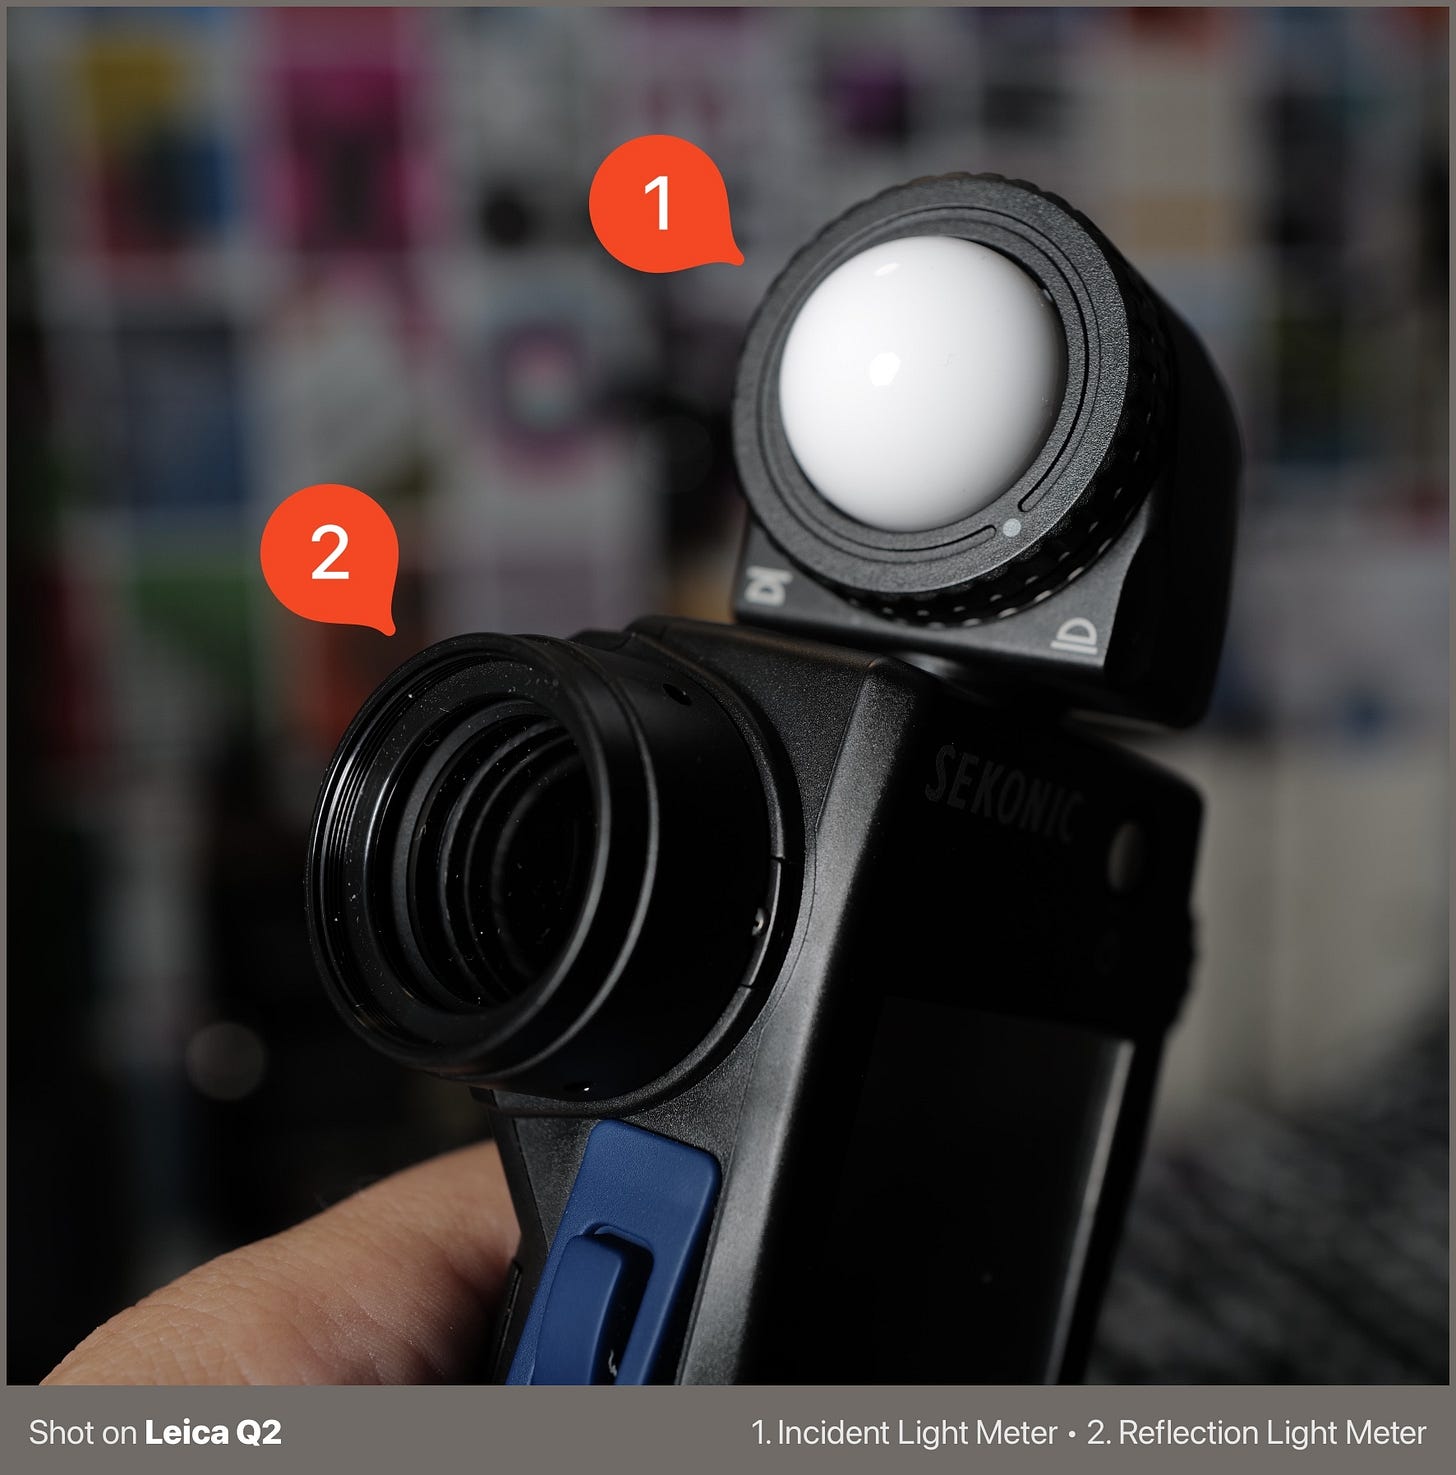
Incident light meters became my primary tool because they measure the light falling onto your subject. When you place the meter at your subject’s position with the white dome pointing toward the camera, you’re capturing the exact illumination that will hit your film plane. This measurement reflects reality rather than interpretation. The incident reading shows you what’s actually happening in that millisecond flash duration.
Reflection light meters tell a different story. These spot meters measure light bouncing off surfaces back toward your camera. Think of them as revealing how surfaces will translate that incident light into tonal values. A white wall and black wall receiving identical incident light will give different reflection readings, because white reflects more light than black. The spot meter predicts this translation, and there's a little scope you put your eye on to see through. A good spot meter has an angle of 1 degree, which is the case in the L858-D.
The million dollar question is: when to use one versus the other? Believe it or not, I asked this to many people (super knowledgeable in photography for decades), and they kept saying “well, incident light measures light that falls on a subject, and reflection light meters measure light that gets reflected!”.
Really? That’s a lame answer. After studying and investigating, I realized how both of these types of measurement can be used together, which I will reveal in the rest of this post.
The Sekonic L858-D combines both measurement types, making it invaluable for complex scenarios. After burning through several rolls learning this lesson the hard way, I discovered that having both measurement capabilities in one device transforms your relationship with studio flash. You can measure the light falling on your subject, then spot meter specific areas to understand exactly how they’ll render.
If you think the L858-D is too much for your budget, you can get a cheaper one, like the Sekonic L308-X.
My favorite technique: mapping light like a topographer
My approach evolved from those early failures into something resembling topographical surveying. I start with incident meter readings to establish what I call the “exposure anchor point.”
Positioning the light meter at the subject location with the dome facing the camera gives me the foundation reading. This is my first step, and it becomes my middle EV reference.
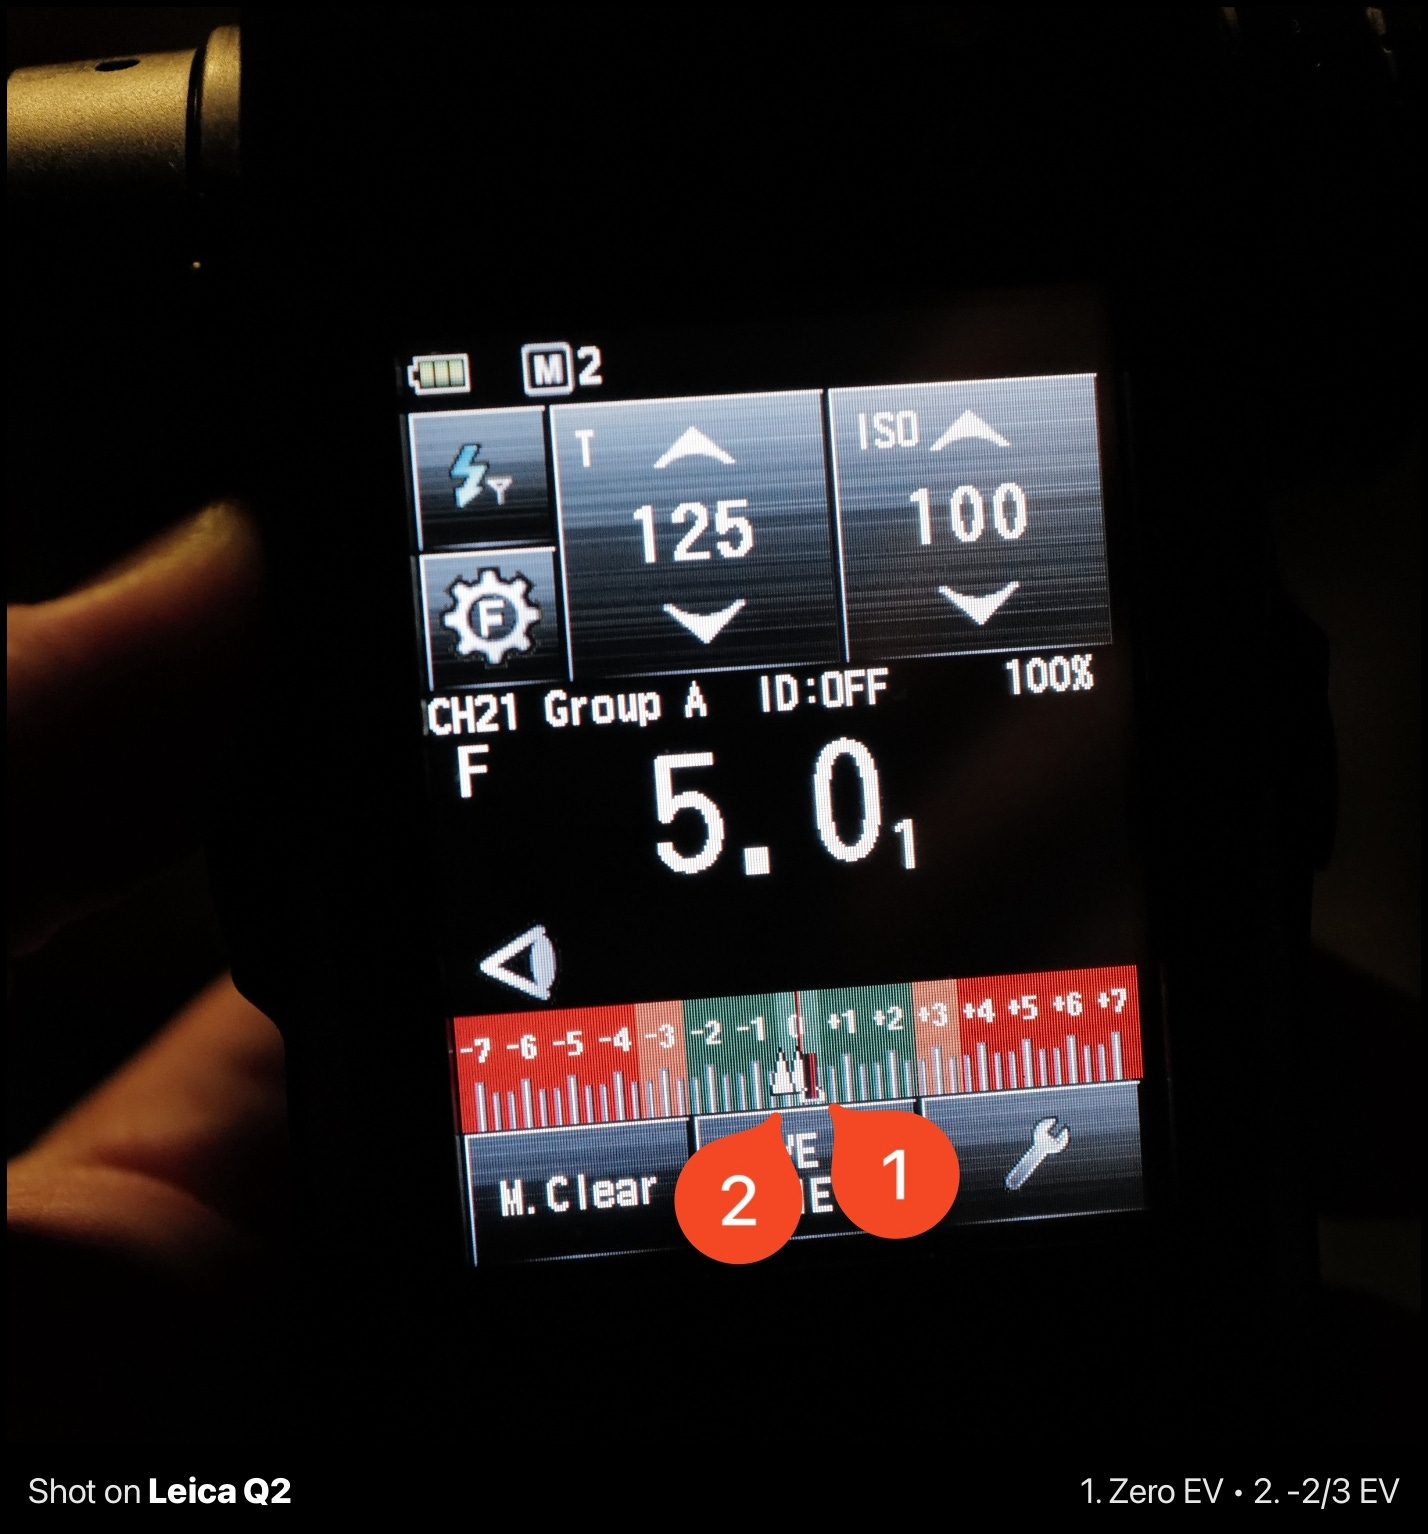
Then I become a light archaeologist, moving around the scene and taking additional incident measurements at different positions. These readings create a map across the EV (Exposure Value) scale, revealing the complete tonal landscape before any film gets exposed (=money spent). The EV scale becomes my prediction tool, showing exactly where highlights and shadows will fall.
The black points (where detail disappears into shadow) and white points (where highlights blow out) become predictable coordinates on your tonal map. This knowledge transforms you from someone hoping for good results into someone who knows exactly what will happen.
Background lighting
Colored gels taught me another expensive lesson about flash photography’s hidden complexity. During my second attempt working with studio flash, I spent an entire afternoon setting up a portrait with different gel colors on my background light, I also tried different modifiers for the gel alone, where speedlights provide a more harsh and direct light, and different lamps make it more uniform. There's no better here, there's just the wrong thing, which would be potentially bouncing the flash into the ceiling: a classic rookie mistake.
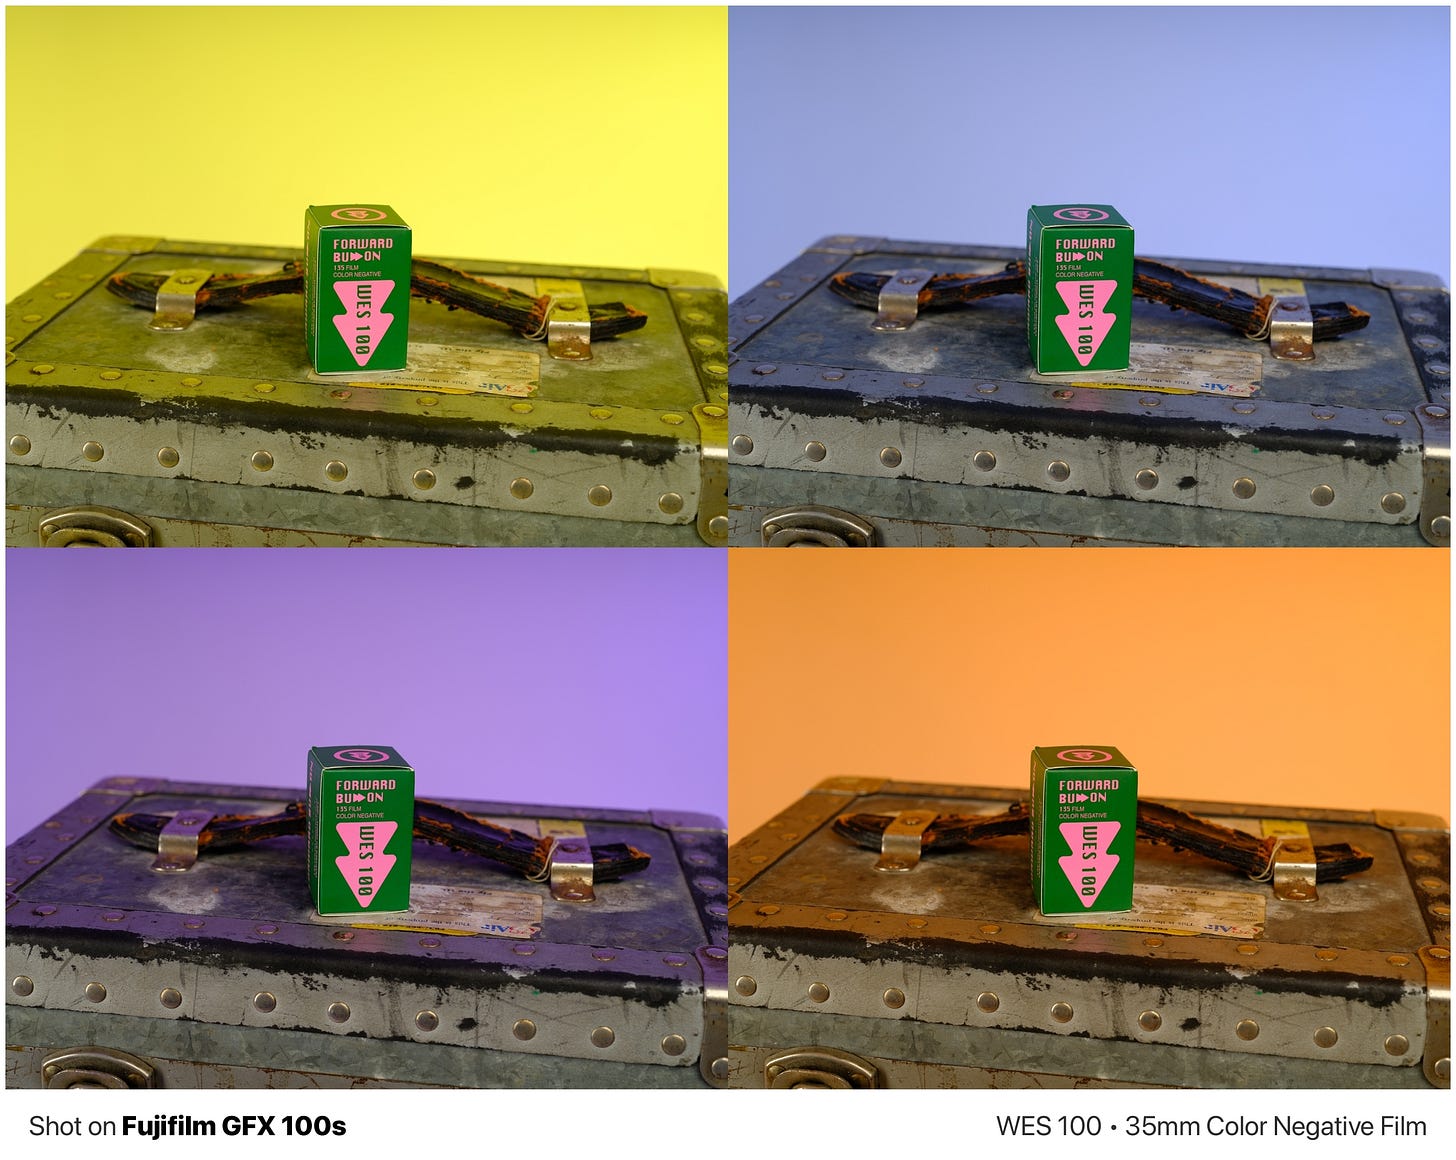
The problem reveals itself when you understand how gels interact with light intensity. Gels work by filtering specific wavelengths, allowing others to pass through. When background illumination exceeds proper levels, you’re essentially overwhelming the gel’s filtering capacity. The result: your carefully chosen color washes out into an overexposed mess - light meter to the rescue.
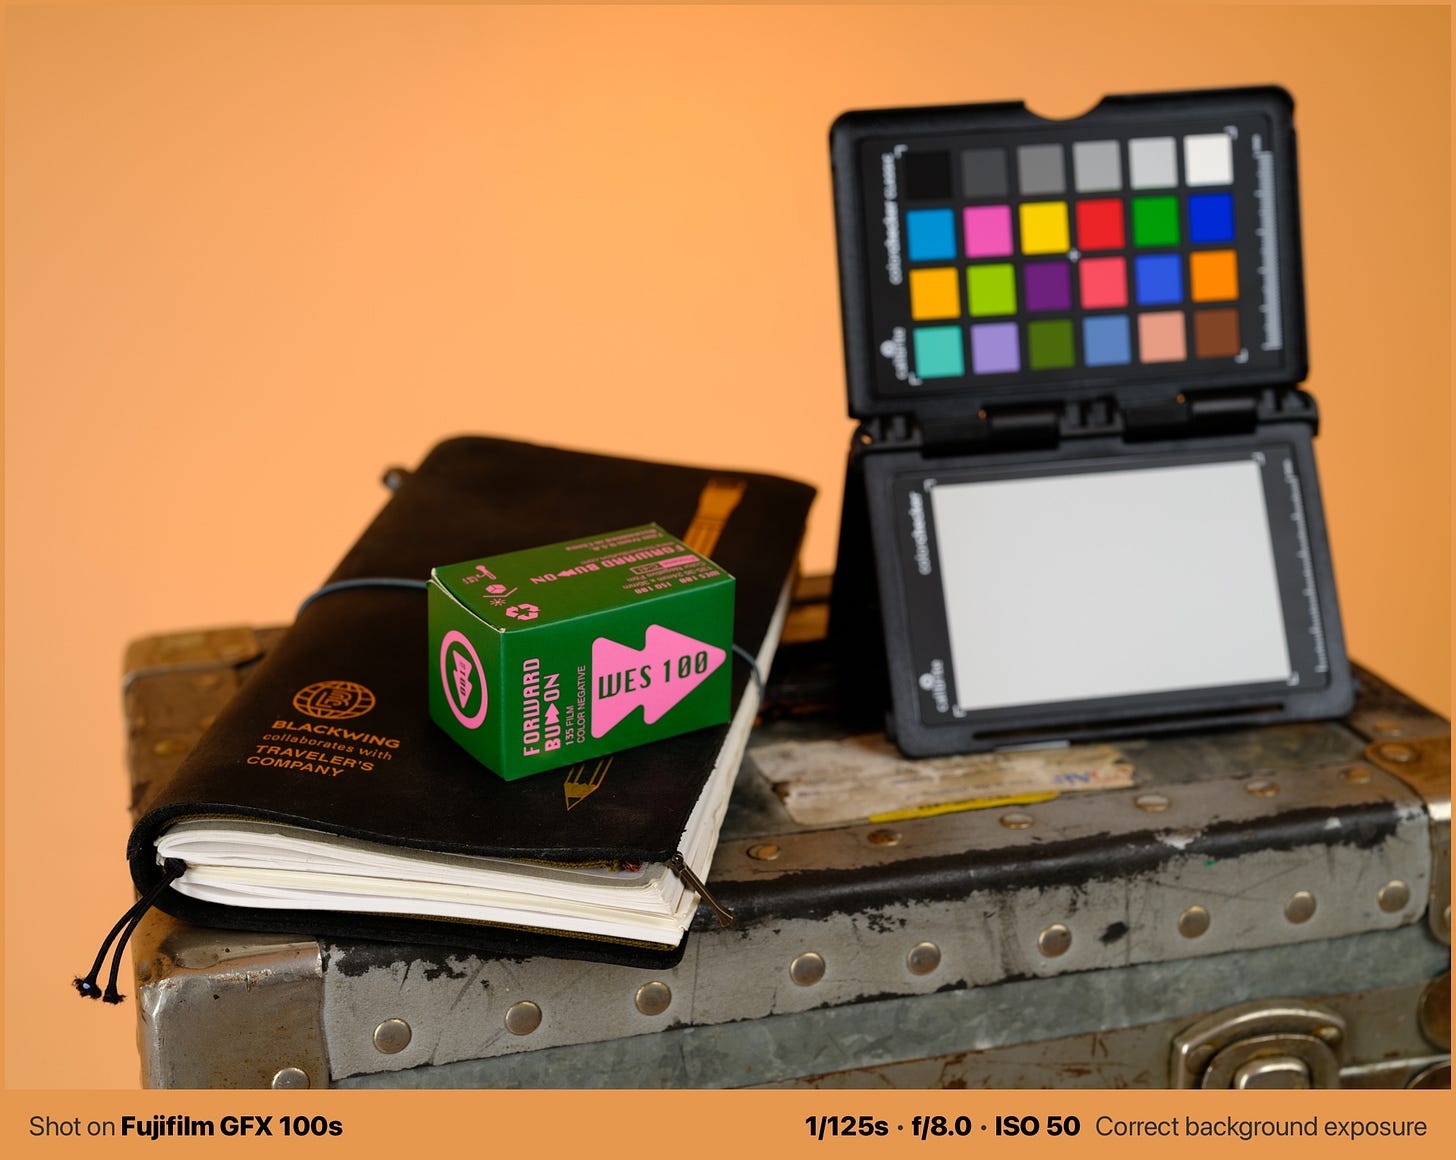
Now I use the spot meter function religiously to measure gel illumination directly on the background wall. The Sekonic L858-D spot meter provides precise readings from the camera position, showing me exactly how bright that background will appear in the final image. Based on these measurements, I adjust the flash distance and power output to maintain color saturation, resulting in the correct exposure on the background.
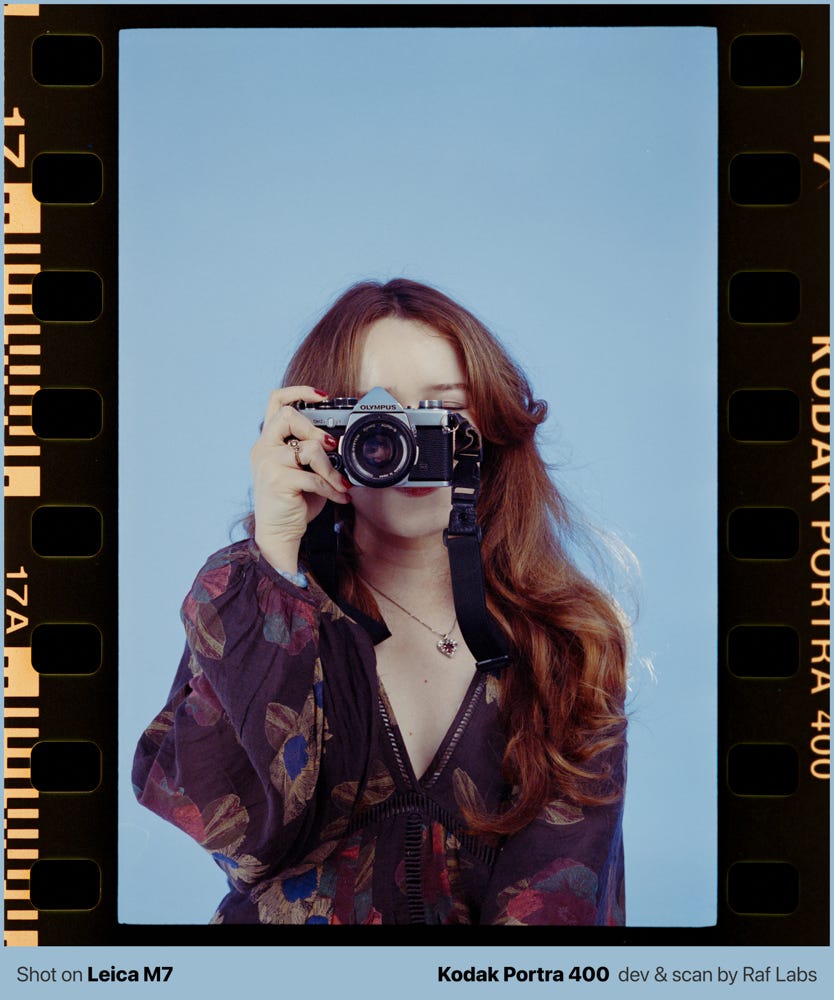
This approach prevents “color contamination,” where your intended mood gets destroyed by technical oversight. The spot meter reveals the truth that your eyes cannot see during that millisecond flash duration.
Digital preview: a dangerous crutch
Occasionally, I still use a digital camera for quick previews, though I’ve learned to treat this tool with caution. Digital preview can become addictive, replacing the methodical measurement approach that actually builds expertise. When you rely too heavily on digital feedback, you’re essentially training yourself to remain dependent on instant gratification rather than developing real understanding. This will make you lazy and less deliberate, turning yourself into an easy target for AI replacement.
The goal remains building expertise in light measurement and prediction. Digital preview serves only as backup confirmation before spending film (=money), and should never be used as primary guidance. Each time you take a measurement instead of a test shot, you’re training your brain to understand light behavior at a deeper level by looking to numbers rather than images.
Put your money in the light meter (farewell, Profoto)
After burning through countless rolls while learning these lessons, I’ve reached a controversial conclusion: a quality light meter matters more than expensive lighting equipment. The Sekonic L858-D represents what I consider the Ferrari of light meters, earning this reputation through its built-in radio capability that lets me trigger and measure flash simultaneously.
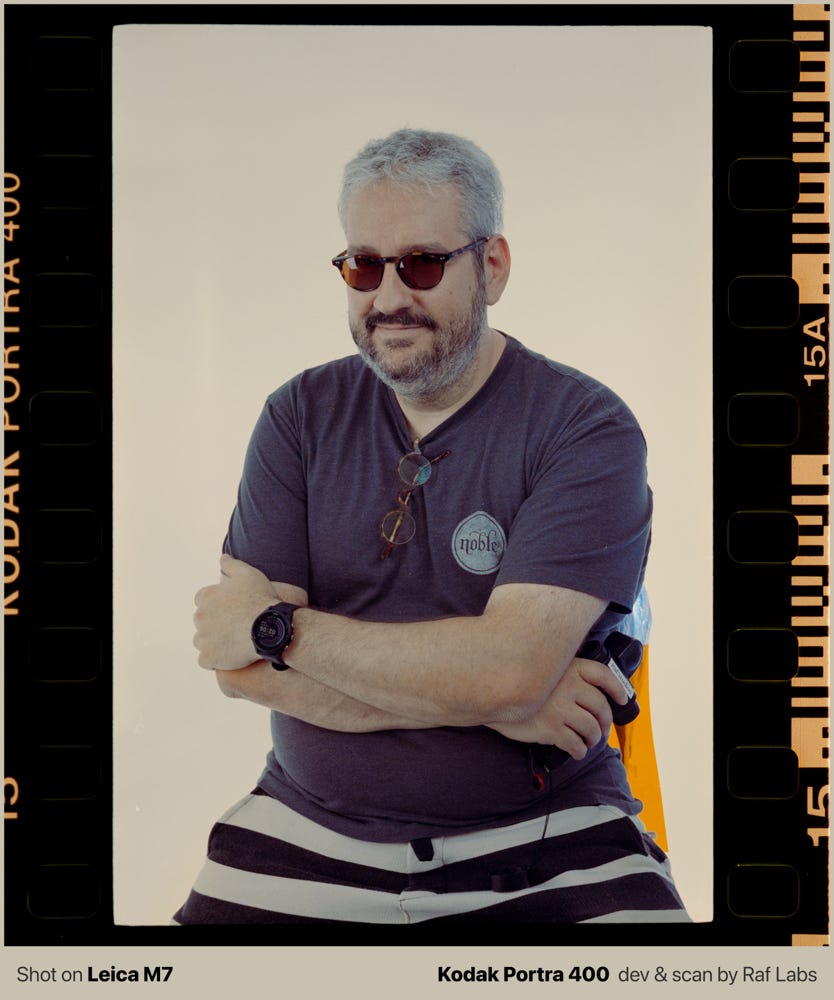
The radio transmitter integration makes the L858-D expensive, around $750 in total, yet this investment transforms your entire workflow. However, the principle applies regardless of your specific meter model. Any reliable incident/spot meter will improve your results dramatically compared to guessing.
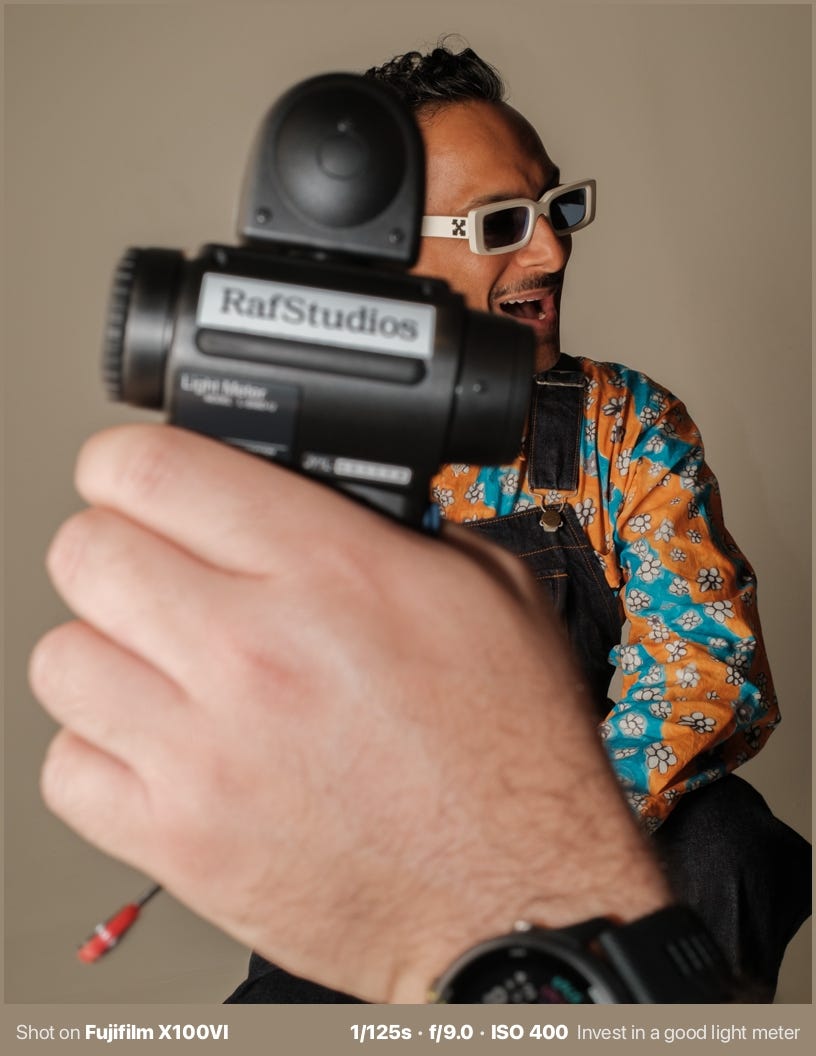
Here’s what I’ve learned: photographers often invest thousands in lights and modifiers while neglecting the one tool that actually controls their results. The meter is your portal with that micro temporal dimension where flash photography actually happens.
Godox vs Profoto: the great studio revolution (and a little bit of a rant)
The Profoto versus Godox debate reveals something interesting about our industry’s relationship with prestige versus practicality. Profoto maintains its position as the premium flash manufacturer, and their reputation is earned. Their strobes deliver consistent output across multiple shots, and build quality justifies professional trust. Working with Profoto gear feels like driving a luxury car where everything operates smoothly and predictably.
However, Profoto pricing reflects this premium positioning in ways that can seem almost punitive. Simple modifiers cost $500 or more, and compatibility remains limited to Profoto accessories only. If you agree with selling your car to buy studio lights, you’re essentially buying into a closed ecosystem that demands ongoing investment in proprietary components. Not very advantageous.
Not to mention their $400 radio trasmitter. Ridiculous.
Godox disrupted this dynamic by focusing on practical advantages rather than prestige marketing. Godox equipment performs reliably at a fraction of Profoto costs. More importantly, their partnership with Sekonic demonstrates serious professional ambitions.
This collaboration signals that Godox is aiming to target high-level photographers who understand the importance of measurement precision.
The market shift toward Godox reflects a broader change in professional photography. Younger professionals often choose Godox for economic reasons without sacrificing quality, while established photographers sometimes maintain Profoto systems because they’ve already invested heavily in the ecosystem.
My personal take: Godox dominance stems from solving real problems rather than selling status symbols. Affordability, simplicity, and cross-brand compatibility matter more than brand prestige when you’re focused on creating images rather than impressing clients with equipment.
(says the despicable and arrogant guy with multiple Leica shit, haha).
The light I used for the images you see in this post is the Godox AD 200Pro II.
Guide numbers: the hidden truth about flash power
When I first started buying flash equipment, I made the same mistake most photographers make: focusing on wattage ratings. Power consumption measurements (watts) indicate electrical draw, which may bear little relationship to actual light output. Learning this distinction saved me from several expensive purchasing mistakes.
Think about the LED versus tungsten bulb revolution in your home lighting. LEDs produce dramatically more light per watt because they convert electricity efficiently into photons. Tungsten bulbs waste significant energy generating heat, reducing actual light output per watt consumed. Flash heads operate under similar principles - circuit efficiency determines how much electrical power converts into usable light.
Candela provides the measurement standard we actually need. This term derives from Latin “candle,” measuring brightness in specific directions. A standard candle produces approximately one candela of luminous intensity. Guide numbers build on this foundation, providing standardized measurements based on actual light output rather than electrical consumption.
Understanding guide numbers lets you make meaningful equipment comparisons. A 400-watt flash head with poor circuit design might produce less light than a 200-watt head with optimized electronics. The guide number reveals this truth immediately. Actually, that's where Profoto wins…
Flash power specifications based on wattage alone function like a magic trick designed to mislead buyers. Guide numbers reveal the actual performance capabilities, helping you make purchasing decisions based on light production rather than marketing specifications.
The ultimate lesson is about shooting the invisible
Working with film and flash has taught me something profound about photography itself. We spend so much time focused on visible elements like composition, subject matter and styling, that we often forget photography is fundamentally about capturing something invisible: the behavior of light during a specific moment in time.
Flash photography forces you to understand this invisible dimension because your eyes cannot perceive what’s actually happening during that millisecond exposure. The light meter becomes your bridge between the visible world you inhabit and the invisible world your camera records.
This understanding transforms how you approach all photography, not just studio work. You begin thinking about light as a measurable, predictable force rather than an mysterious variable. The systematic approach you develop for flash photography improves your natural light work, your outdoor portraits, even your landscape photography.
Here's a quote from my mentor regarding flash photography (he has 25+ years of experience with this):
“Learning flash photography turned myself into a better photographer, because now, I usually imagine the Sun as being a giant flash with harsh light."
— Renato Rocha Miranda, from A Obscura.
The real skill in flash photography lies in developing this deeper relationship with light measurement. Technical expertise with meters and calculations provides the foundation, yet the artistic breakthrough comes when you start thinking like light itself.
The only and most important thing you must learn about flash photography
Do not bounce the flash over the ceiling, unless you urgently need to, and you know what you're doing. That's because by doing so, you're reducing power, losing control, messing up color balance, and inadvertently leaking light. Learn how to reduce power by lowering flash load or changing the distance, and prefer using a flash bulb outside the camera flash shoe.
Here’s what I’ve learned about studio photography: there’s no universally best or worst setting. Instead, there are wrong approaches that you need to avoid by understanding the theory. Bouncing lights all around the room, especially off the ceiling, destroys your ability to control light direction and quality. Once you know what NOT to do to mess things up and lose light control, the creative possibilities open up completely.
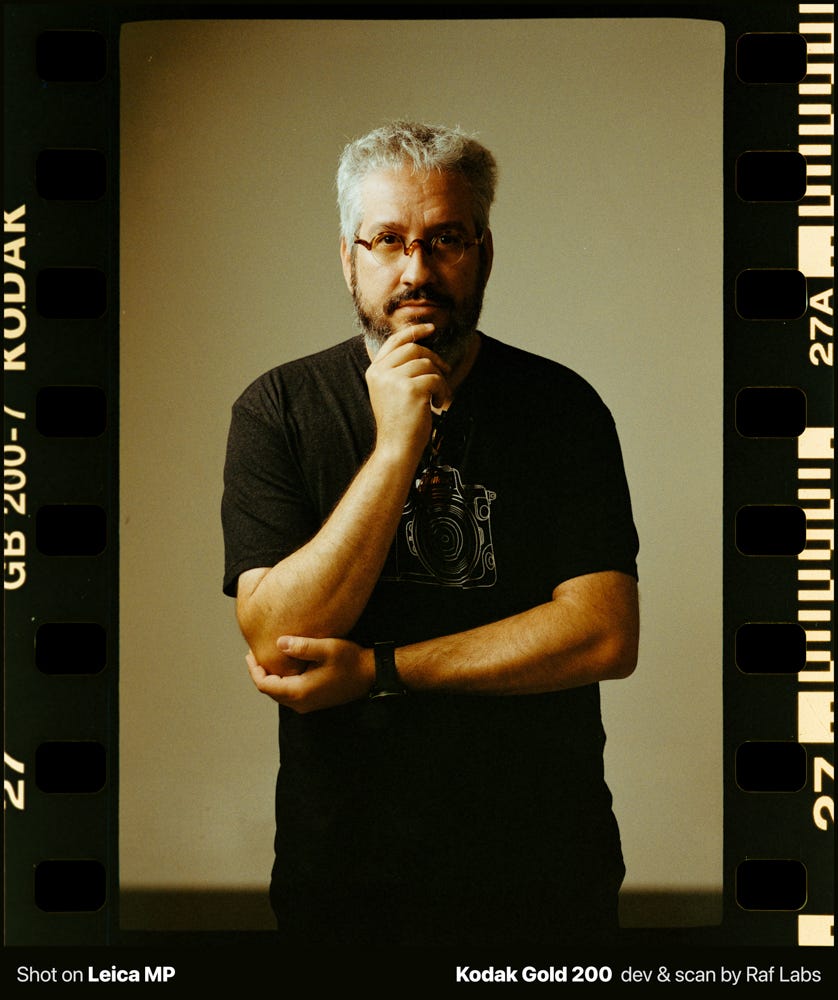
Understanding the right topics and theory lets you start playing to compose whatever mood you want. Whether you’re after harsh, dramatic light that cuts sharp shadows or soft, wraparound illumination that flatters portraits, the choice becomes yours rather than accident. The difference lies in knowing how your decisions affect the final result.
Mastering the modifiers and their results in the shot is my next step. Each softbox, reflector, and flag creates predictable changes in light quality when you understand the underlying principles. The light meter gives you the measurement foundation, while modifier knowledge provides the creative control.
Portuguese article available at:


