

The difference between incident and reflective light meters
And why it's important to understand this.

Not long ago I bought a camera with no light meter inside. My fix was lazy and quick: I downloaded one of those phone apps that reads the light through your camera. It worked, more or less. What I didn’t think about at the time is that every one of those apps is a reflective meter. It reads the light bouncing off whatever I aim the phone at. There’s a second kind, the incident meter, and once you understood what it does differently, your exposures will get cleaner. If you’ve only ever metered with a phone or your camera’s built-in meter, this is the gap worth closing.
The theory behind the two is simple. The practice is not, and knowing which one to use is fundamental.
Starting with the incident meter, or the one with the little white dome on top. You hold it where your subject is and it reads the light falling onto that spot, ignoring what the subject is made of. Dark coat, white wall, doesn’t matter. It measures the light itself, in absolute terms. Shadows read as shadows, highlights read as highlights. That’s why people call it the more accurate reading. You’re measuring incoming light, not the individual light that objects in front of you reflect.

The downside is you have to get close to the subject, or at least stand in the same light conditions. If you’re under a tree in the shade, photographing a billboard baking in the sun, the light at your feet and the light hitting the billboard are two different conditions. An incident reading from where you stand would be wrong. That’s the moment a reflective meter shines.
A reflective meter is the most common one, and also the way more complicated to use. It’s what lives inside your camera. It reads the light that objects reflect back, based on where you point it. Dark things reflect less, so they read dark. Bright things reflect more, so they read bright. Aim it somewhere else and you get a different number, and that's why I say it's more complicated to use.
The easiest way to see this is with a black and white image in your head, that's because B&W images are just a range of blacks, shadows, whites, and highlights on grayscale.
This is where reflective metering gets tricky: where to meter? Where to point the camera at? The complexity comes from the fact that measuring in different places will give you different readings, unlike the incident meter, which gives you an acurate and absolute reading.
For example: imagine a wedding. Do you point at the bride’s white dress or the groom’s dark suit? Two readings, far apart, and neither one is right on its own…
“When in doubt, aim in the middle" ¯\_(ツ)_/¯
The honest answer is to meter on something neutral, so the shadows naturally fall dark and the highlights stay bright the way they’re meant to. Your film (or sensor) should have a dynamic range wide enough to hold the shadows and the highlights without clipping. When the scene is high contrast and the two ends sit too far apart, you’re in what I think of as a short blanket situation. The blanket can’t cover your head and your feet at once. You pick one. The dynamic range is the blanket.
Also, if this isn't complex enough, there’s a calibration detail underneath all this. These meters are benchmarked against 18% gray. So if you’re on the street and spot a plain gray sidewalk, that’s a good place to set your exposure. Not dark, not bright.
You won’t always have a gray target though. Back to the wedding situation. if you meter off the white dress, the meter will instruct your exposure to turn it into 18% gray, so the dress comes out muddy instead of white, and it should be white, not gray...
Same trap with the dark suit, just the other direction.
Have you experienced that? Share your story in the comments.
So when there’s no gray to lean on, you carry the rule yourself. What’s bright in real life wants +1 EV to stay bright. What’s dark wants -1 EV to stay dark, with the steps in between. This is the whole reason to shoot in manual, or to learn the exposure compensation feature in your camera, instead of trusting the meter blindly, metering like a newbie and pressing the shutter release button without knowing what you're doing…
The last piece, and a little more advanced, is knowing your dynamic range in stops, for your film or your camera. Look it up on the internet, it’s easy to find. Keep your darks and brights inside that range, and keep the short blanket in mind. Some litght meters allow you to store measurements in memory and calculate the delta in between (some even give you a scale so you can see if you're exceeding a pre-configured dynamic range, the Sekonic ones do that…)
Sometimes, especially on photowalks under the Sun, I like carrying an incident light meter because it's more "set and forget”, and I end up getting consistent exposures that follow the light along my day, that is -that is- if light conditions don't change (like clouds passing by), of course.
This is why using an external light meter requires you being more attentious and aware of your surroundings, you become more familiar with light changes, you remove the crutch, and ultimately, you become a better photographer.
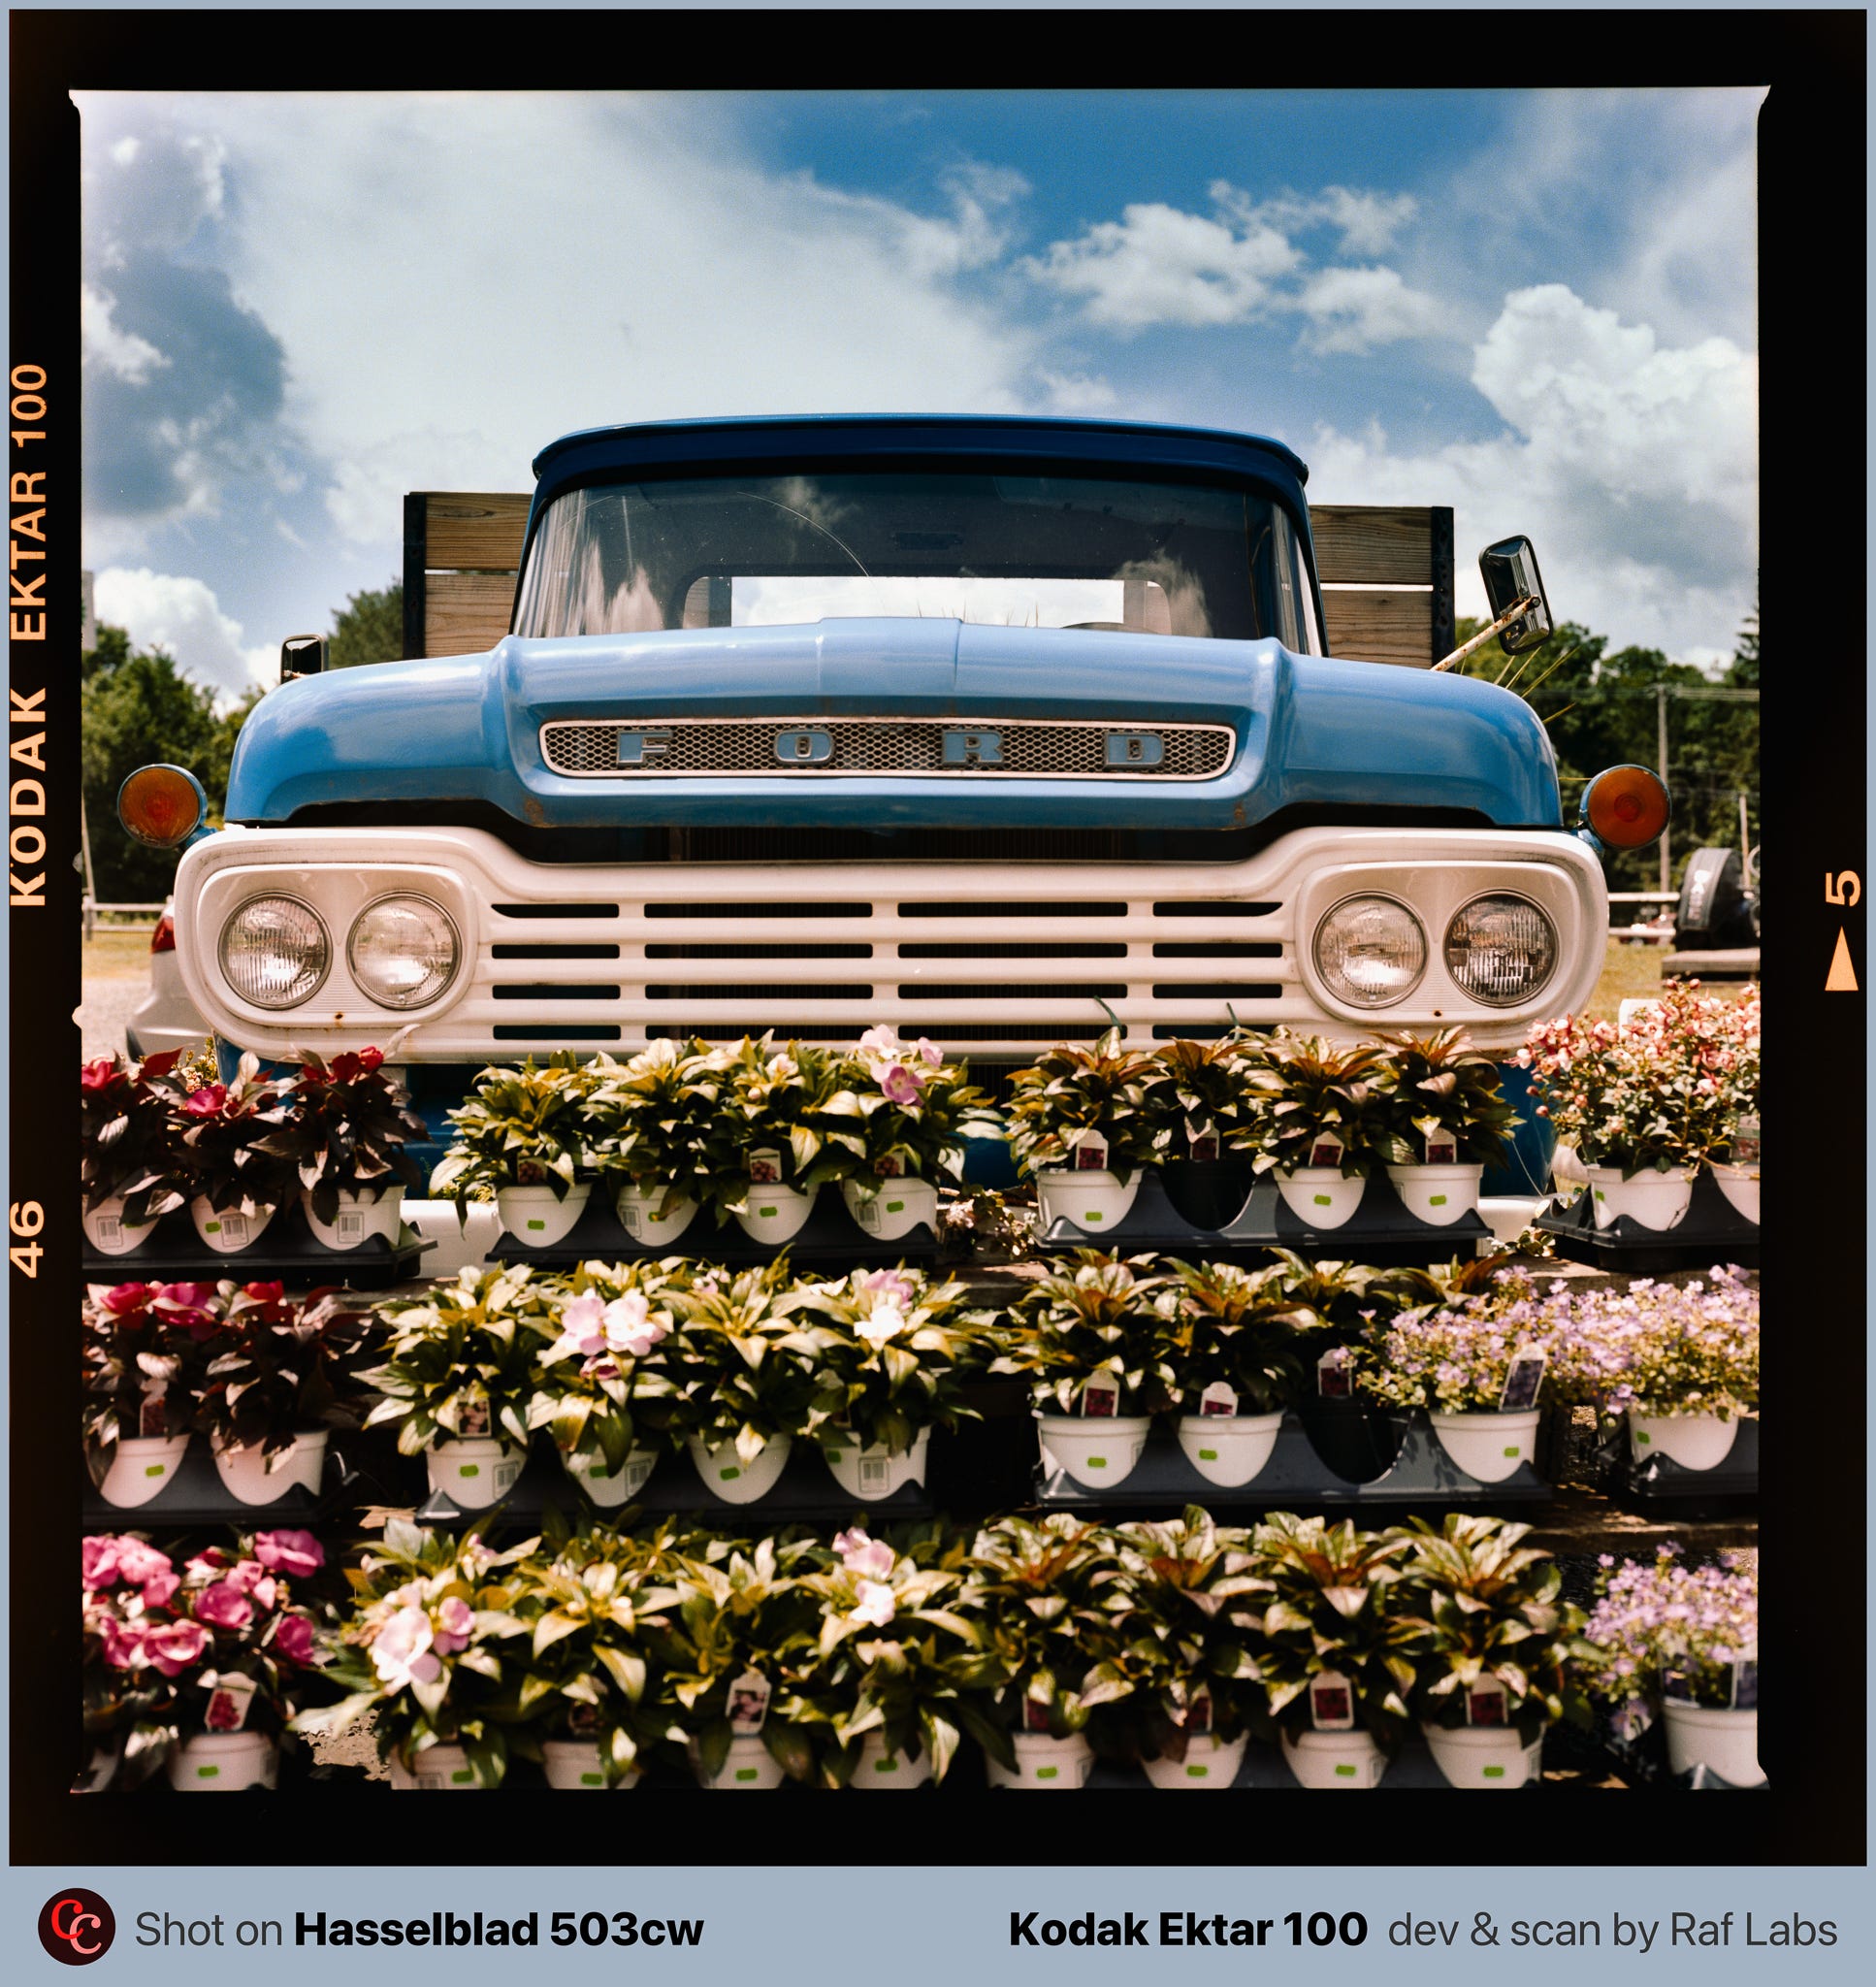
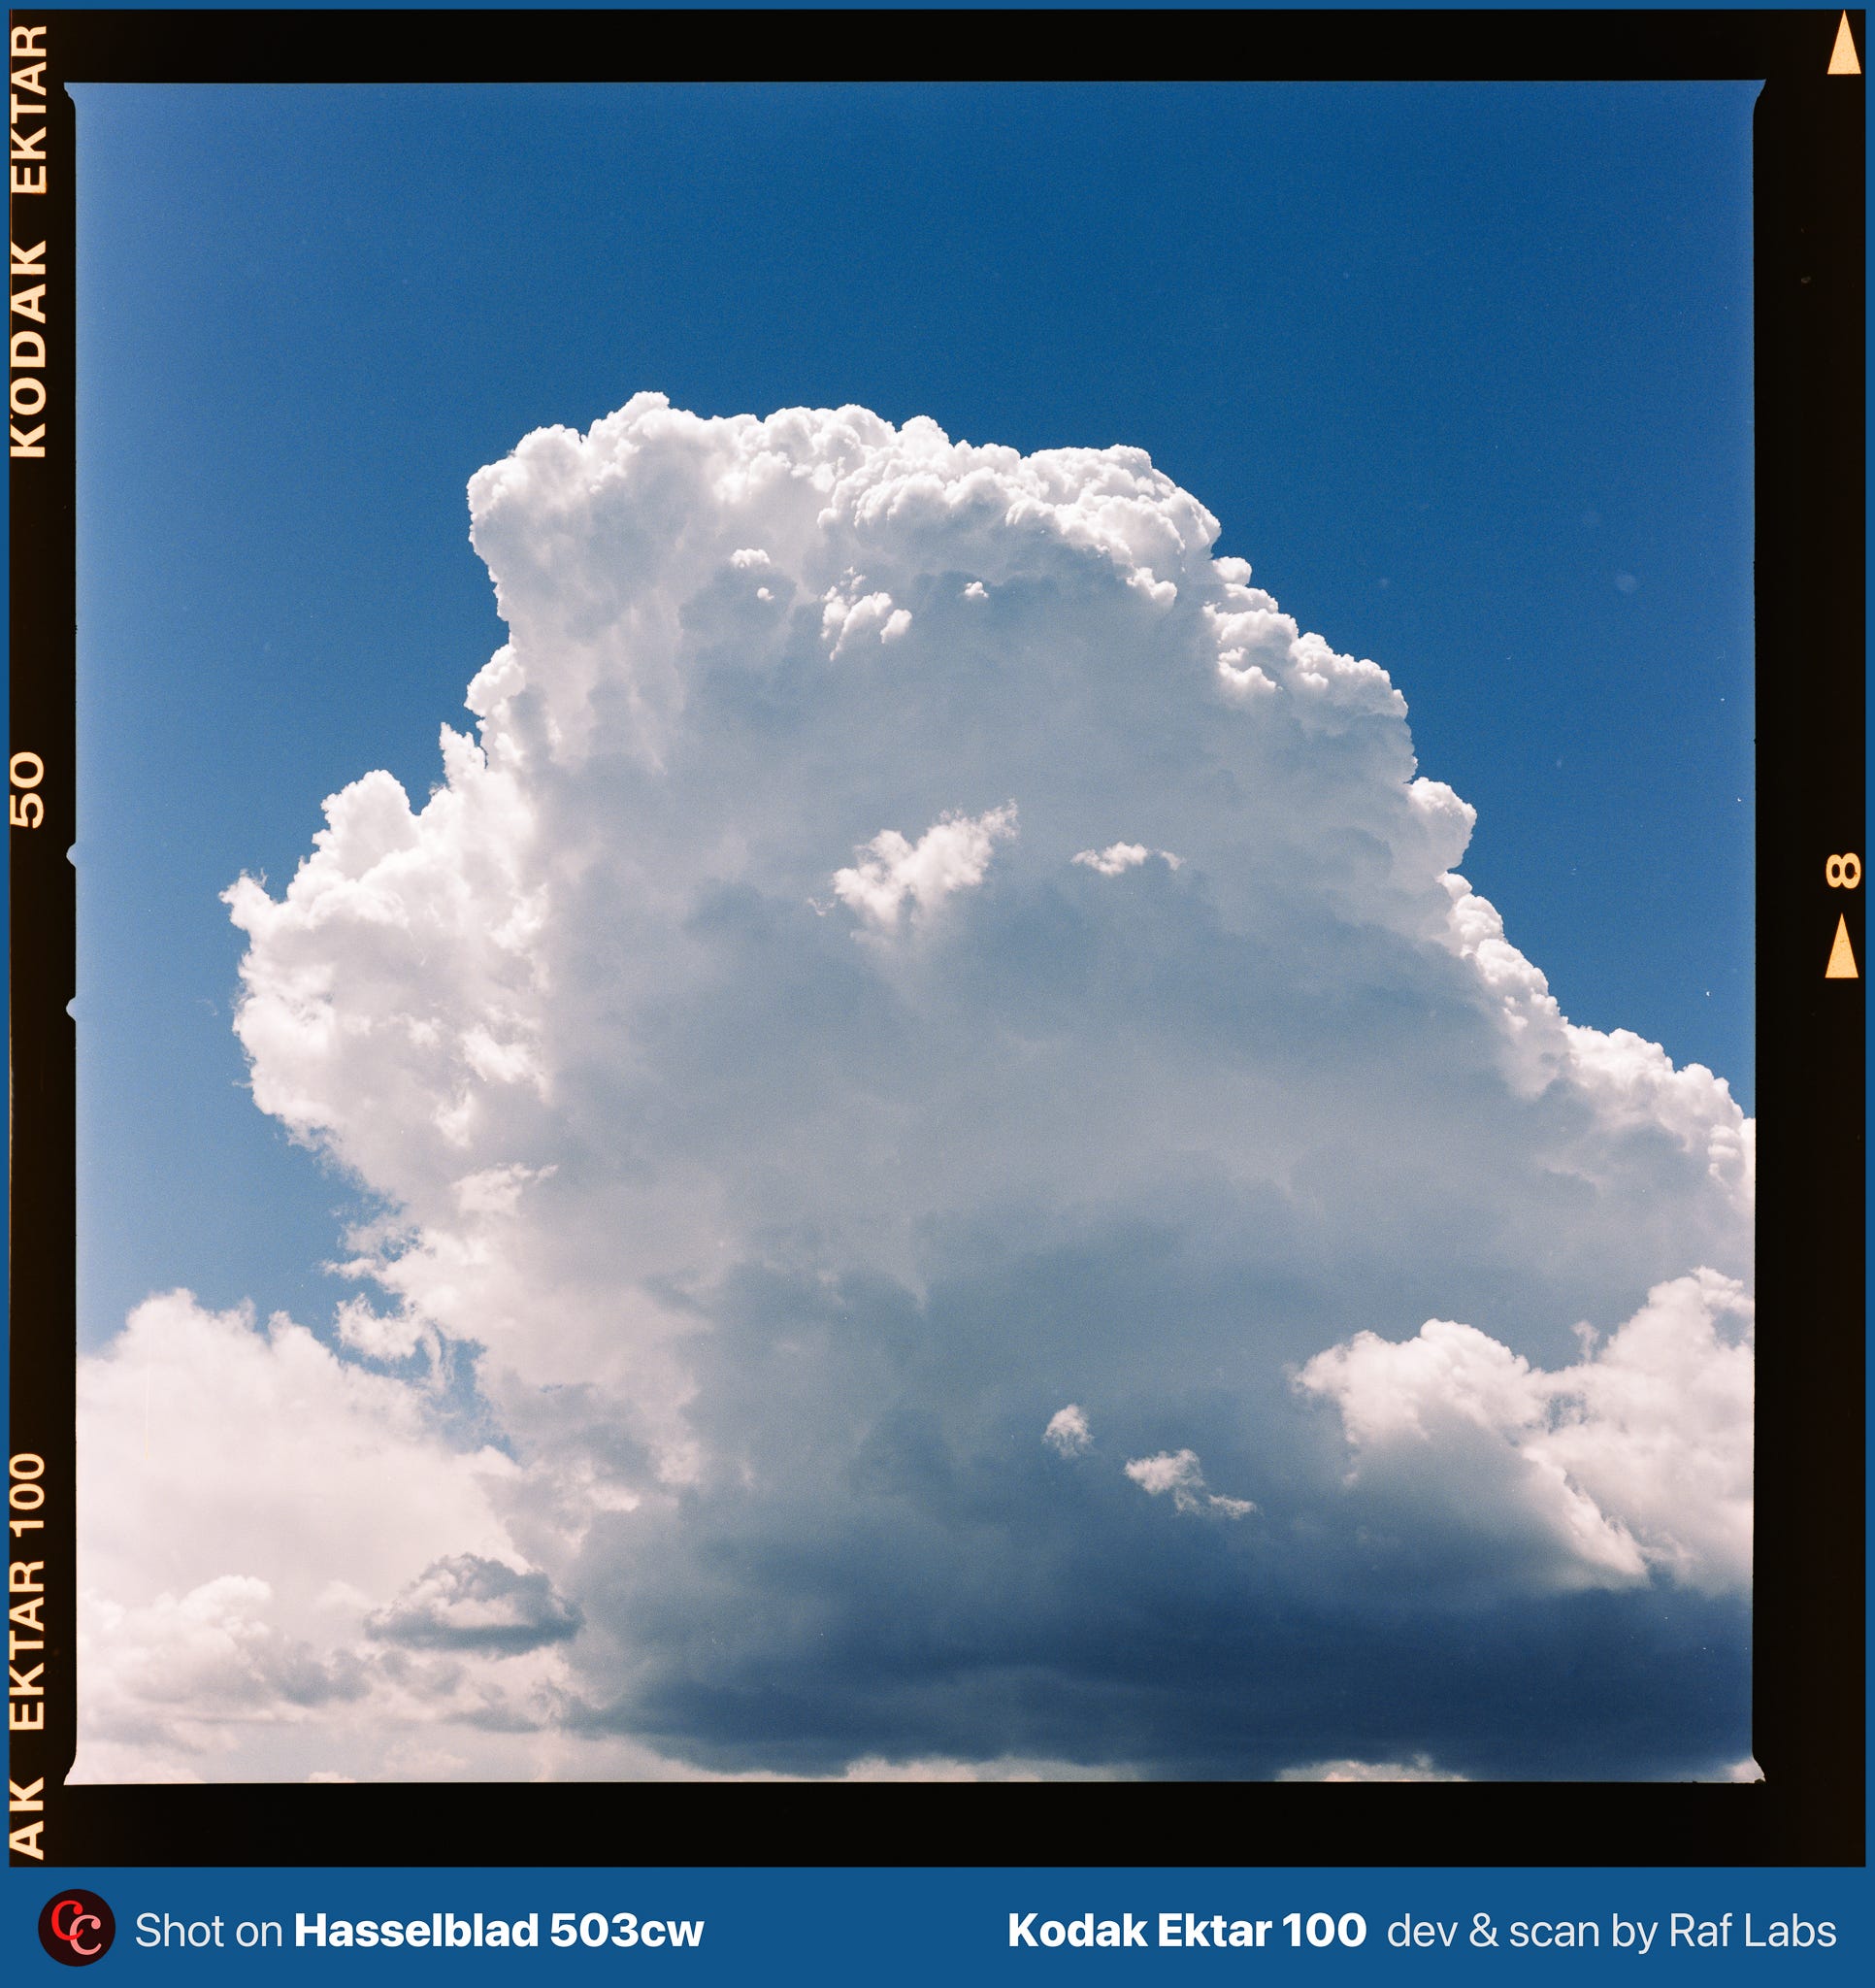
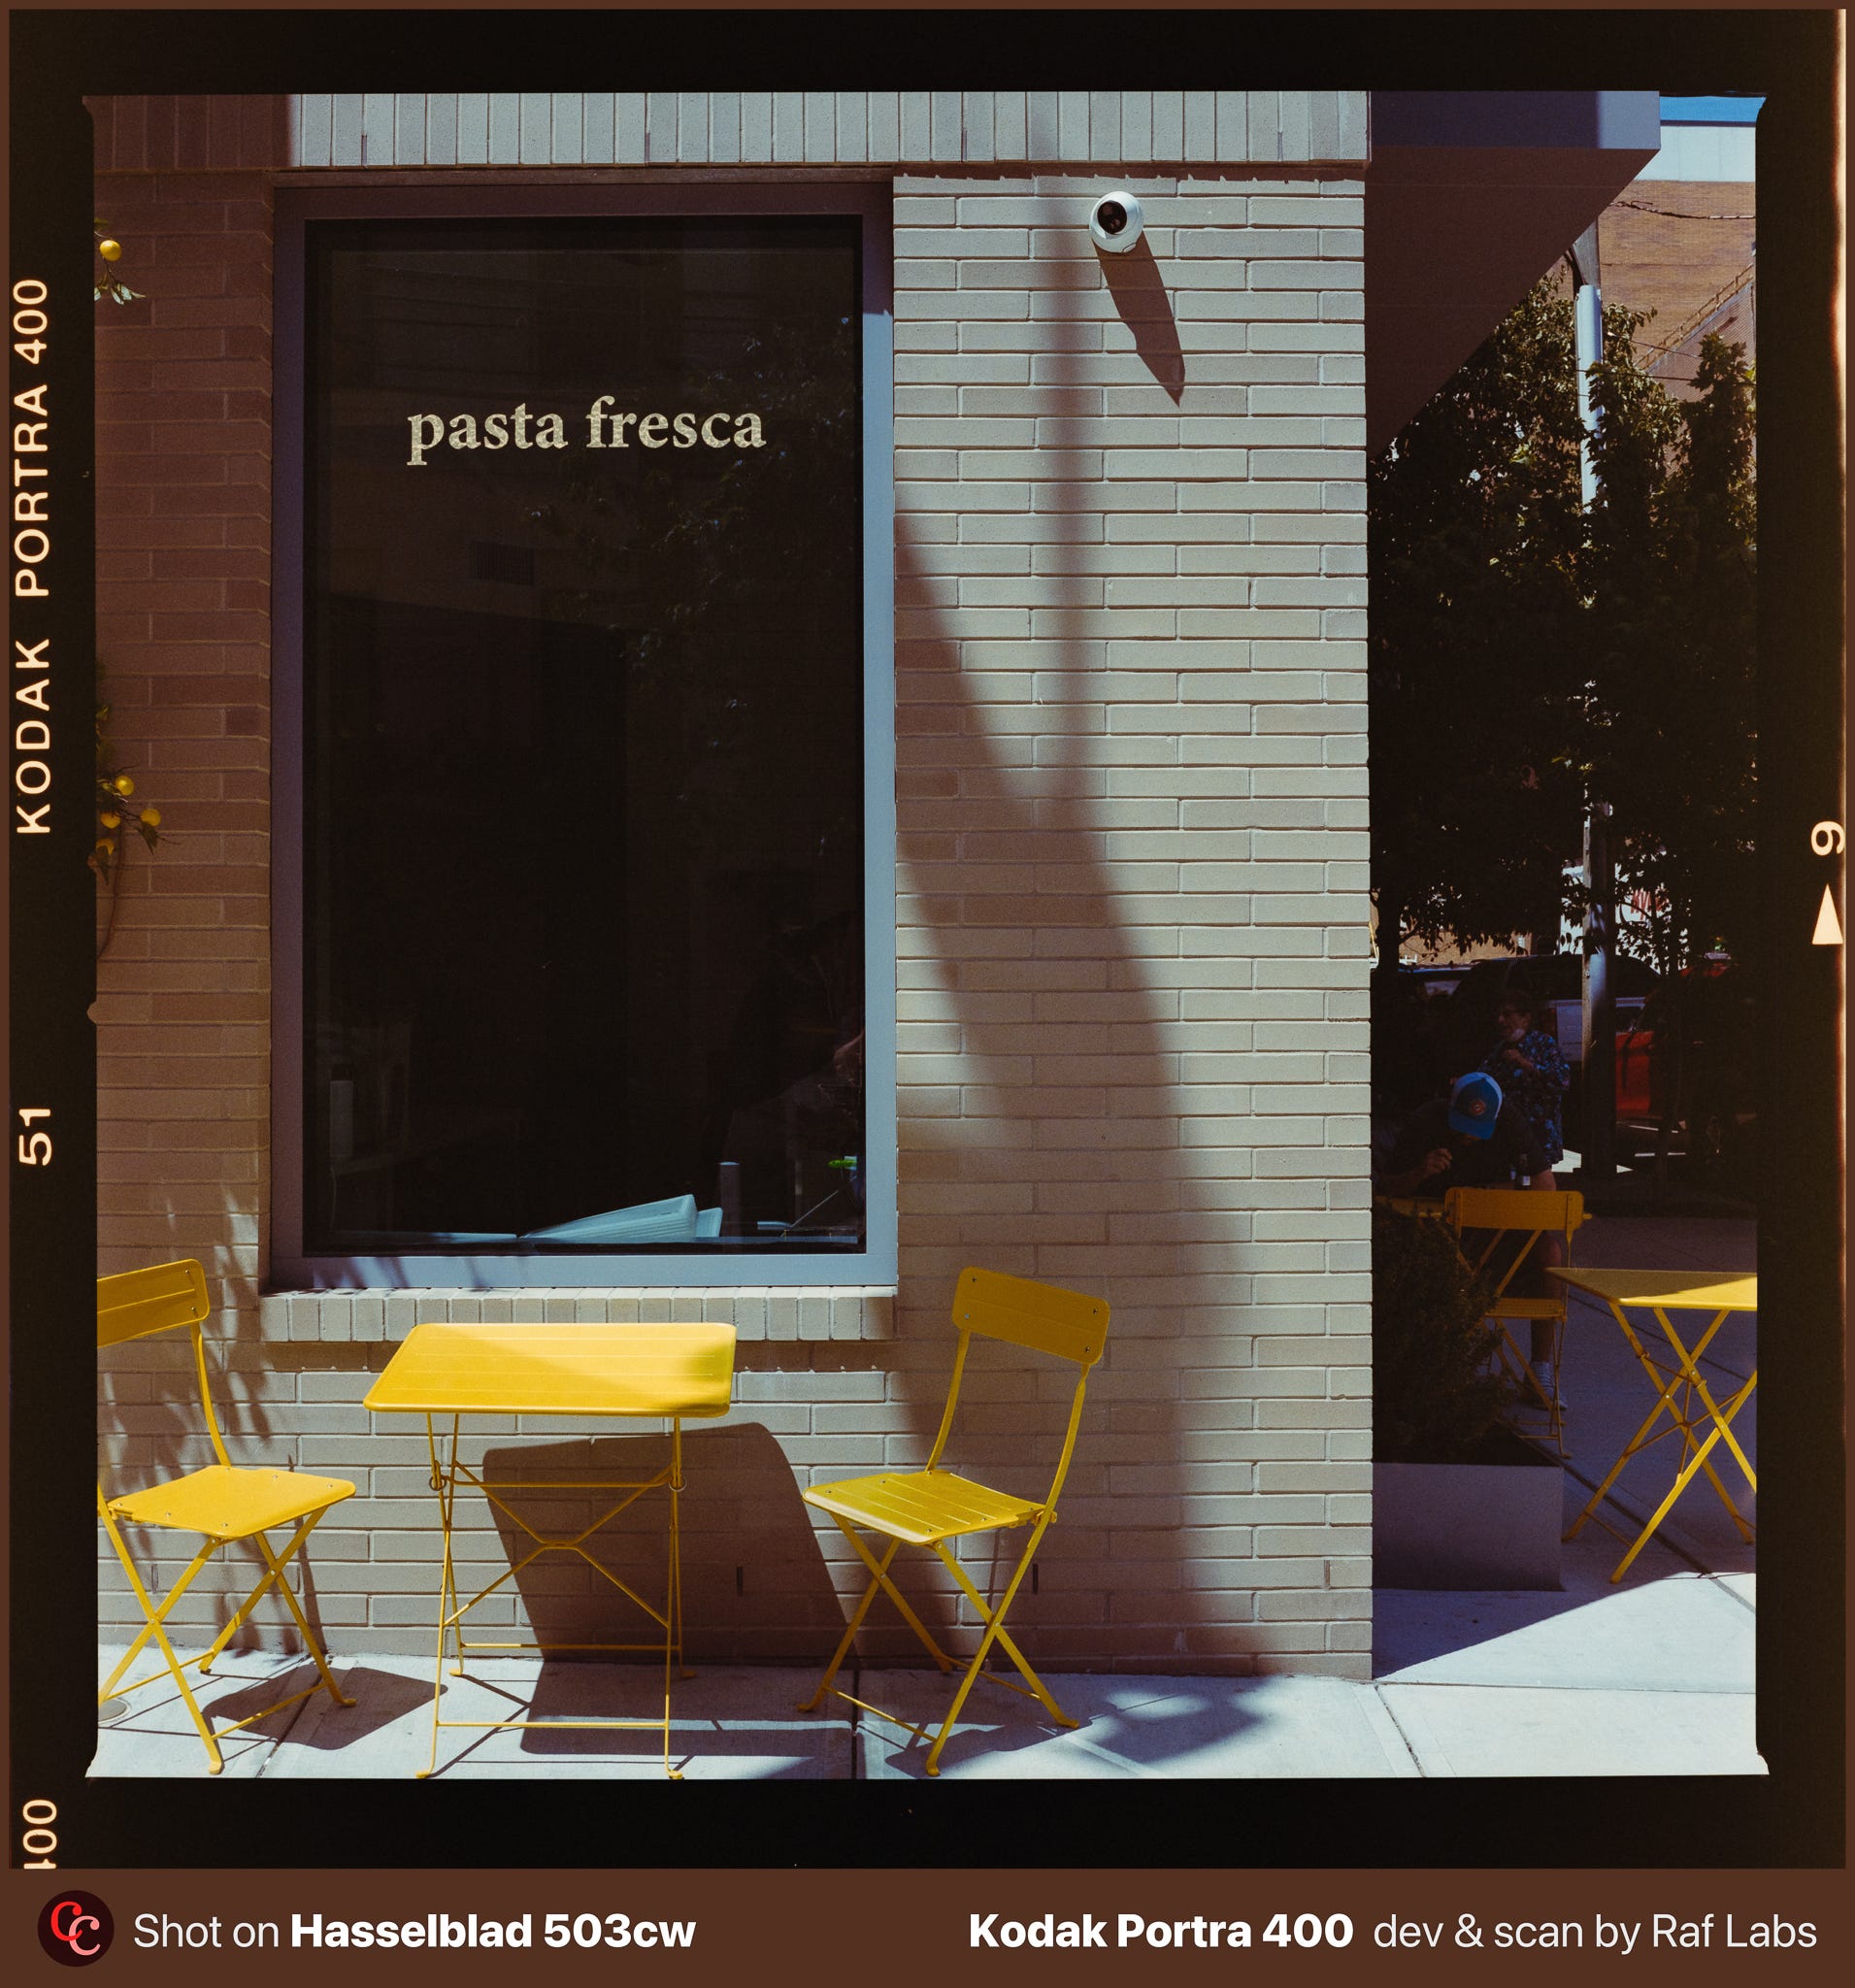
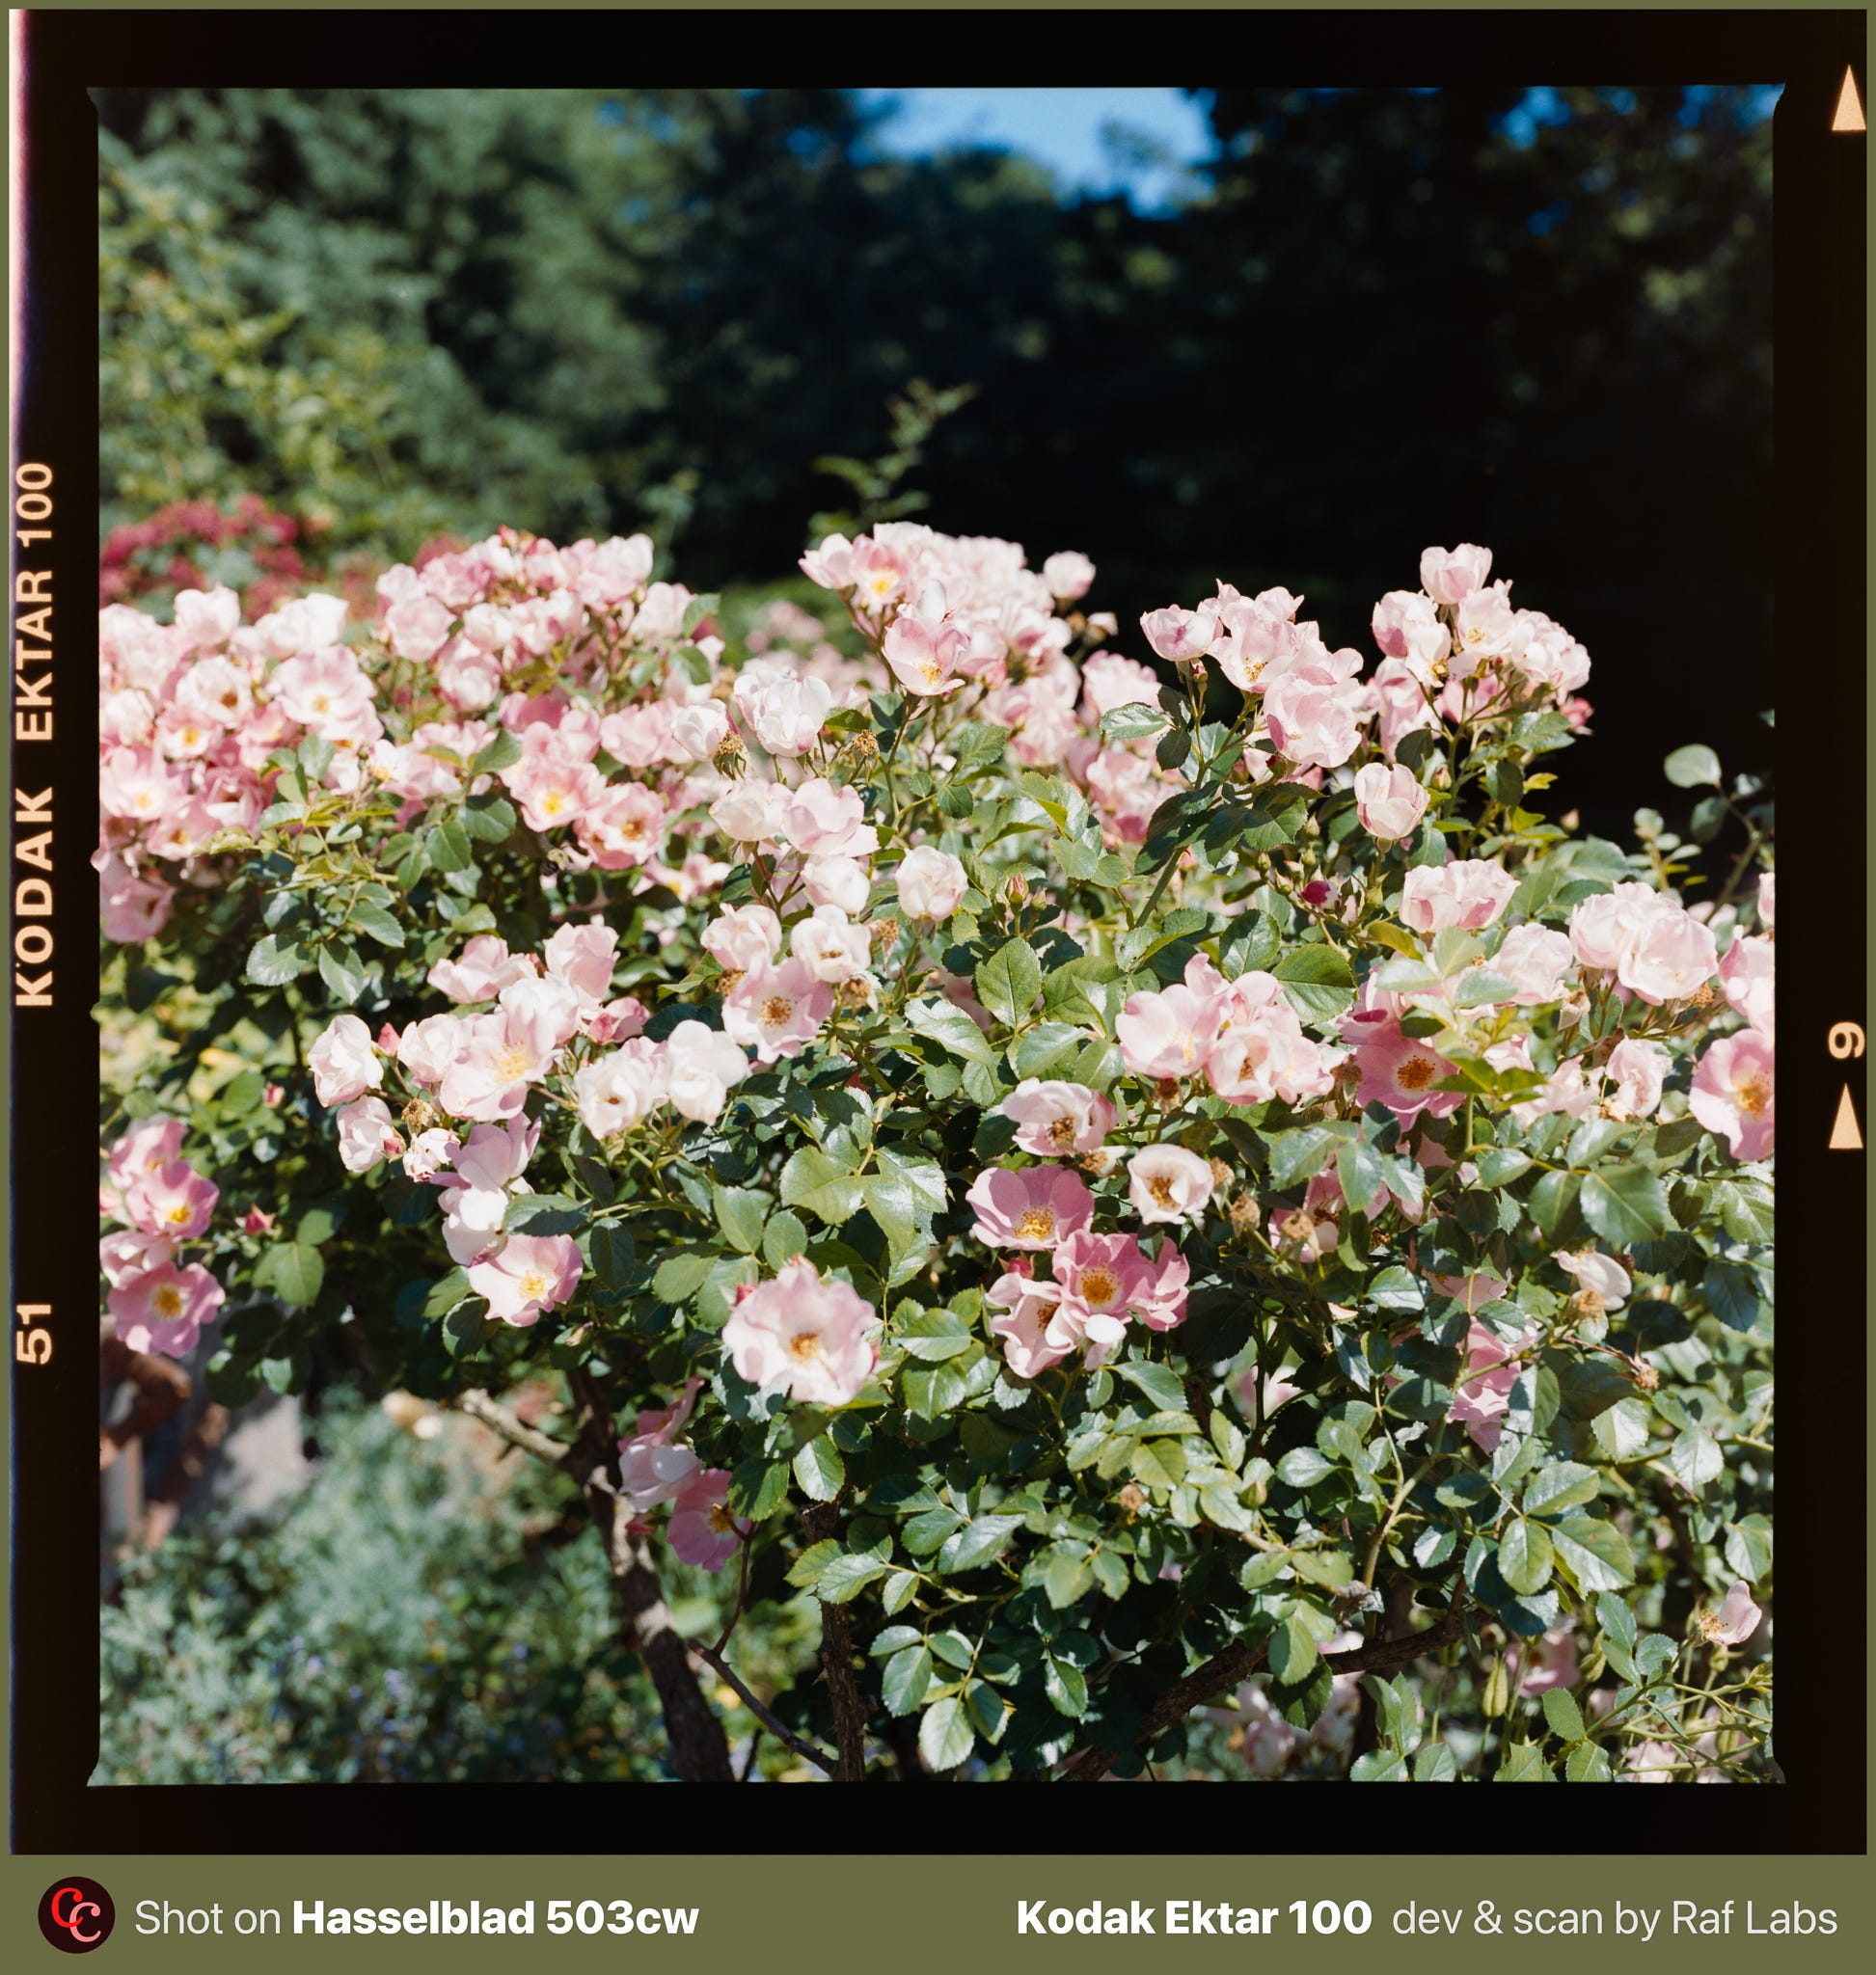
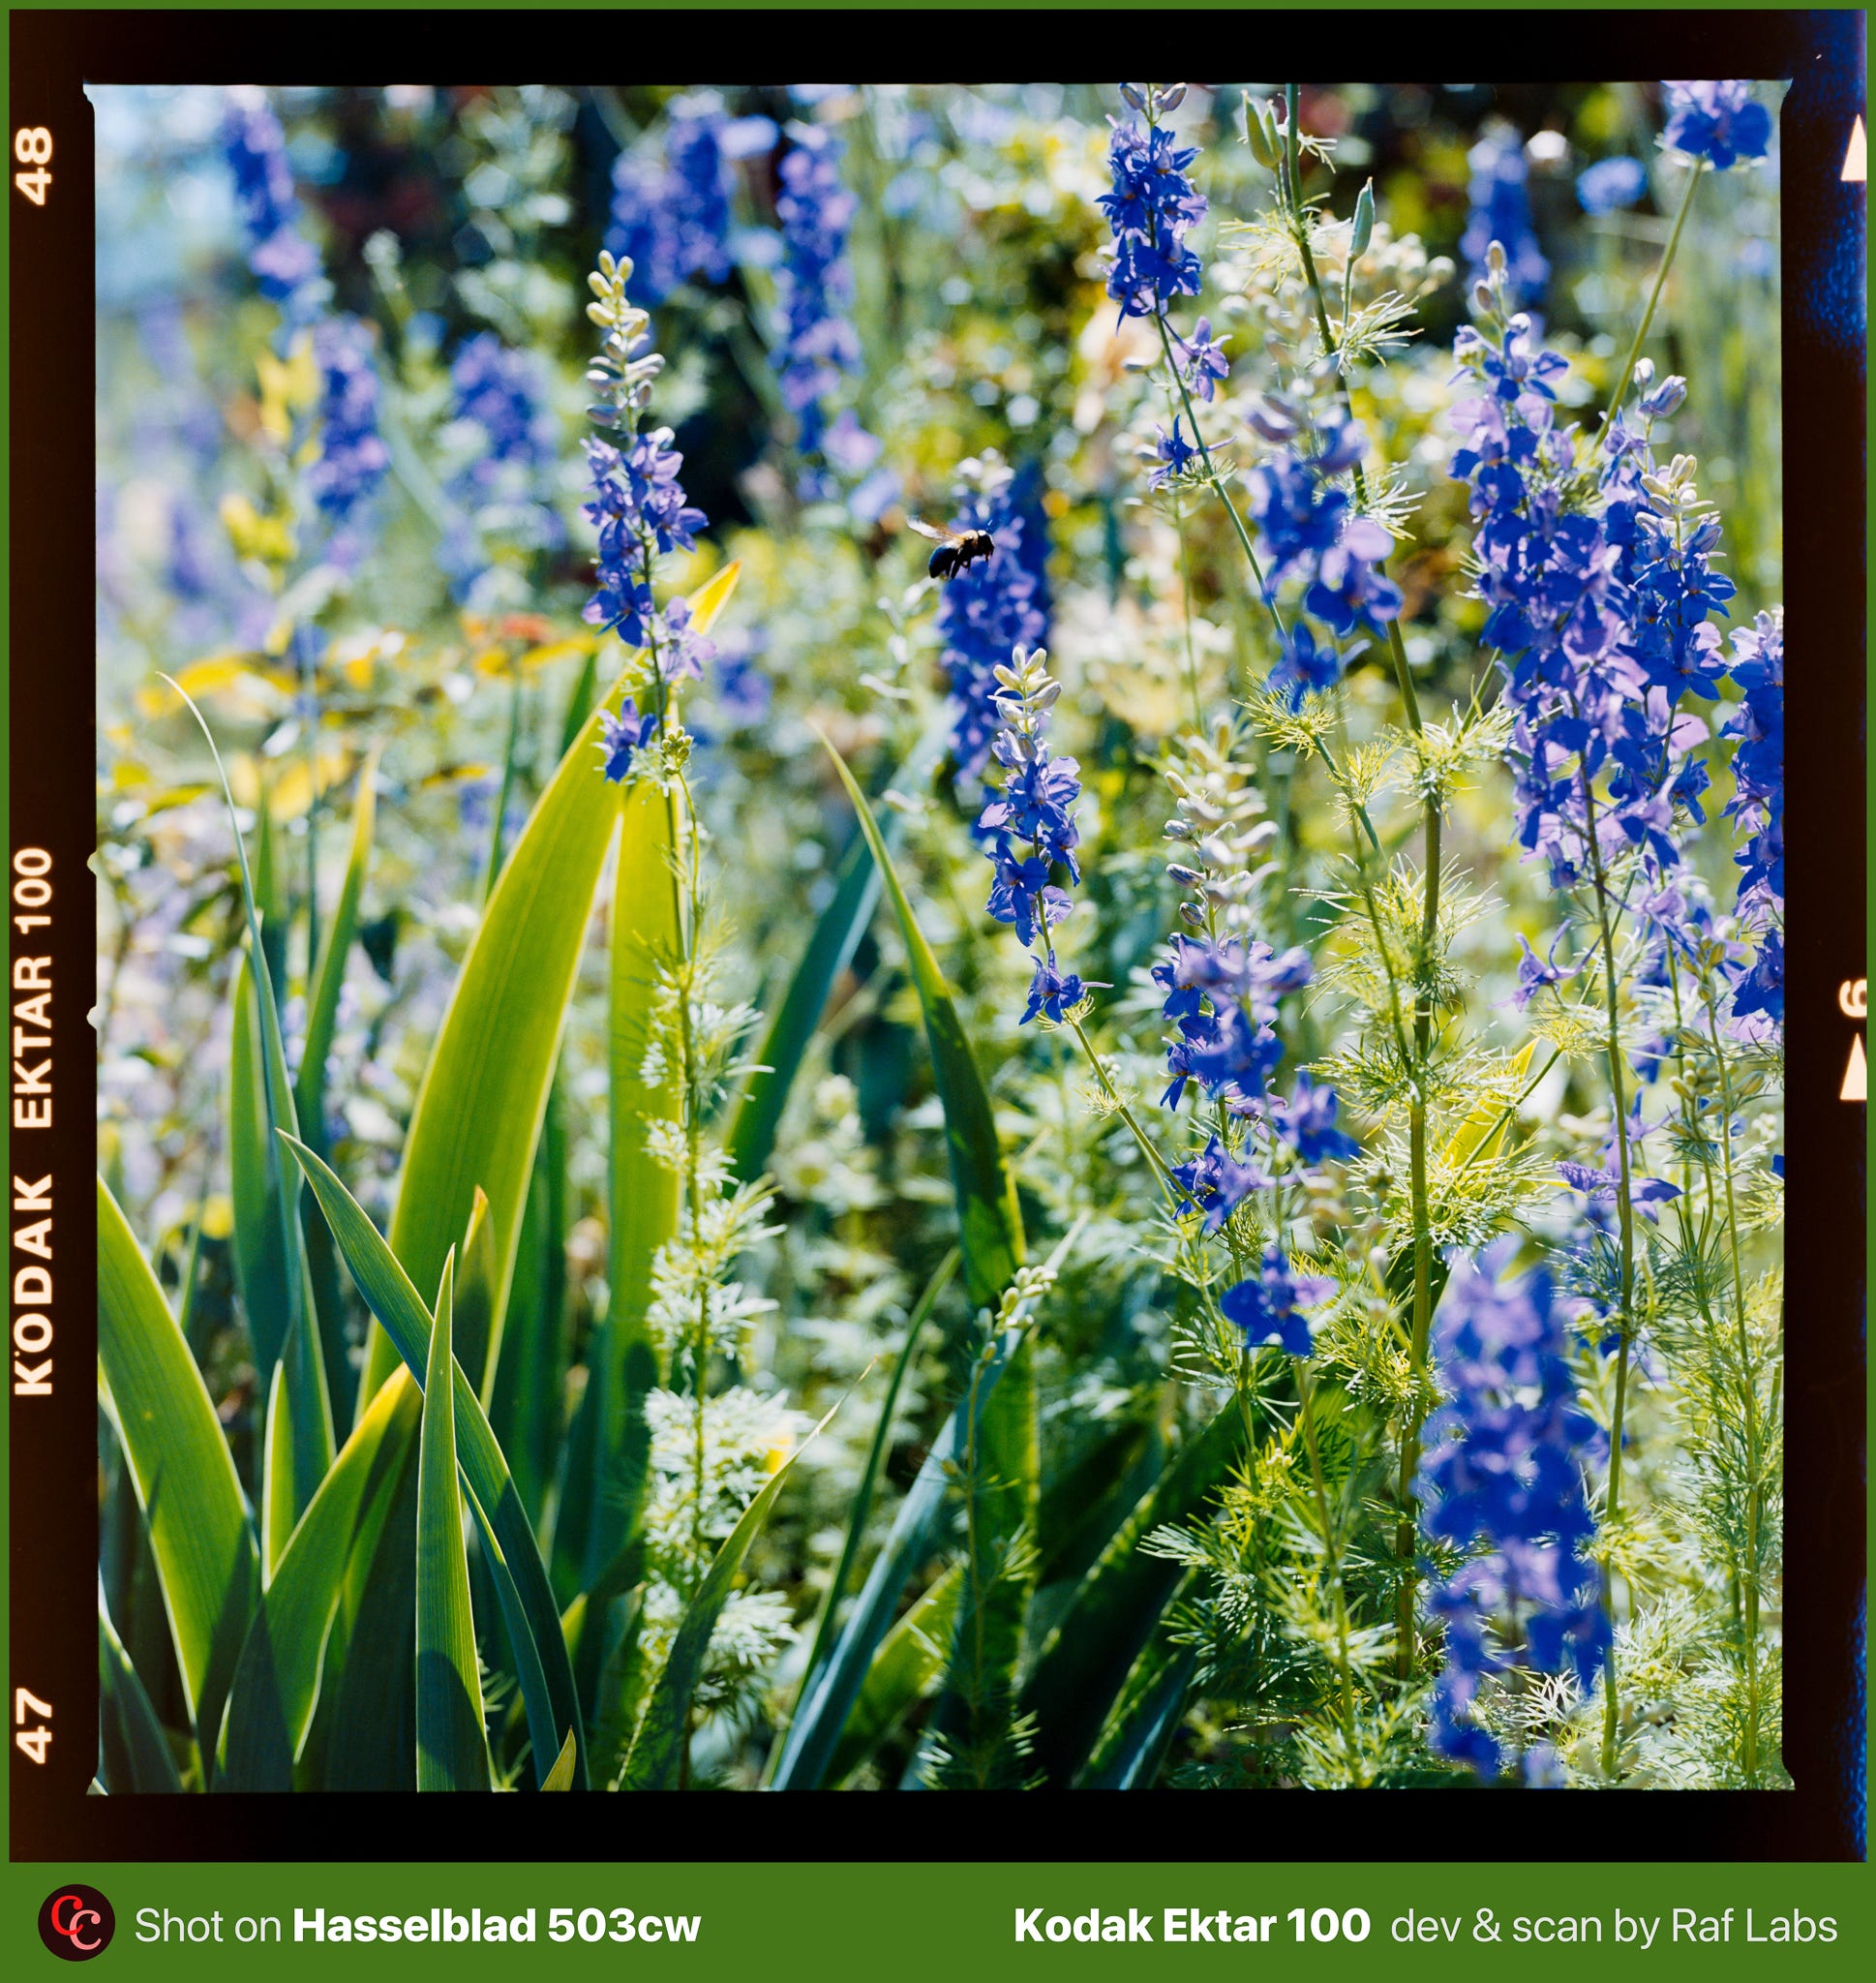
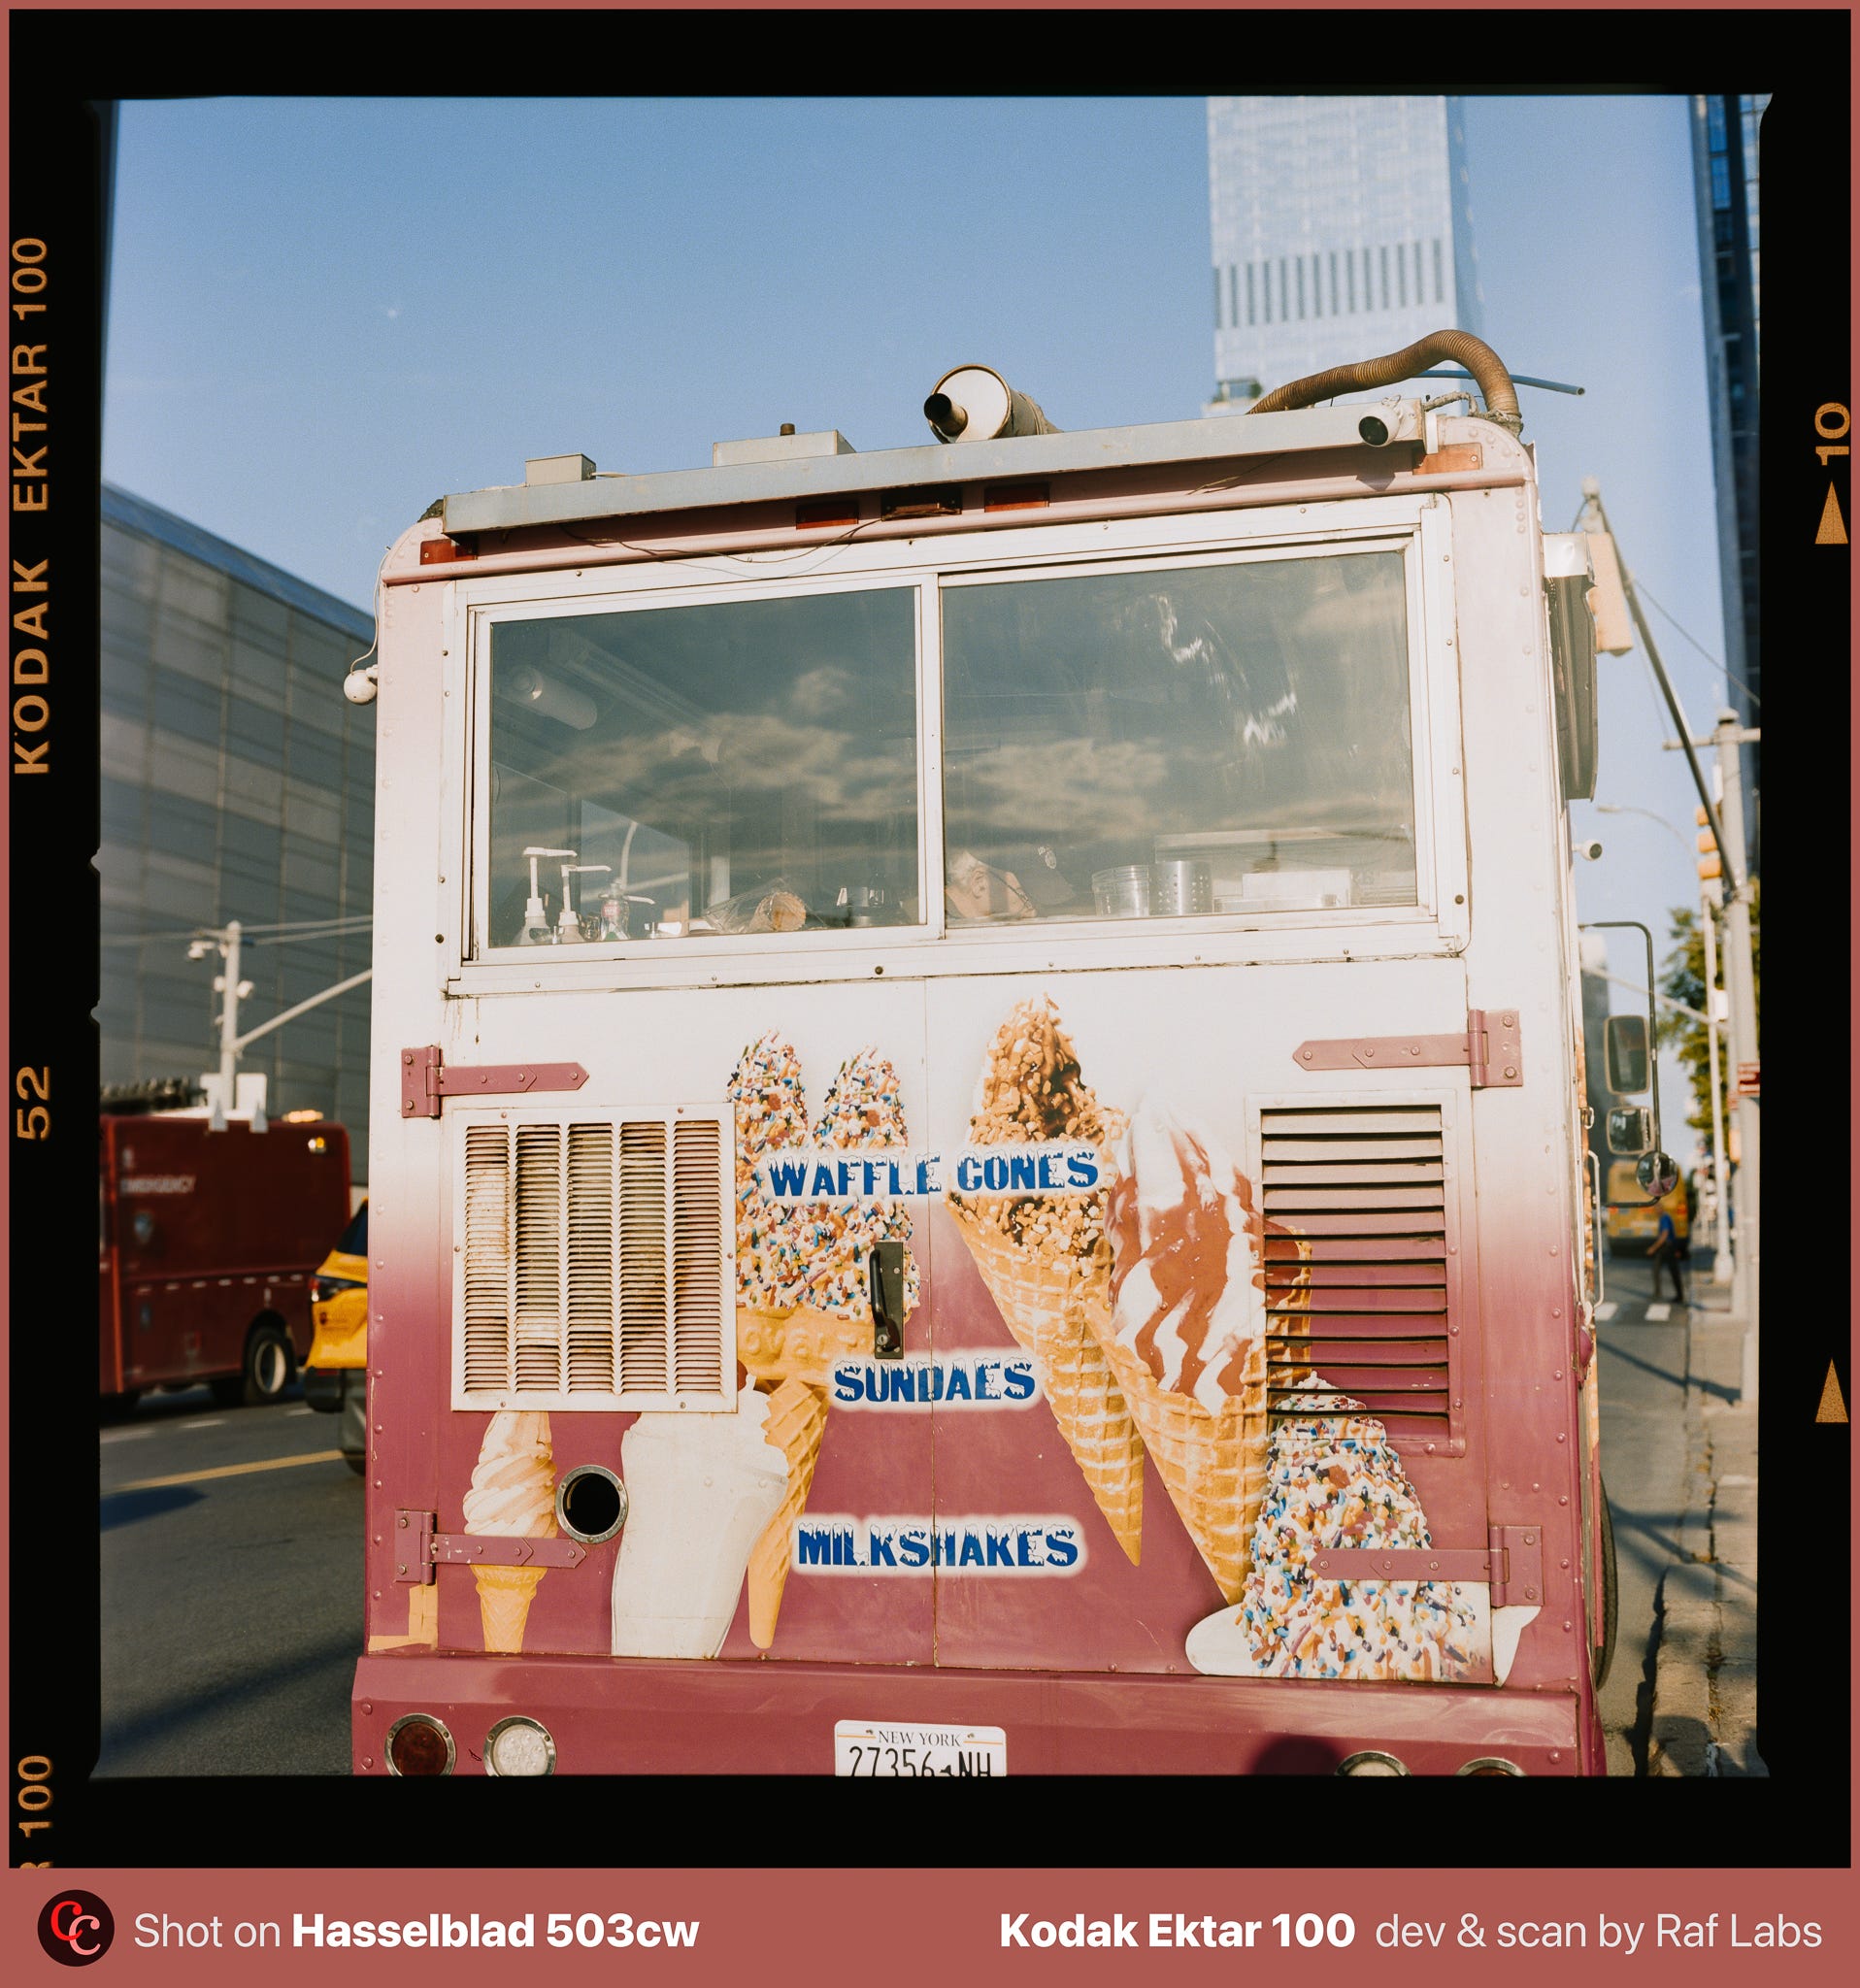
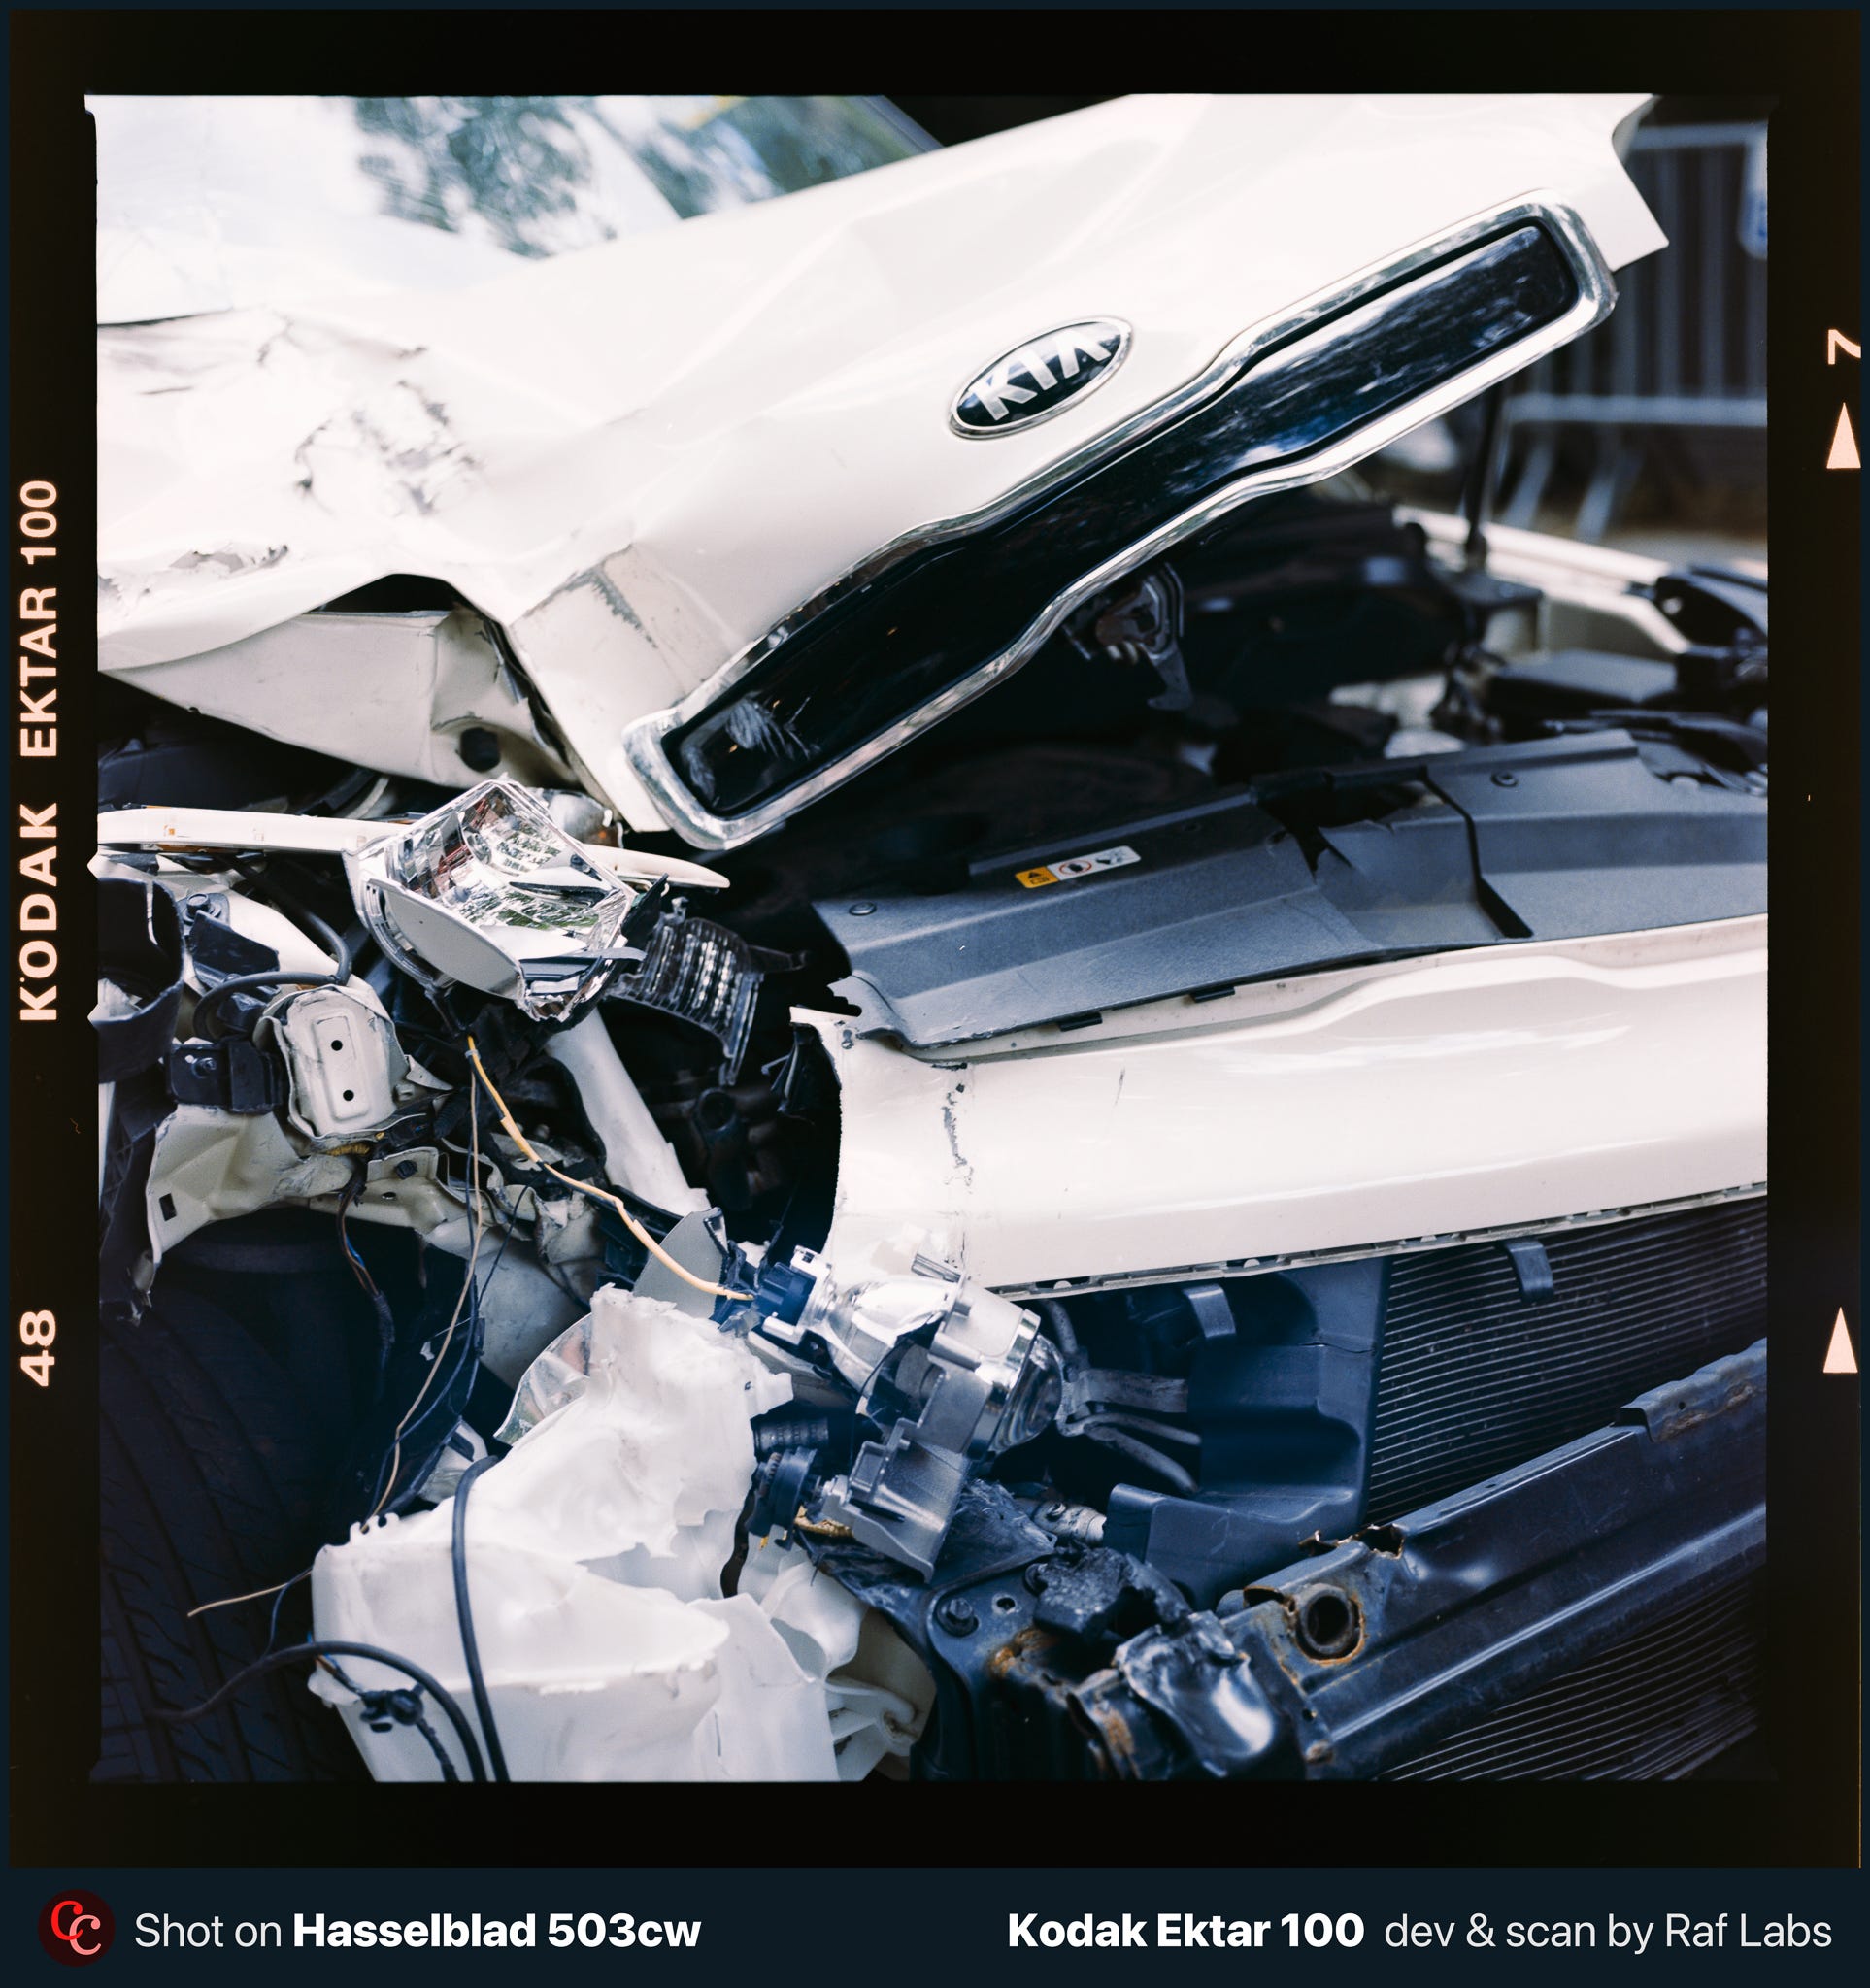
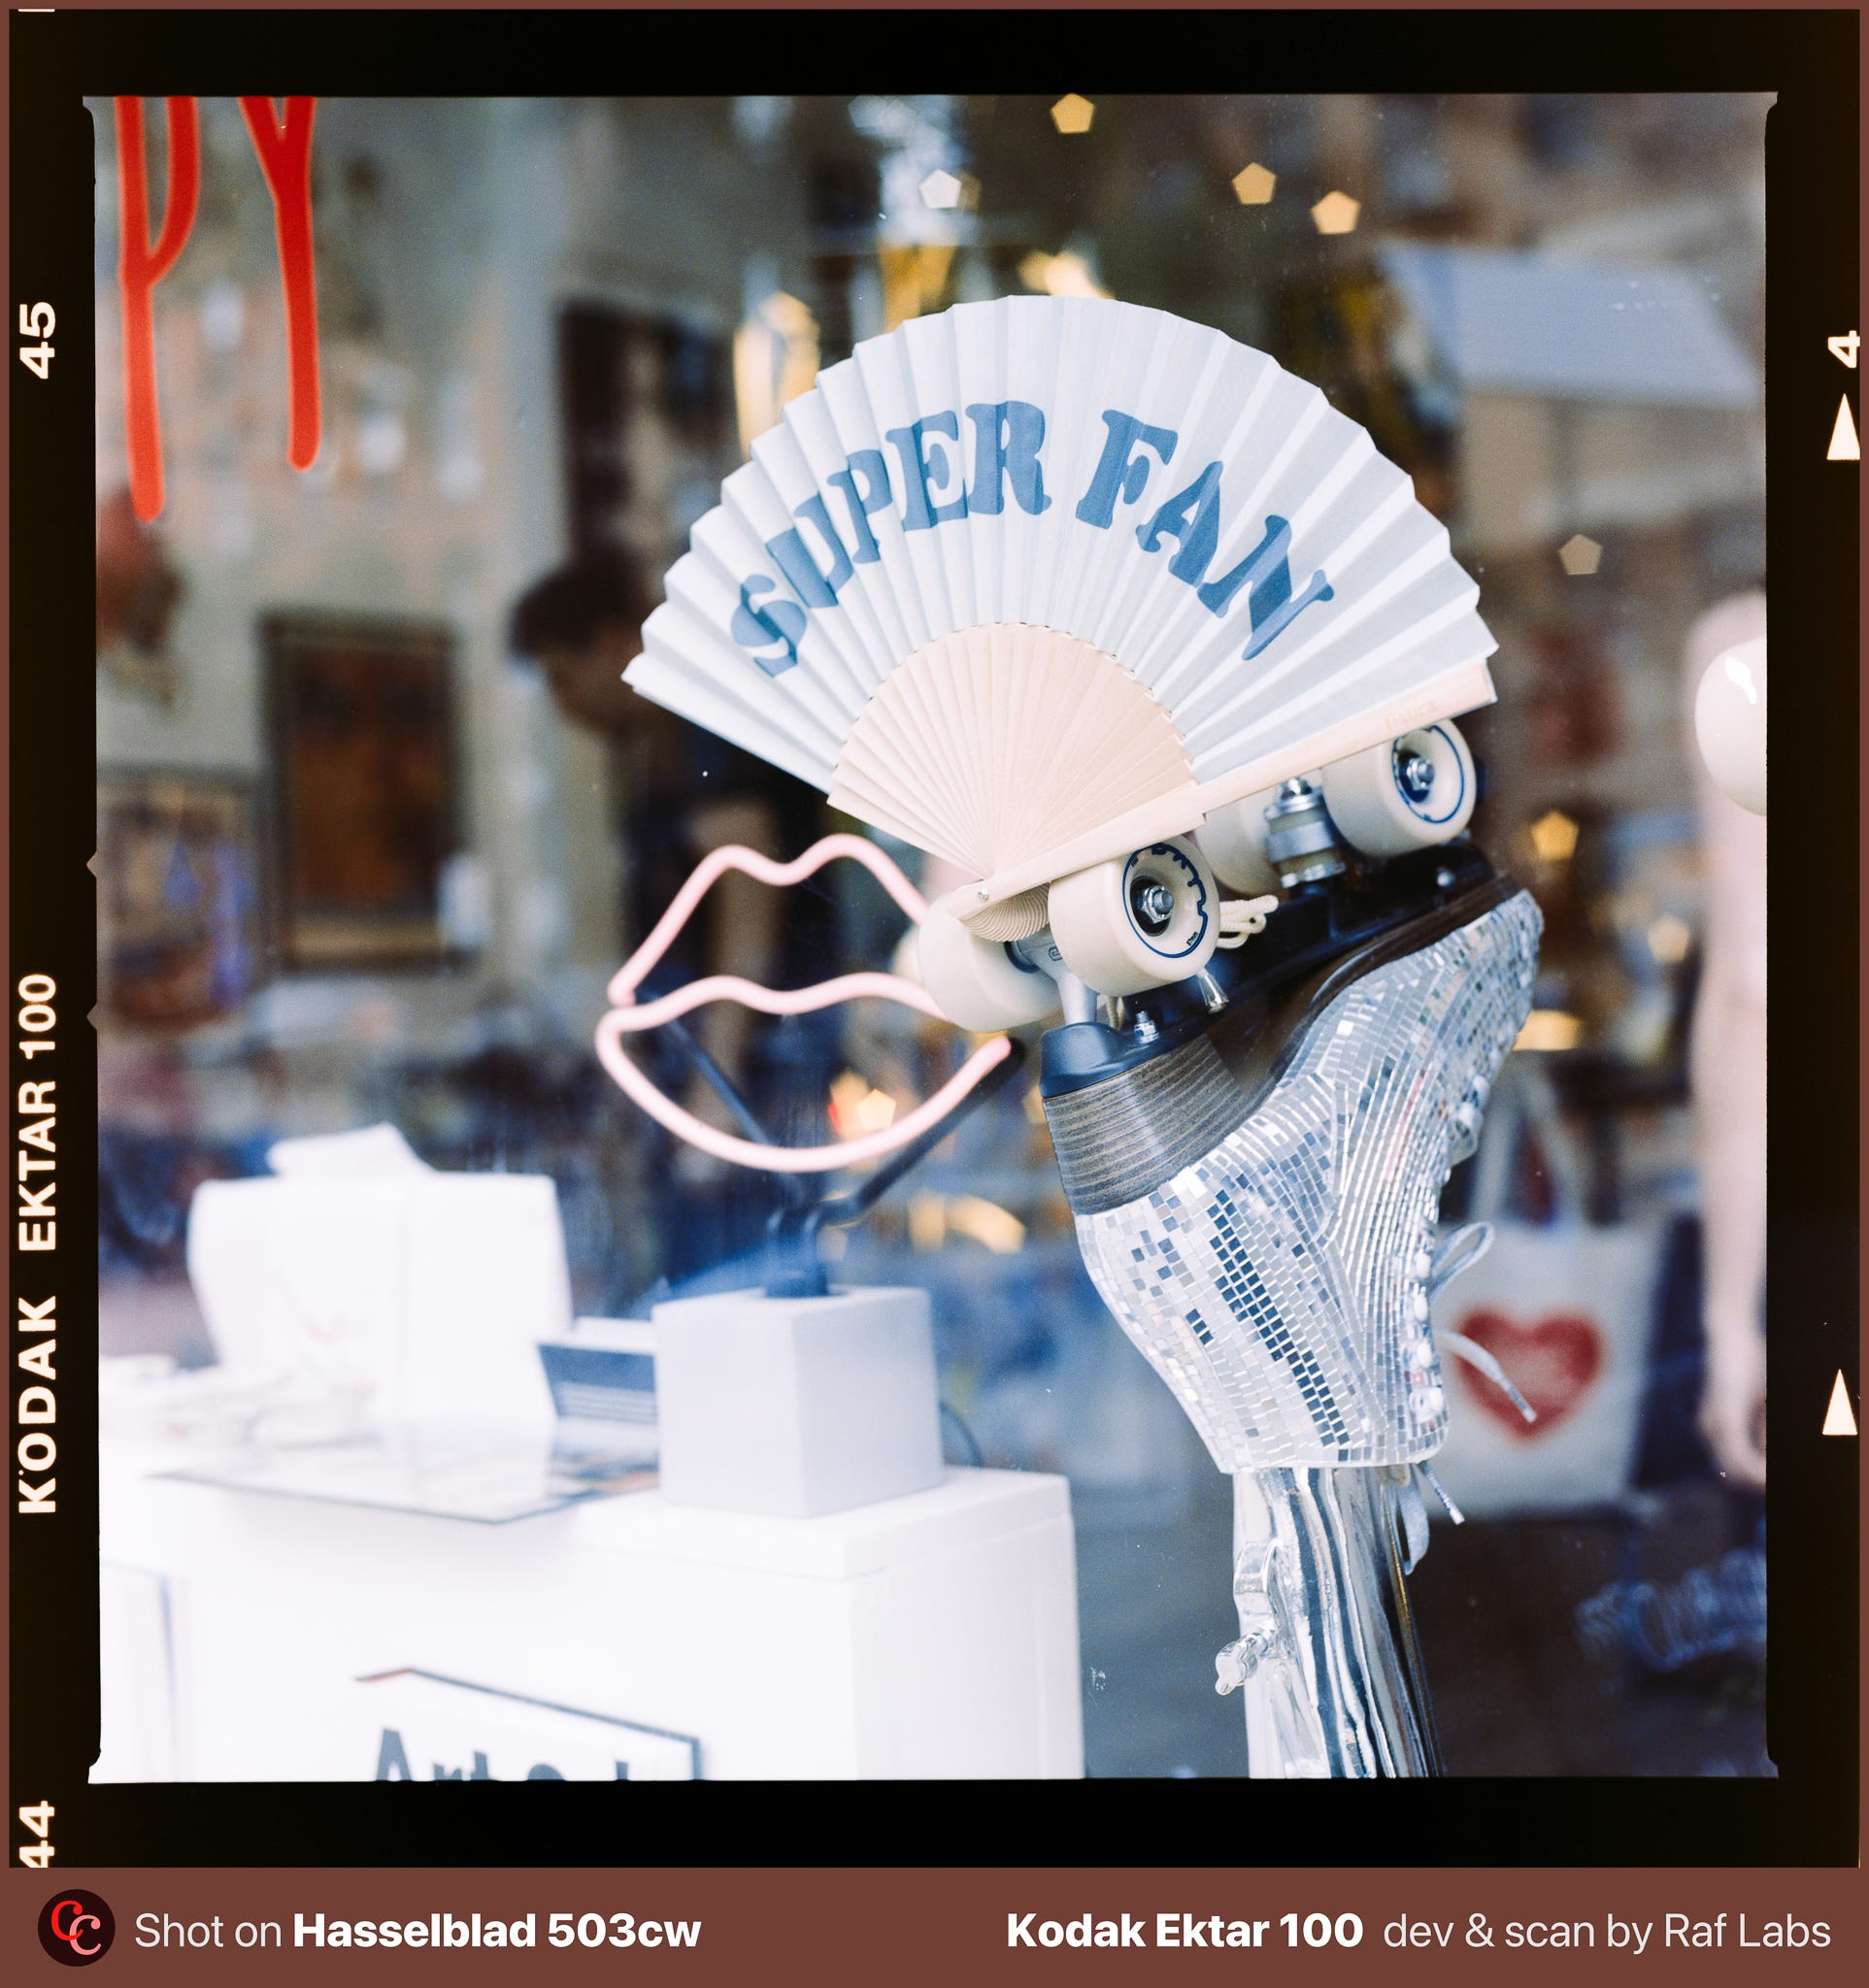
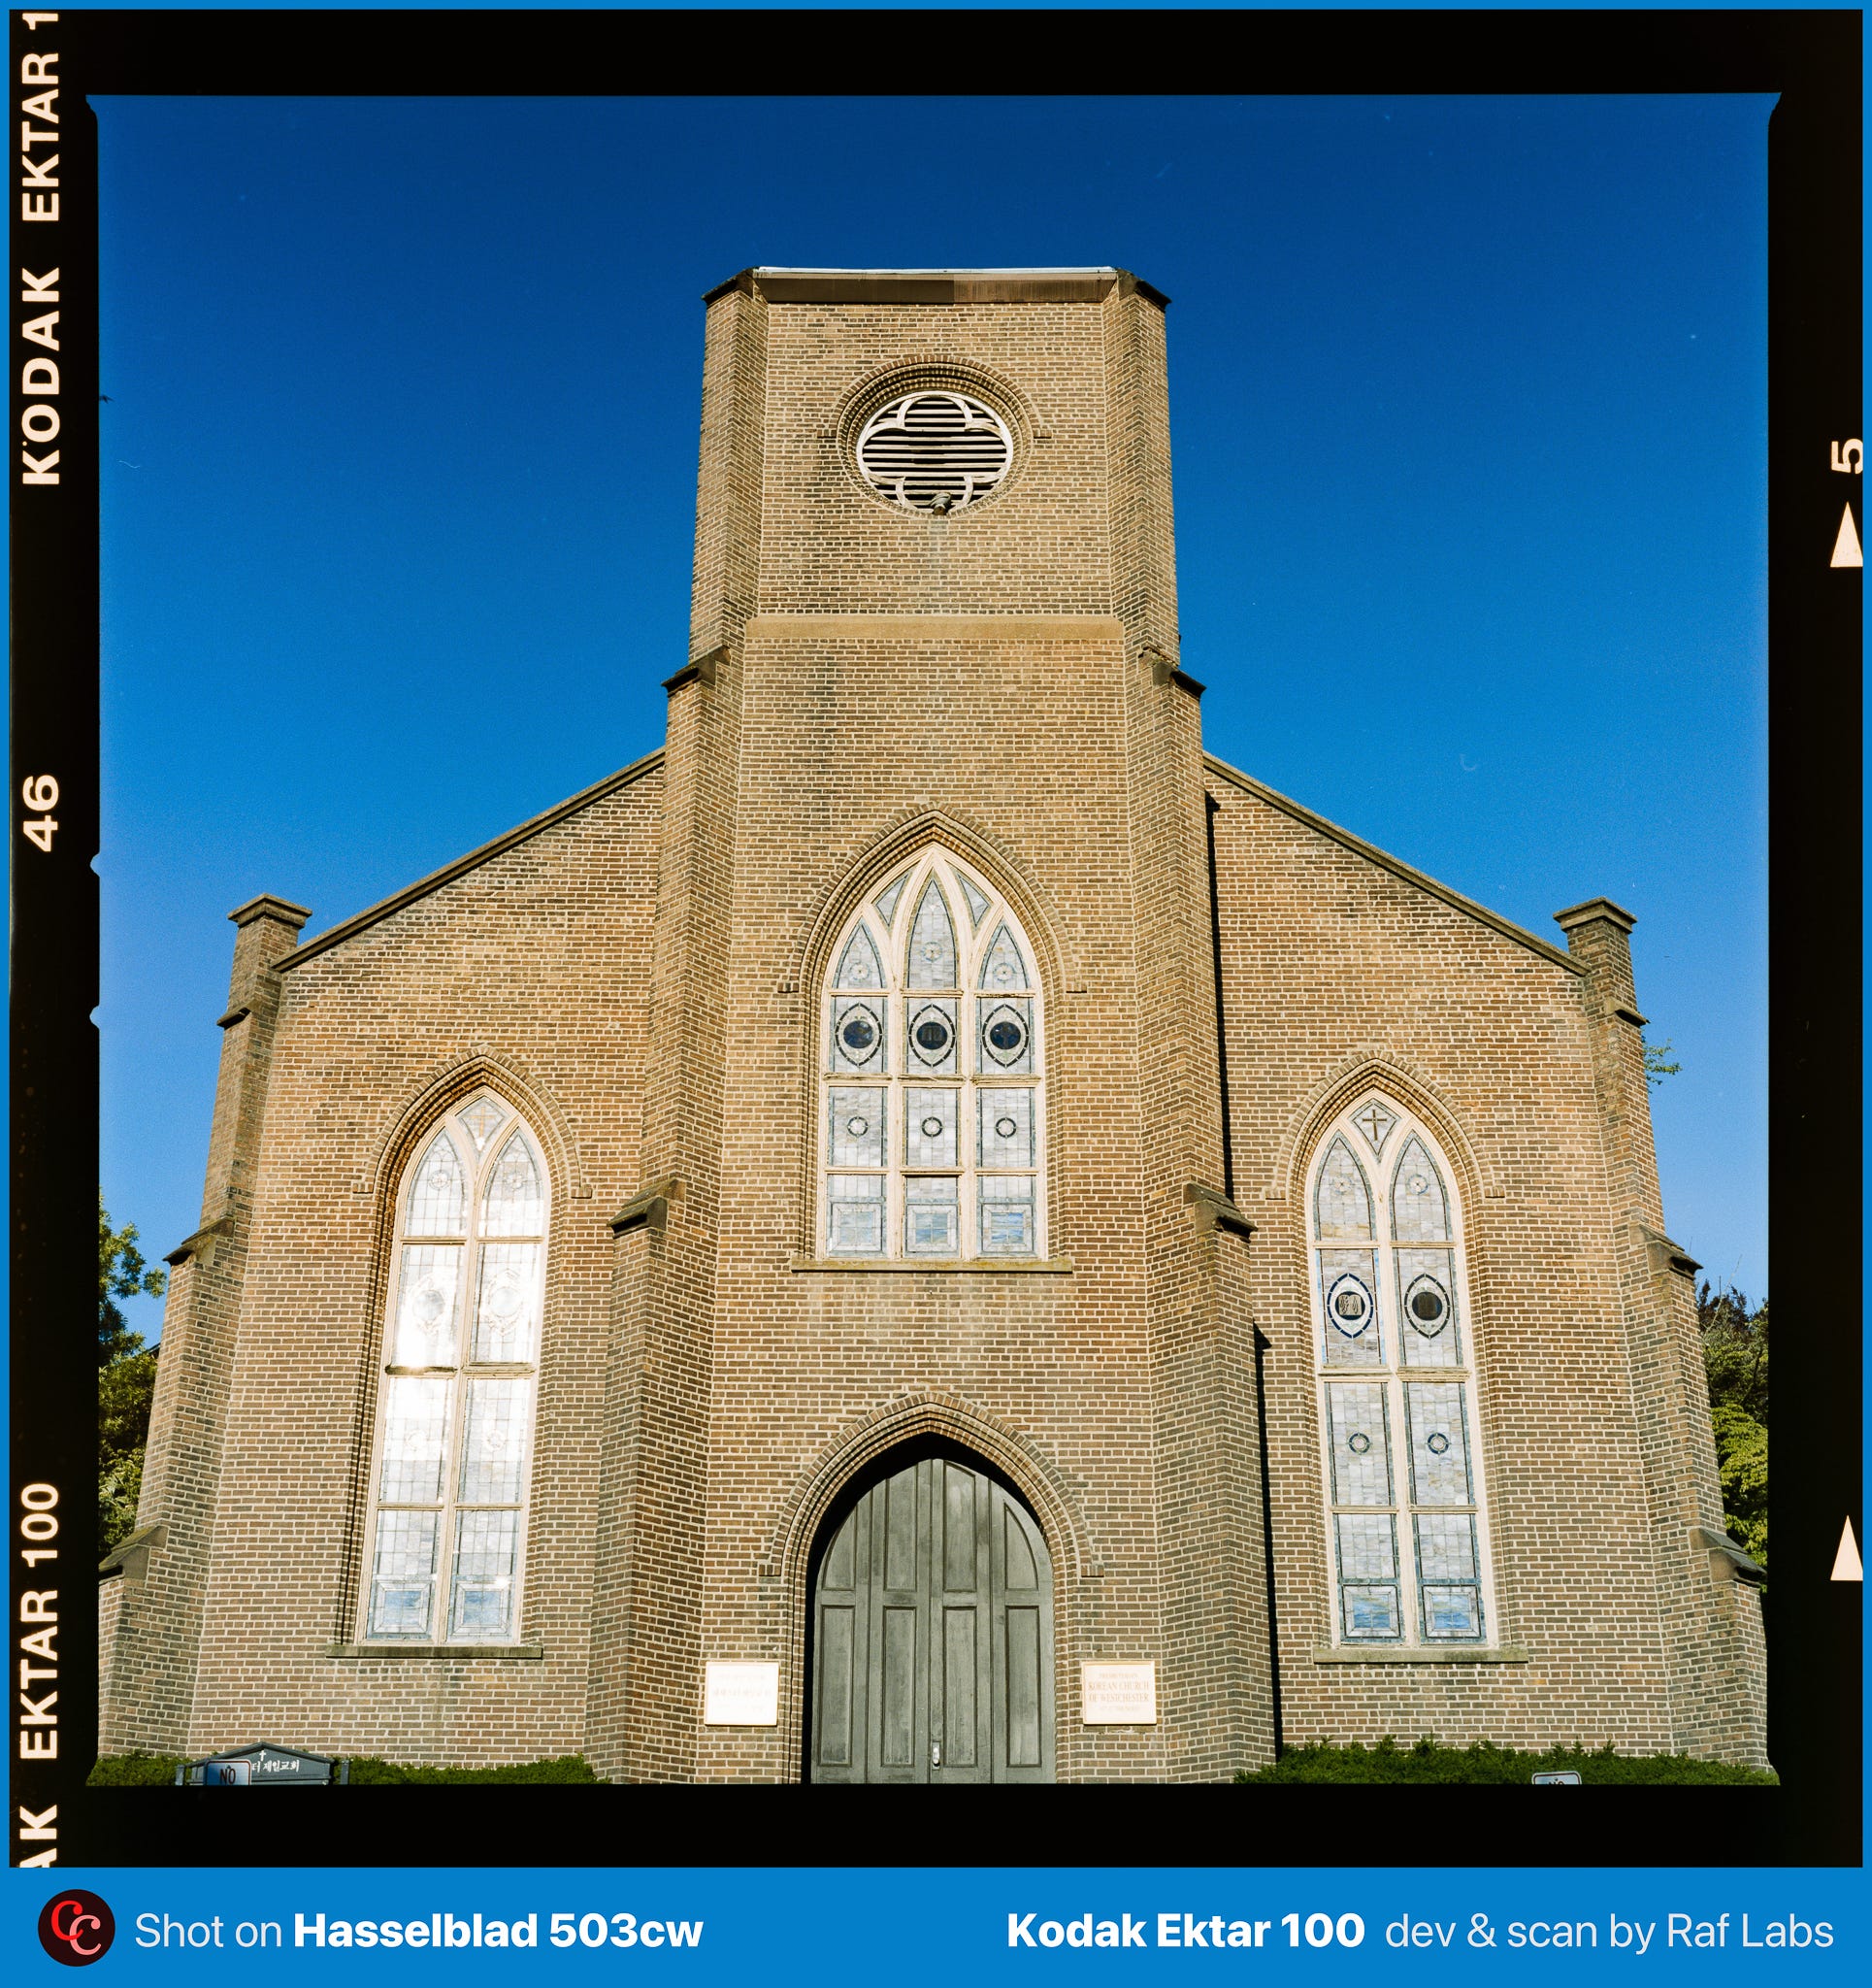
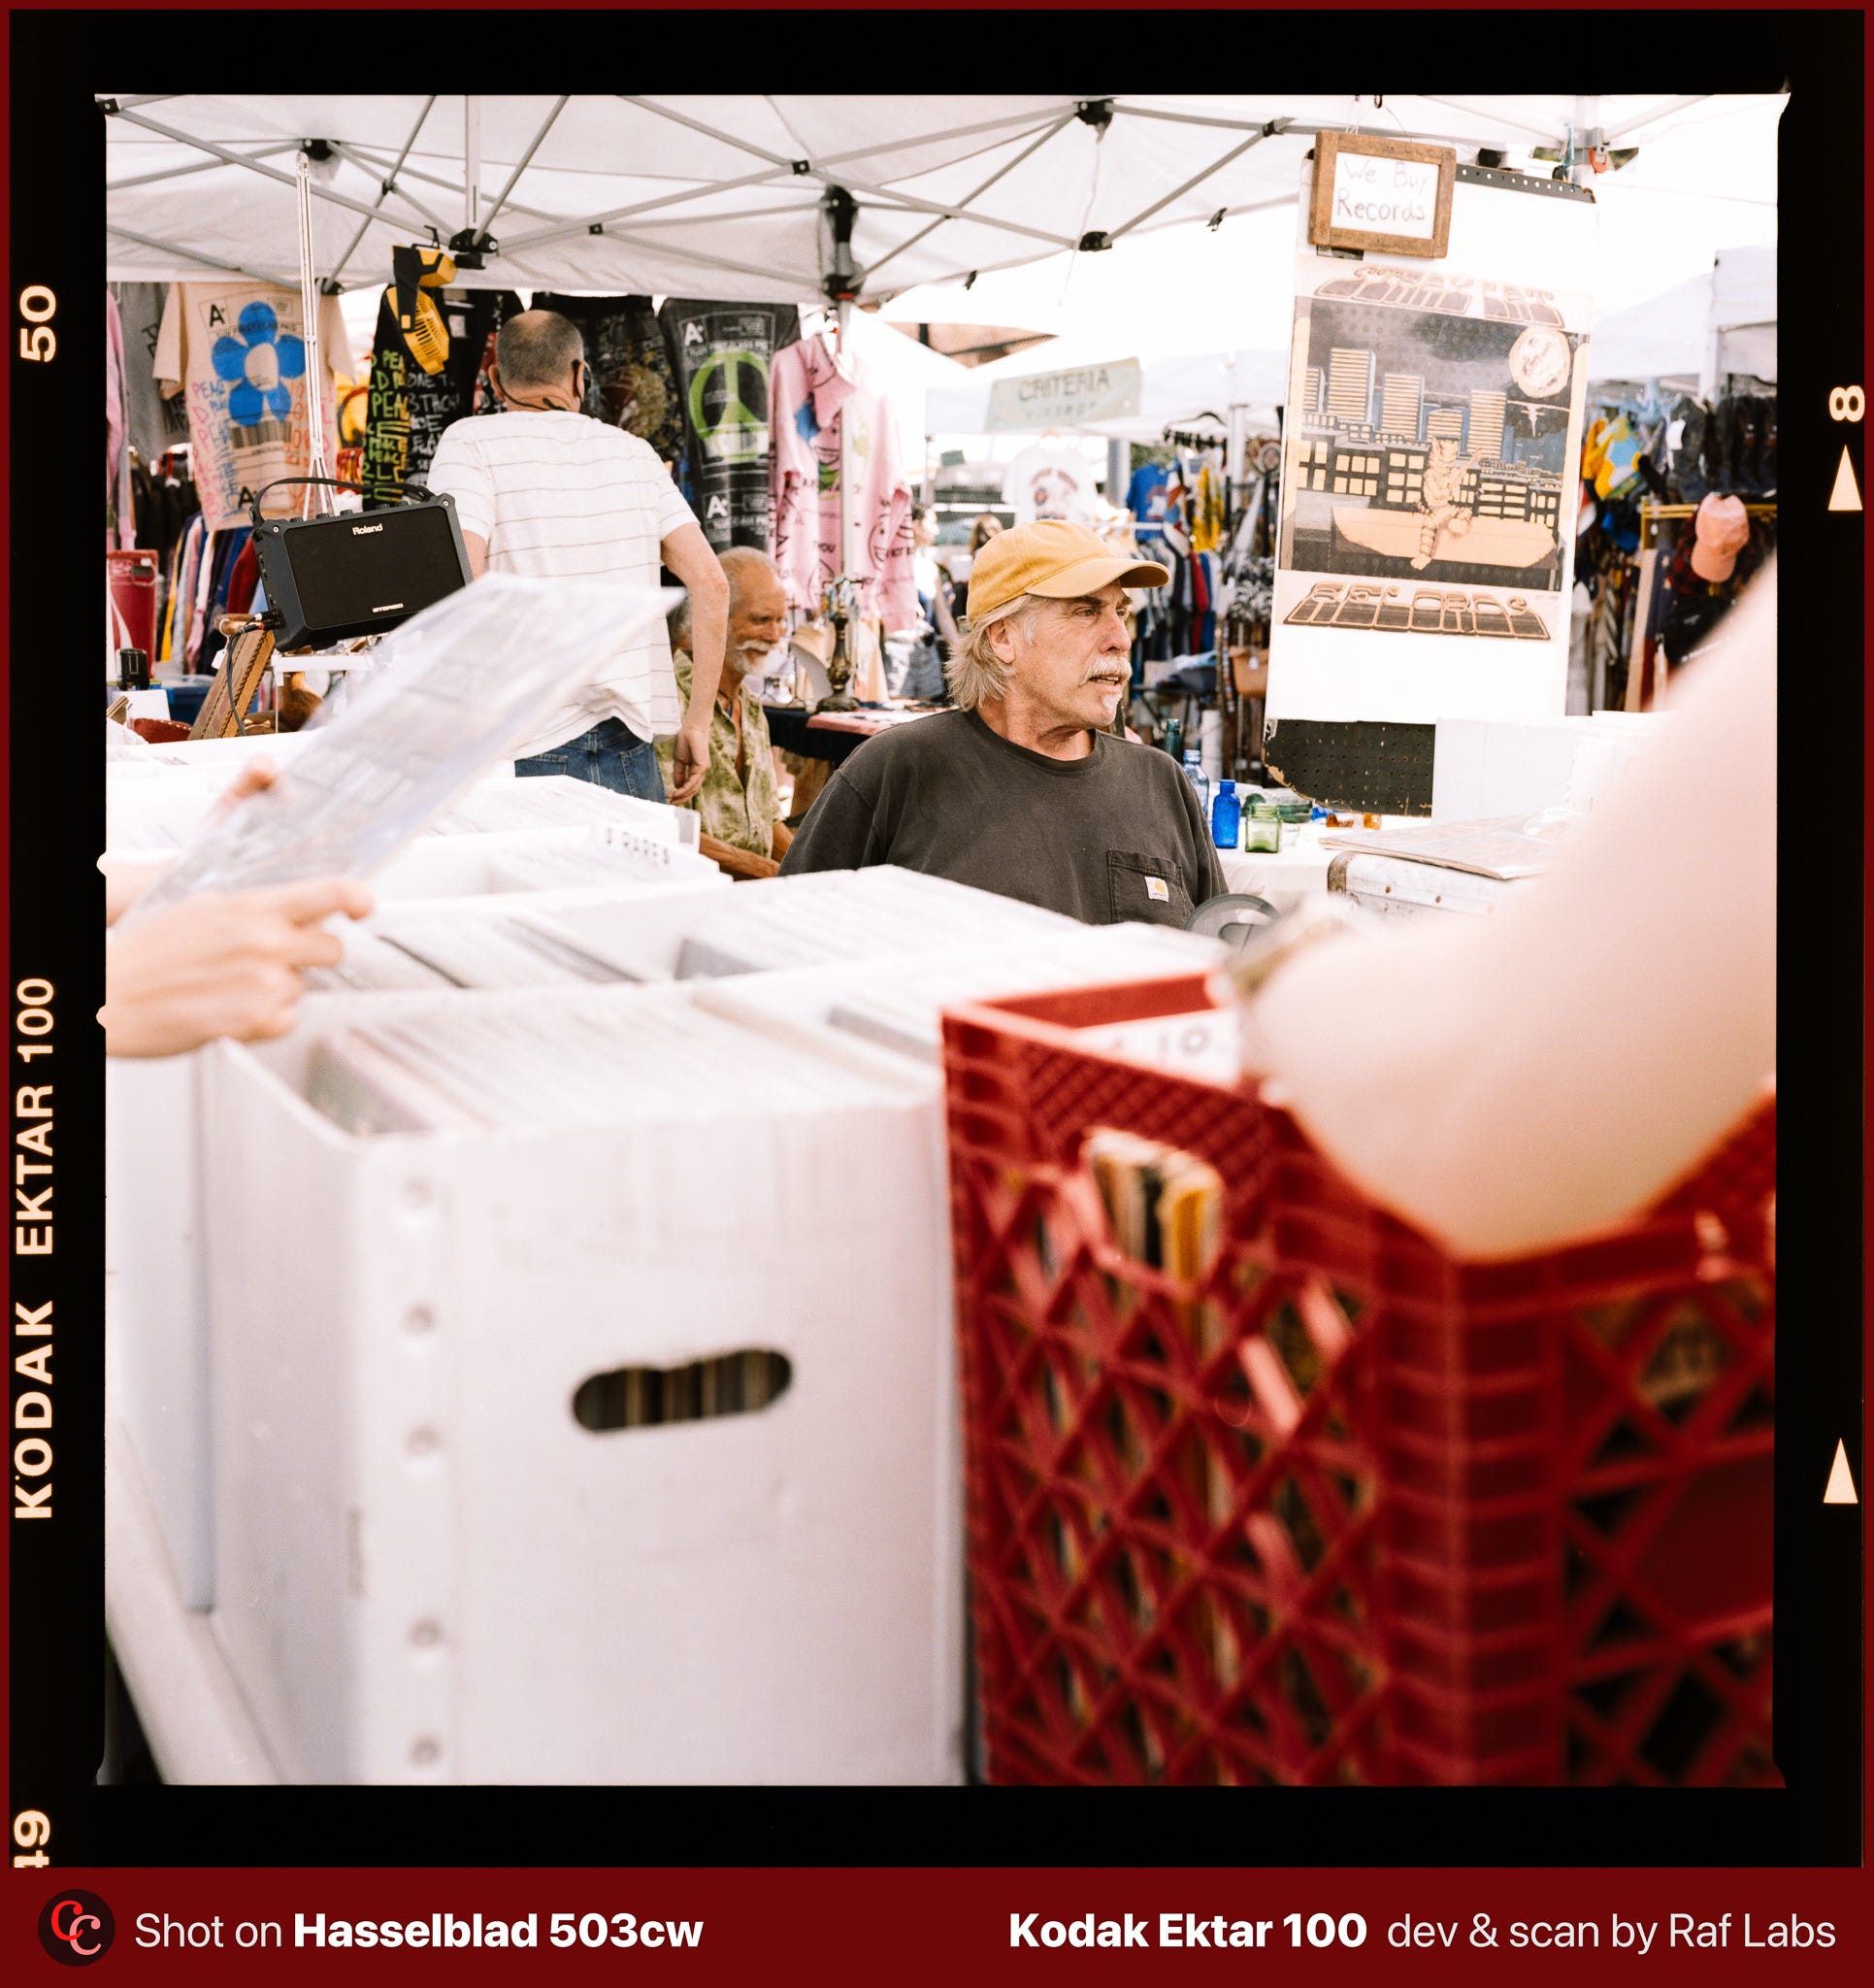
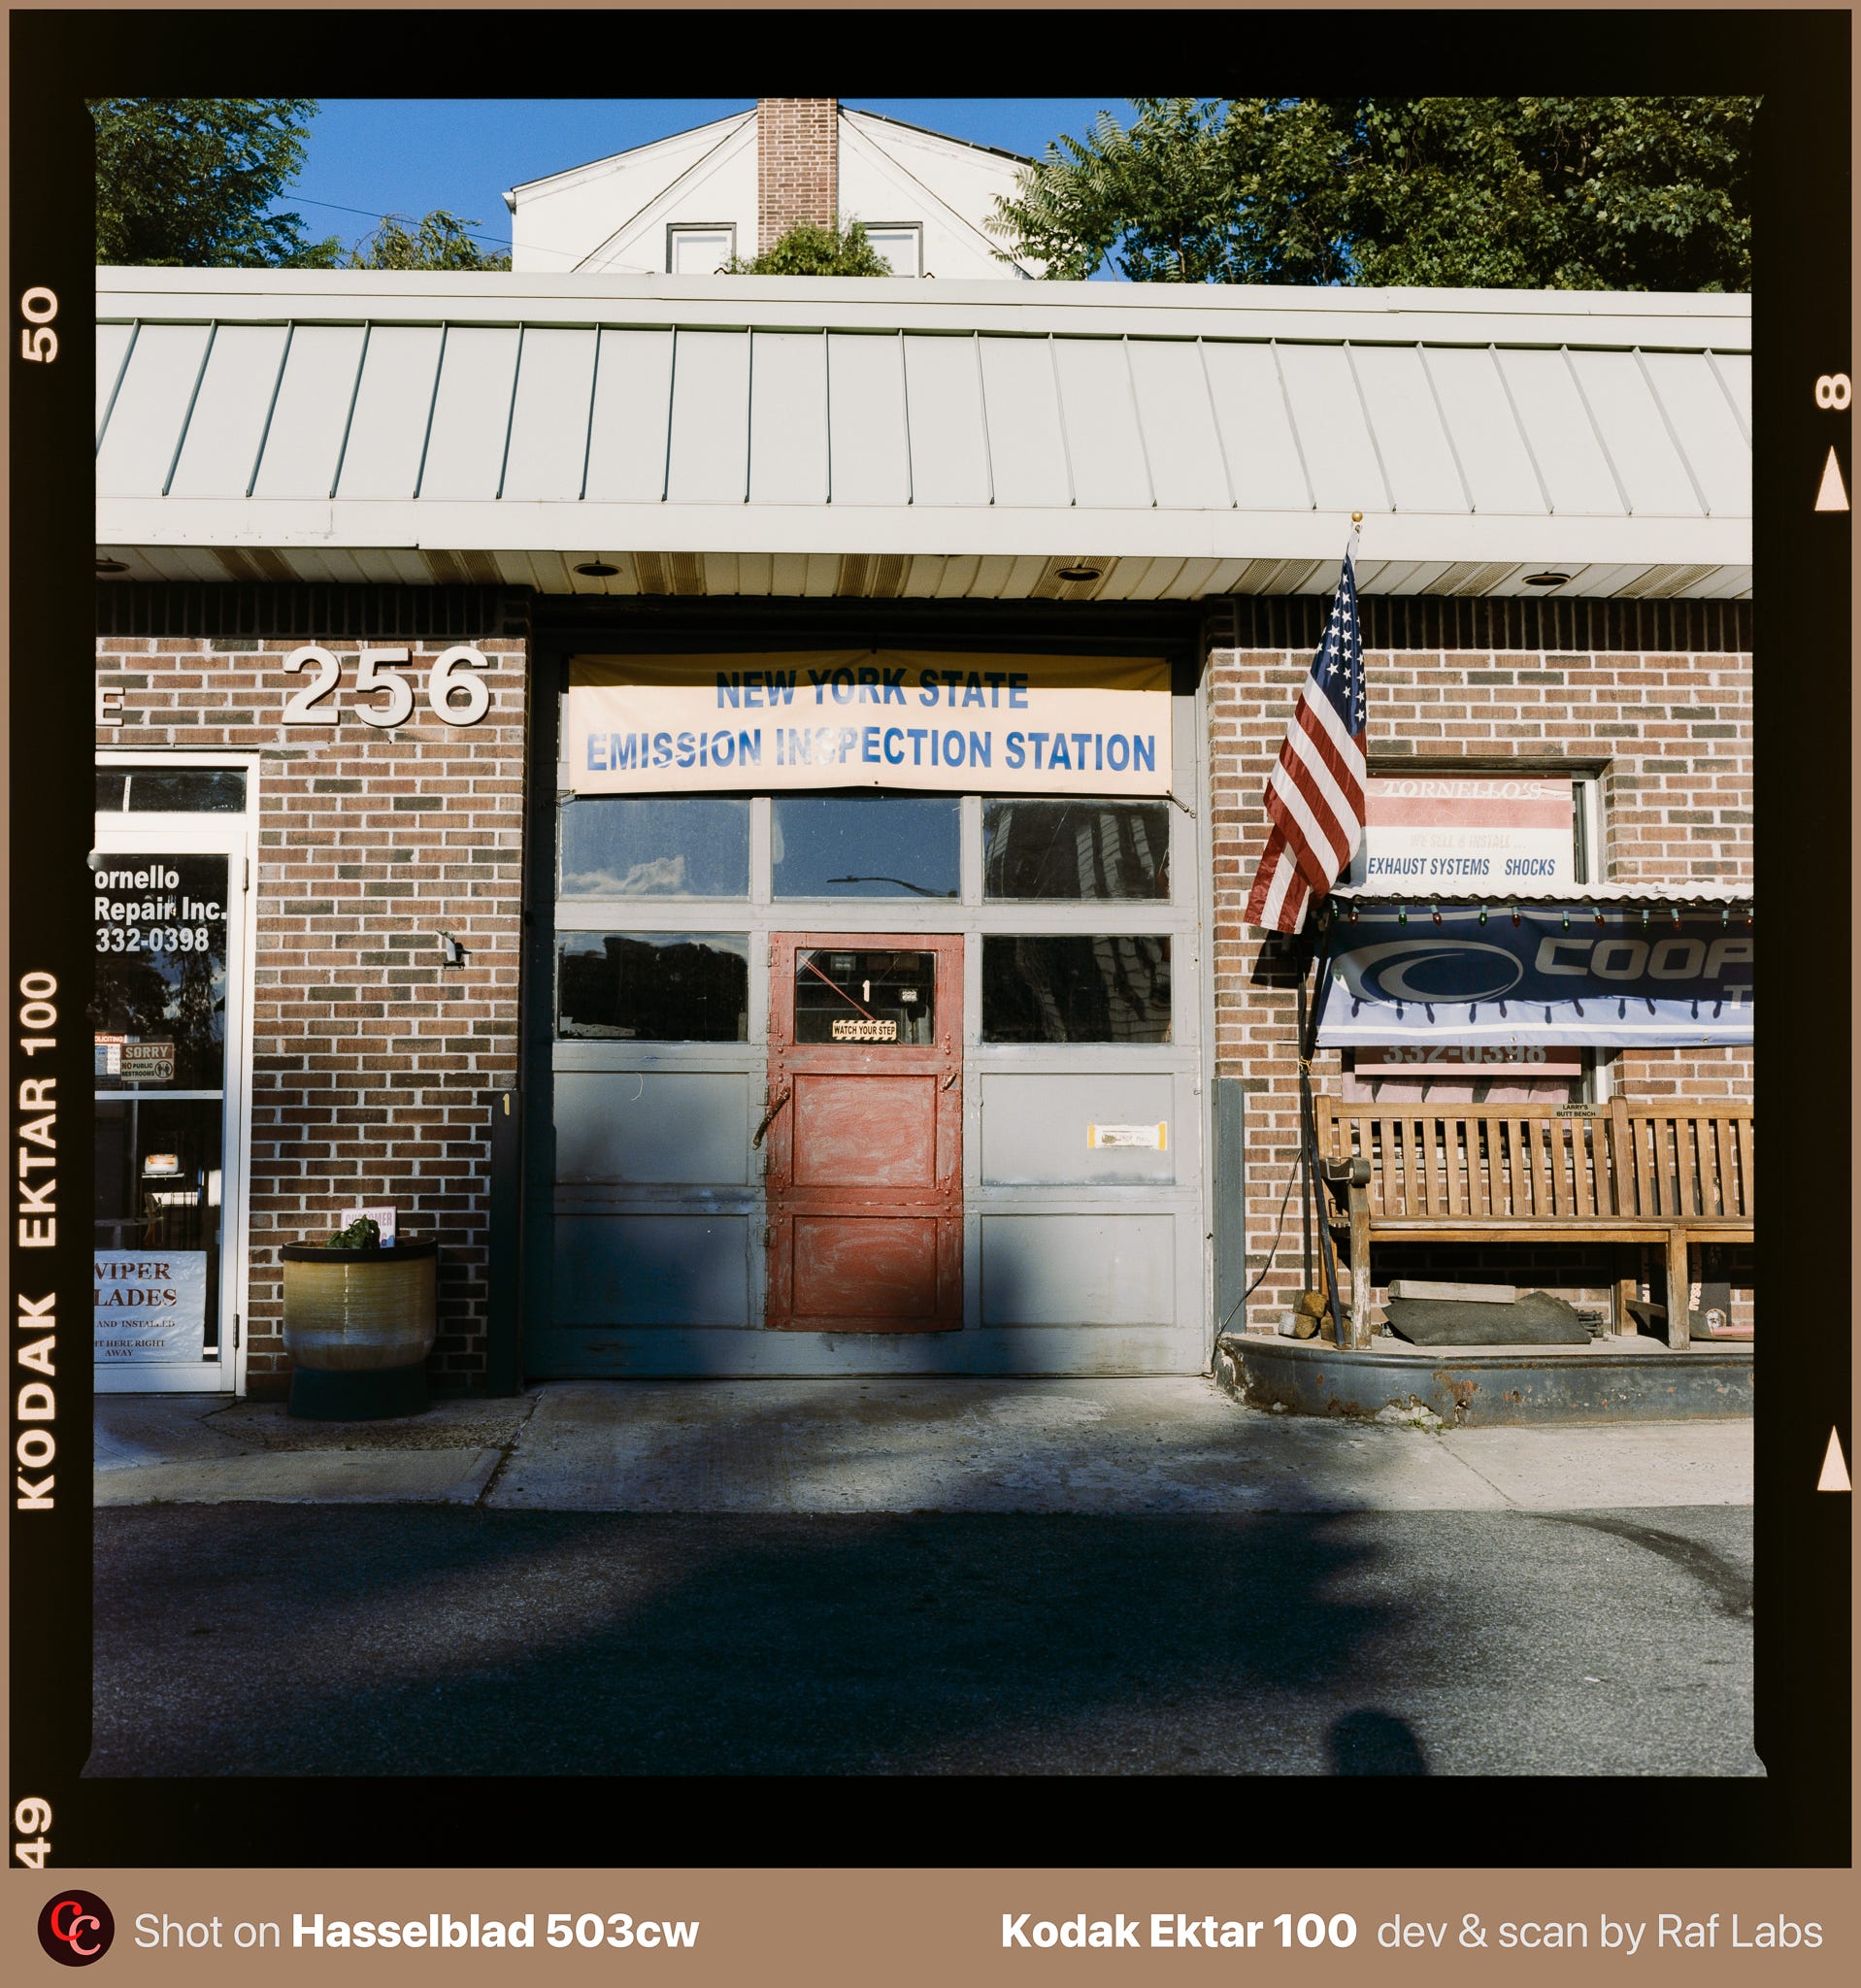
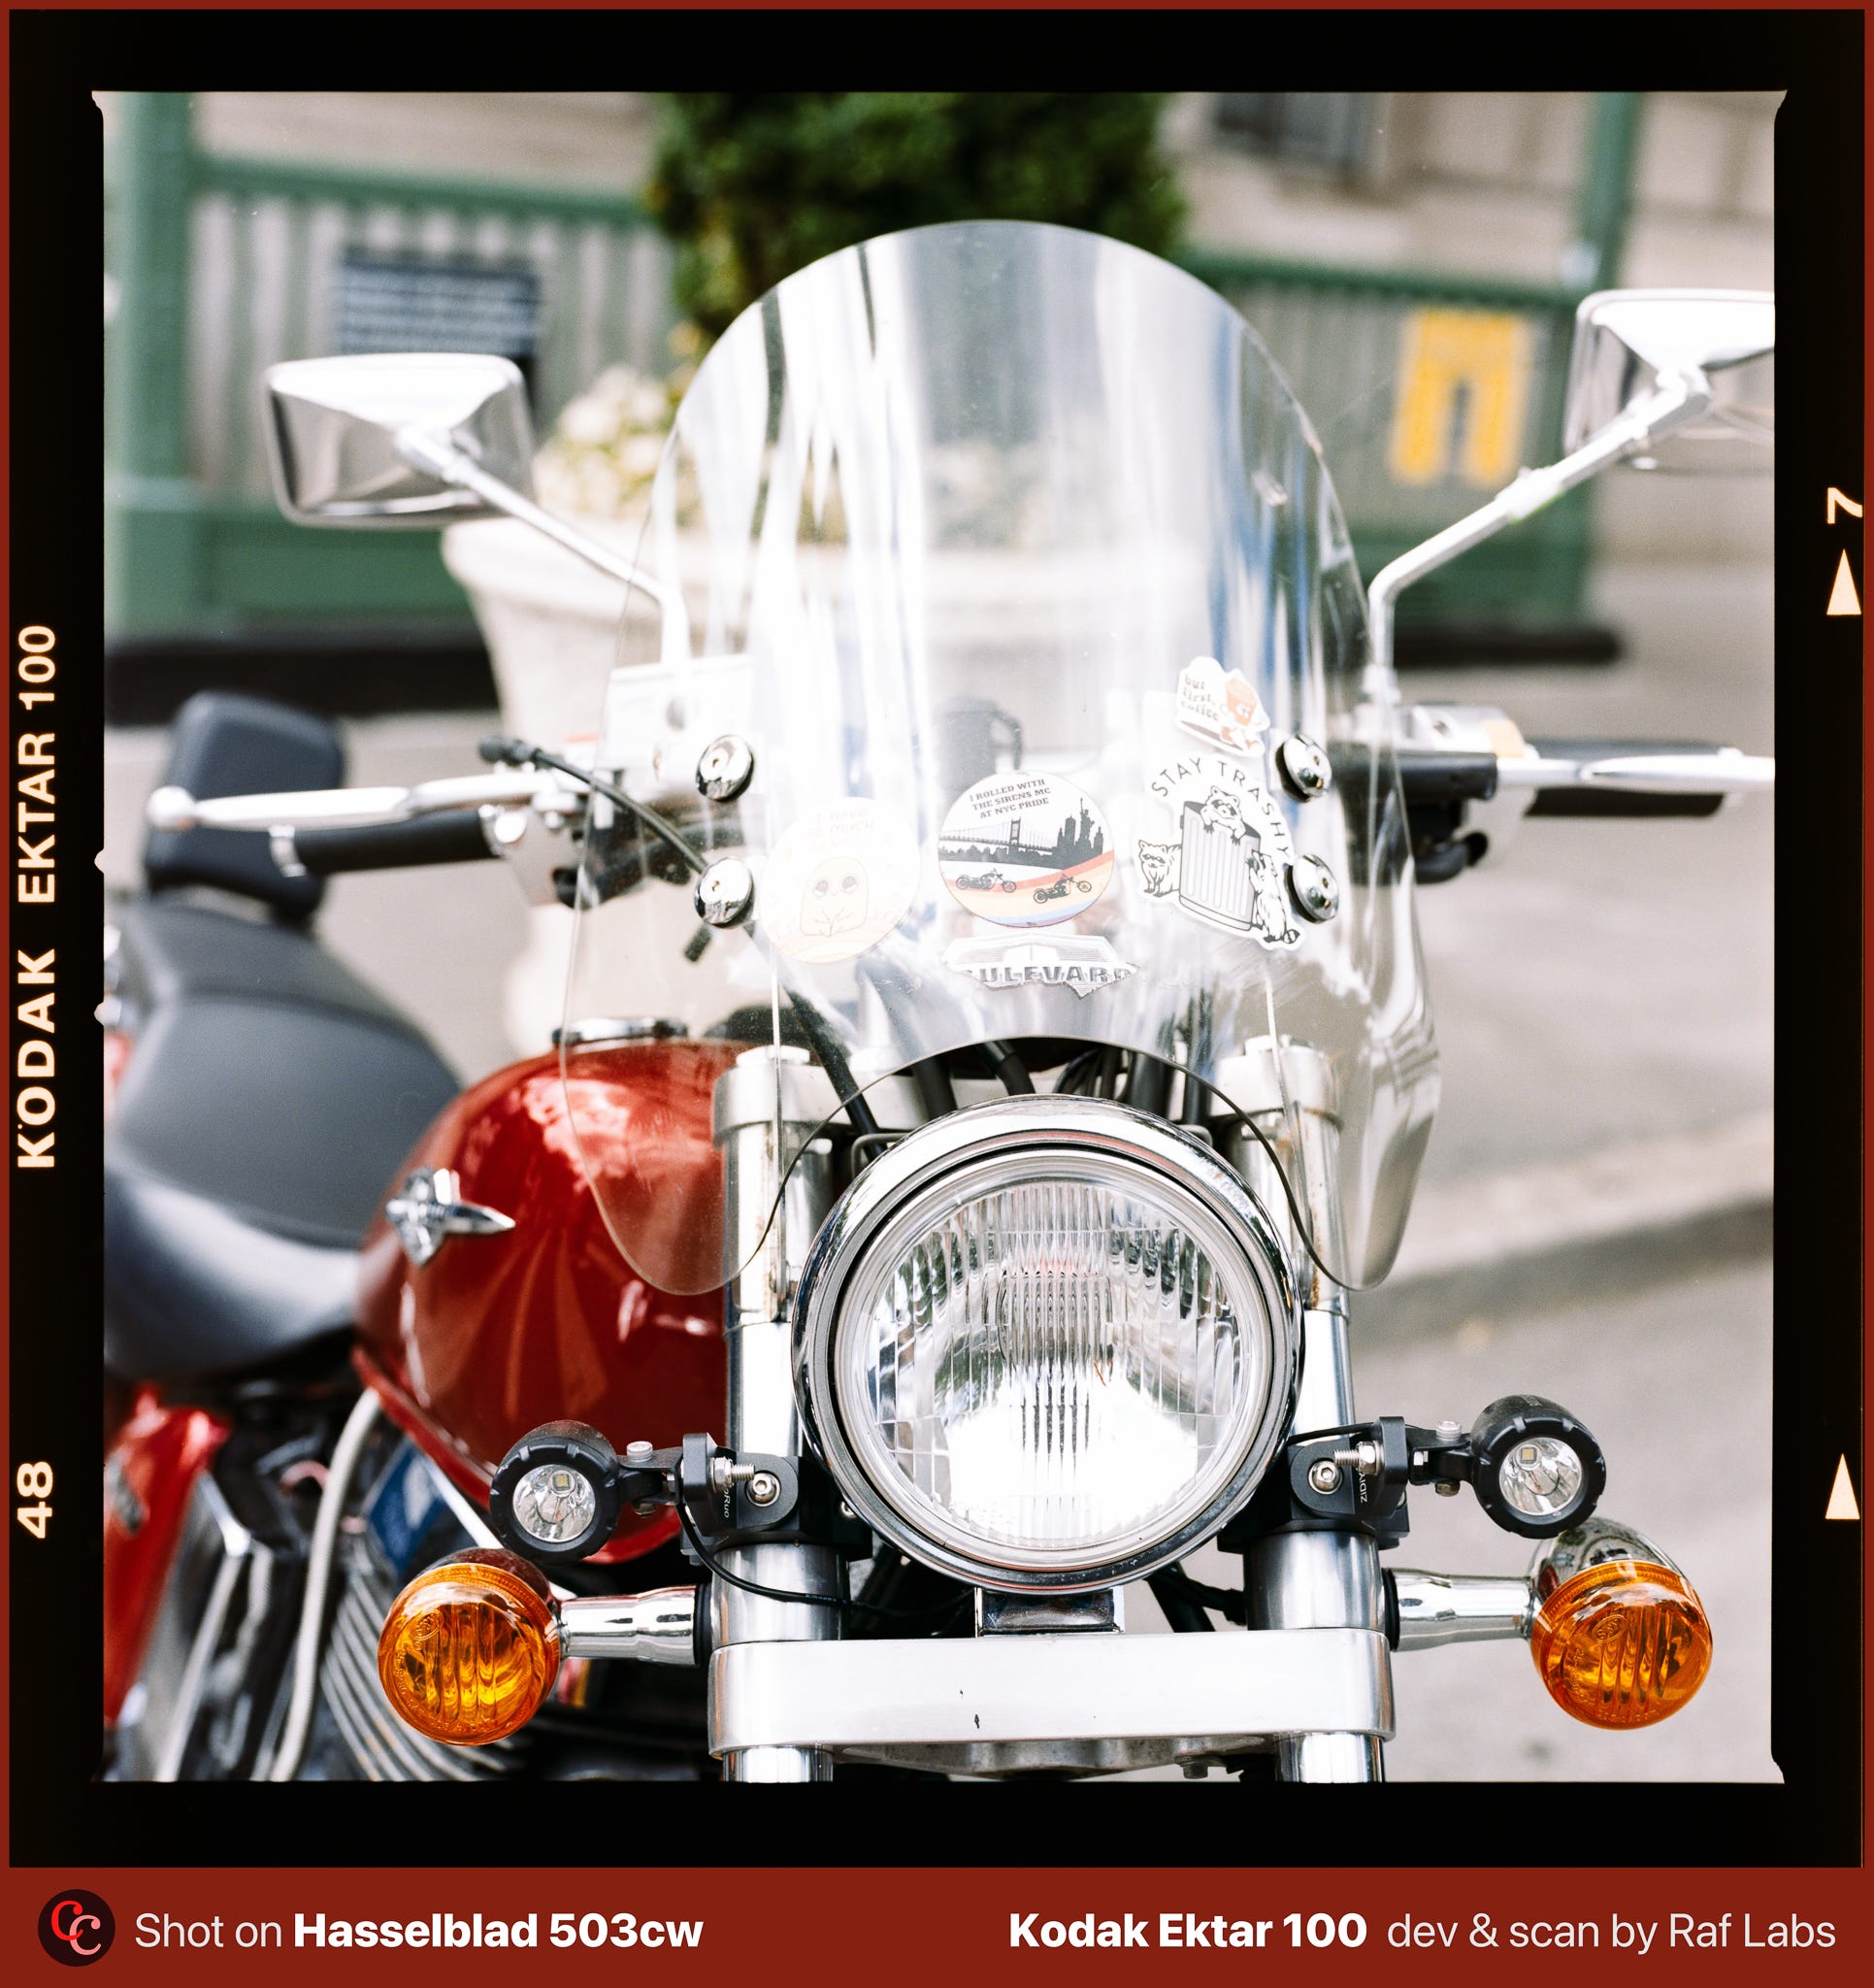
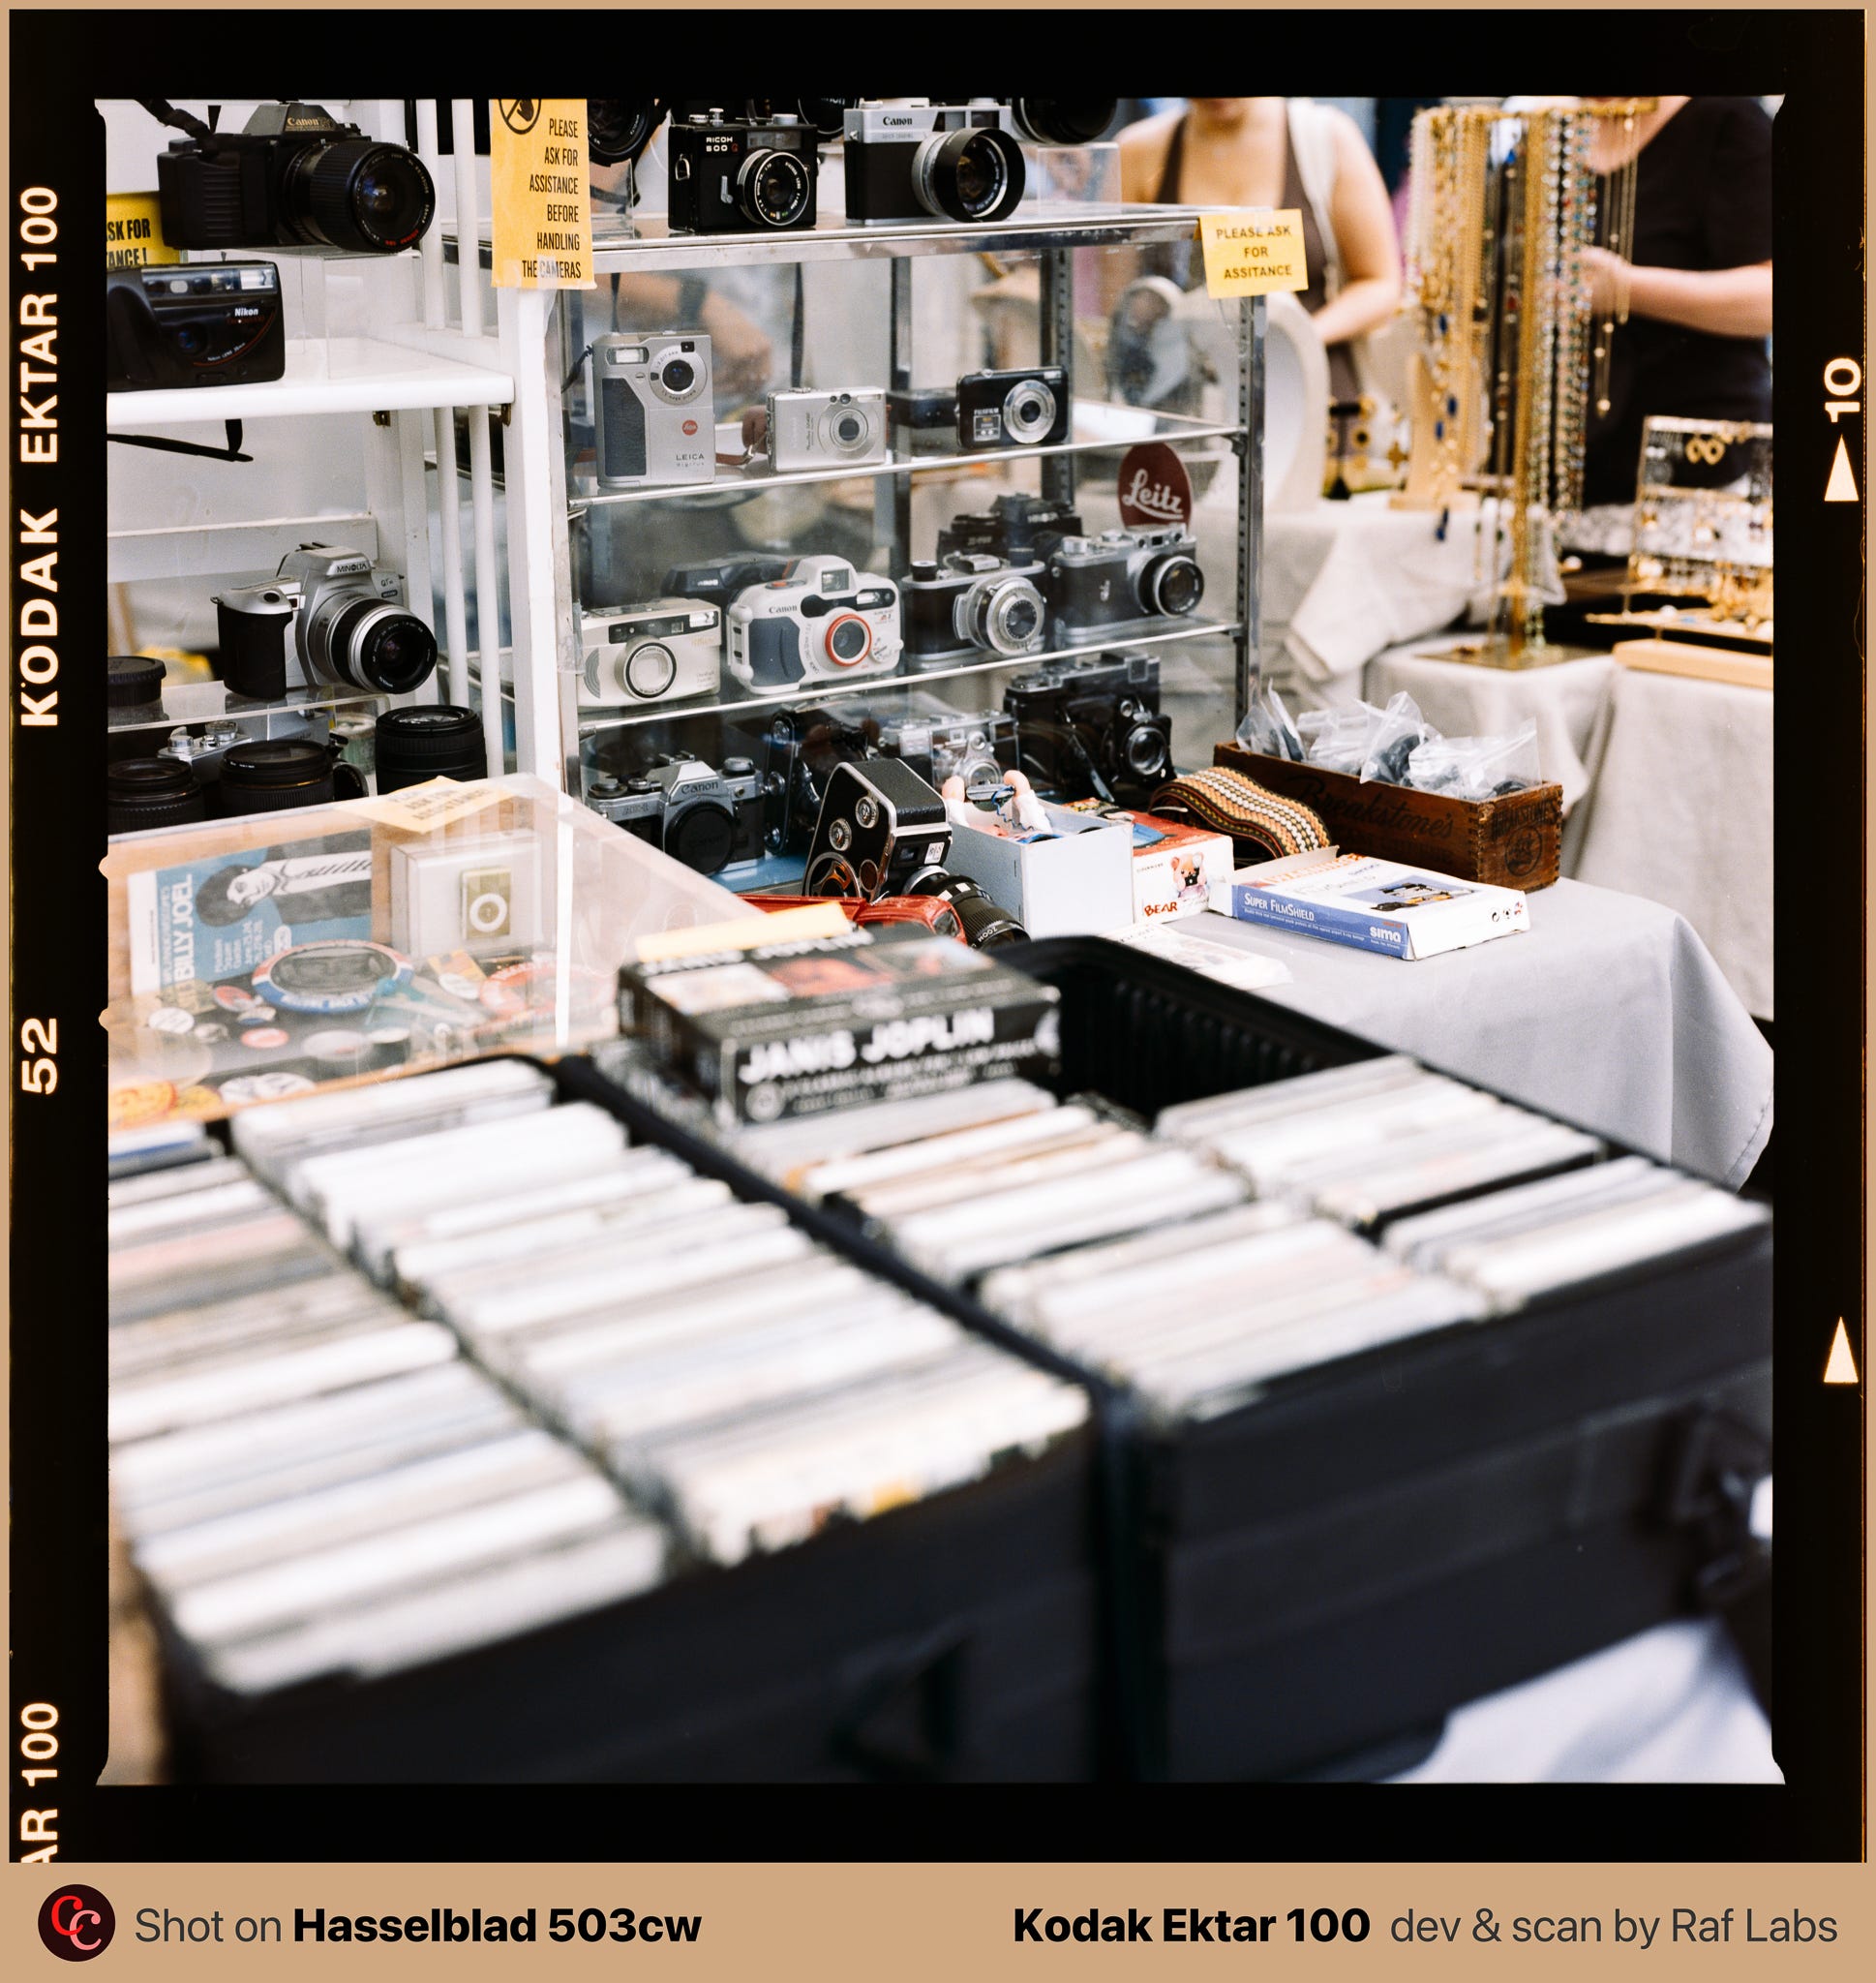
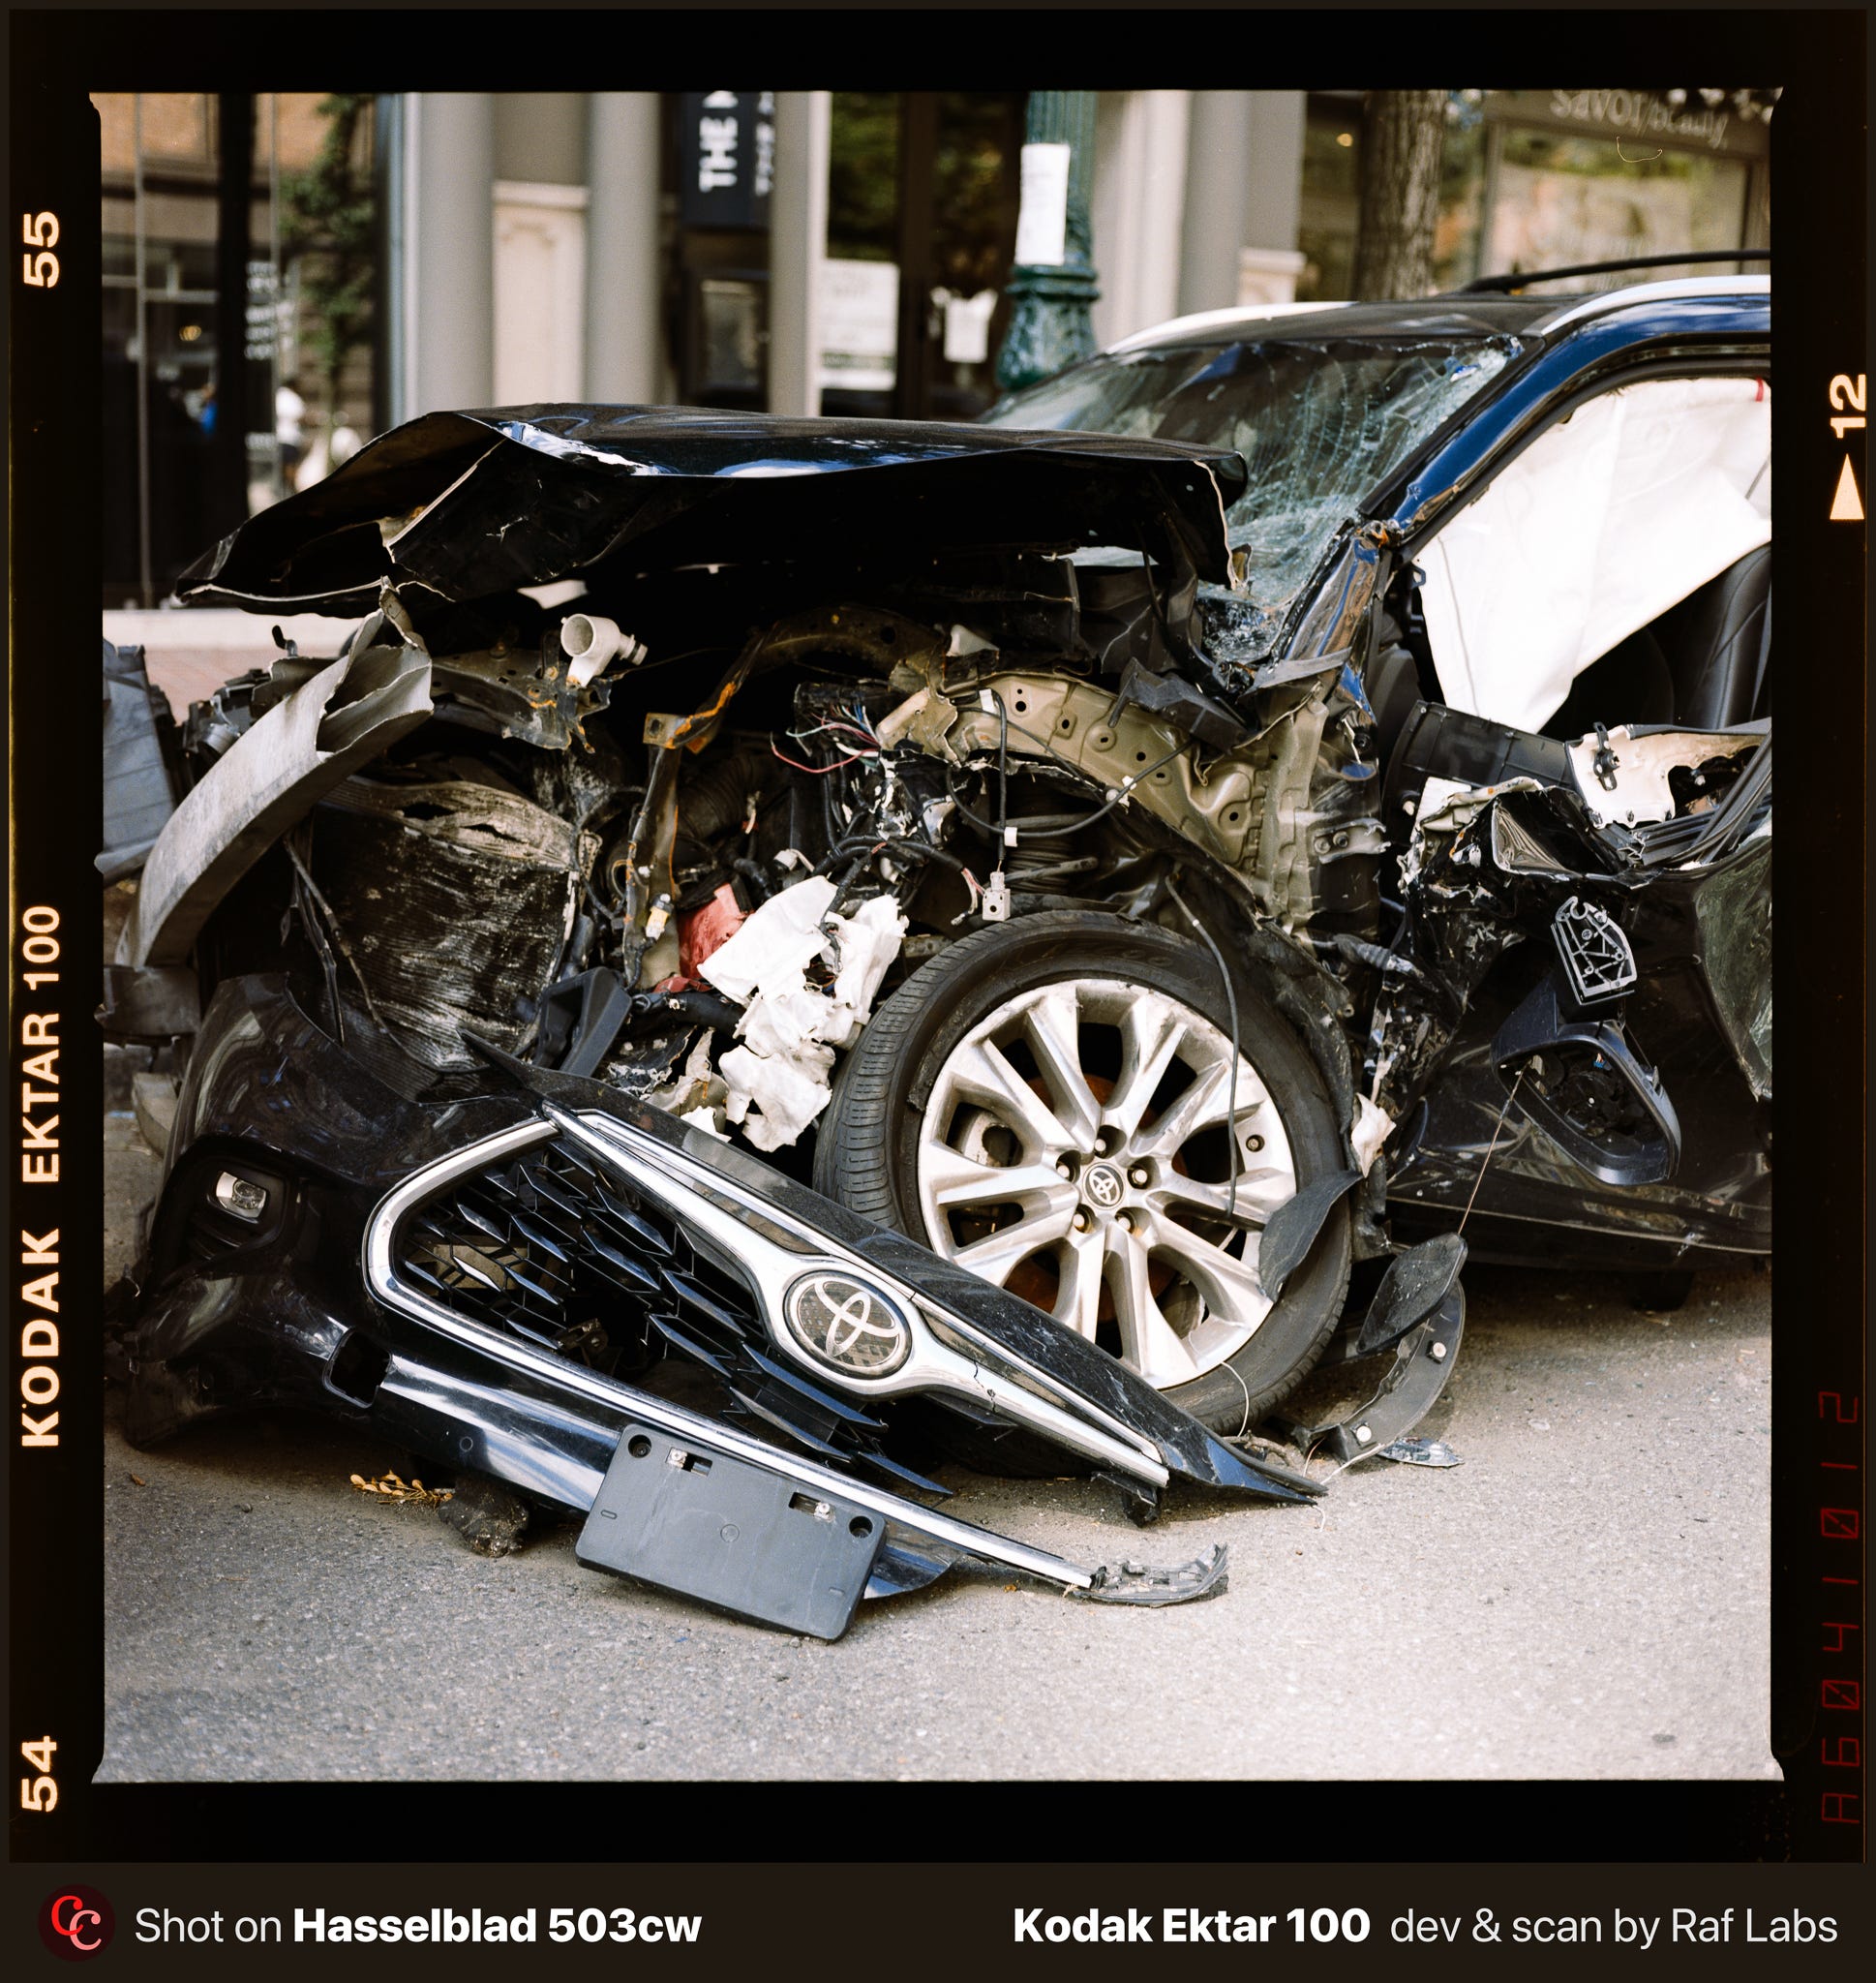
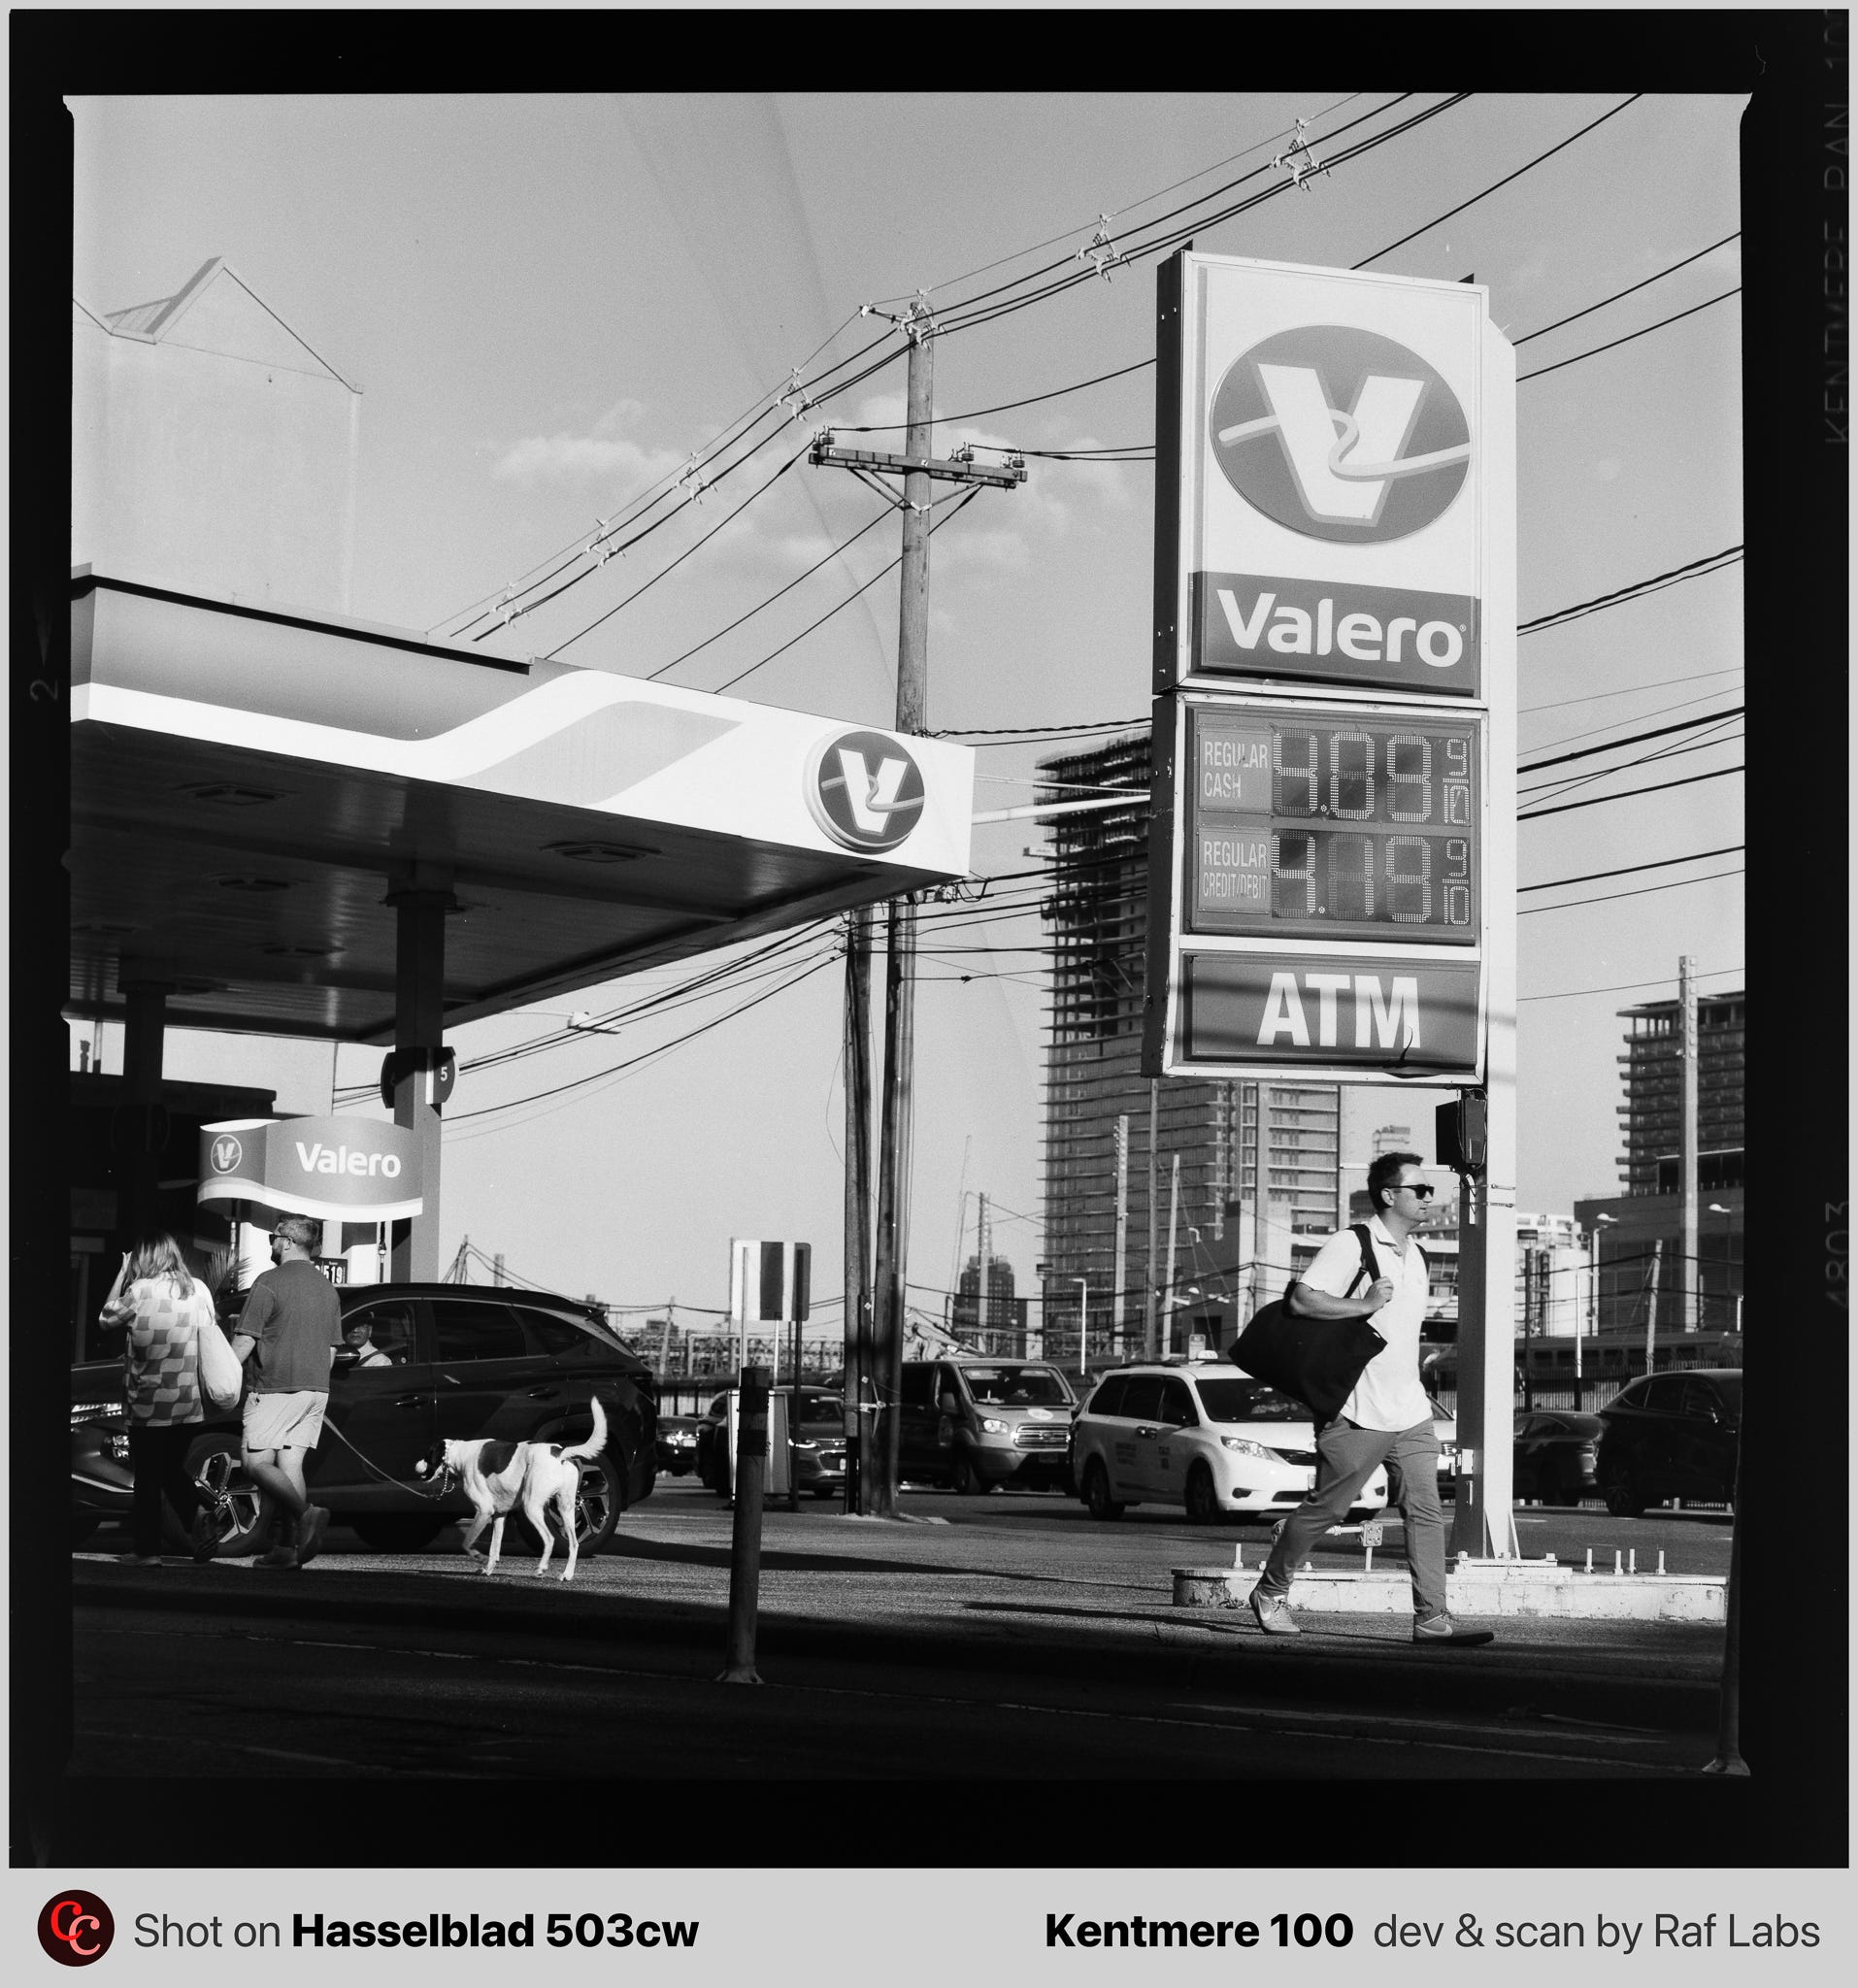
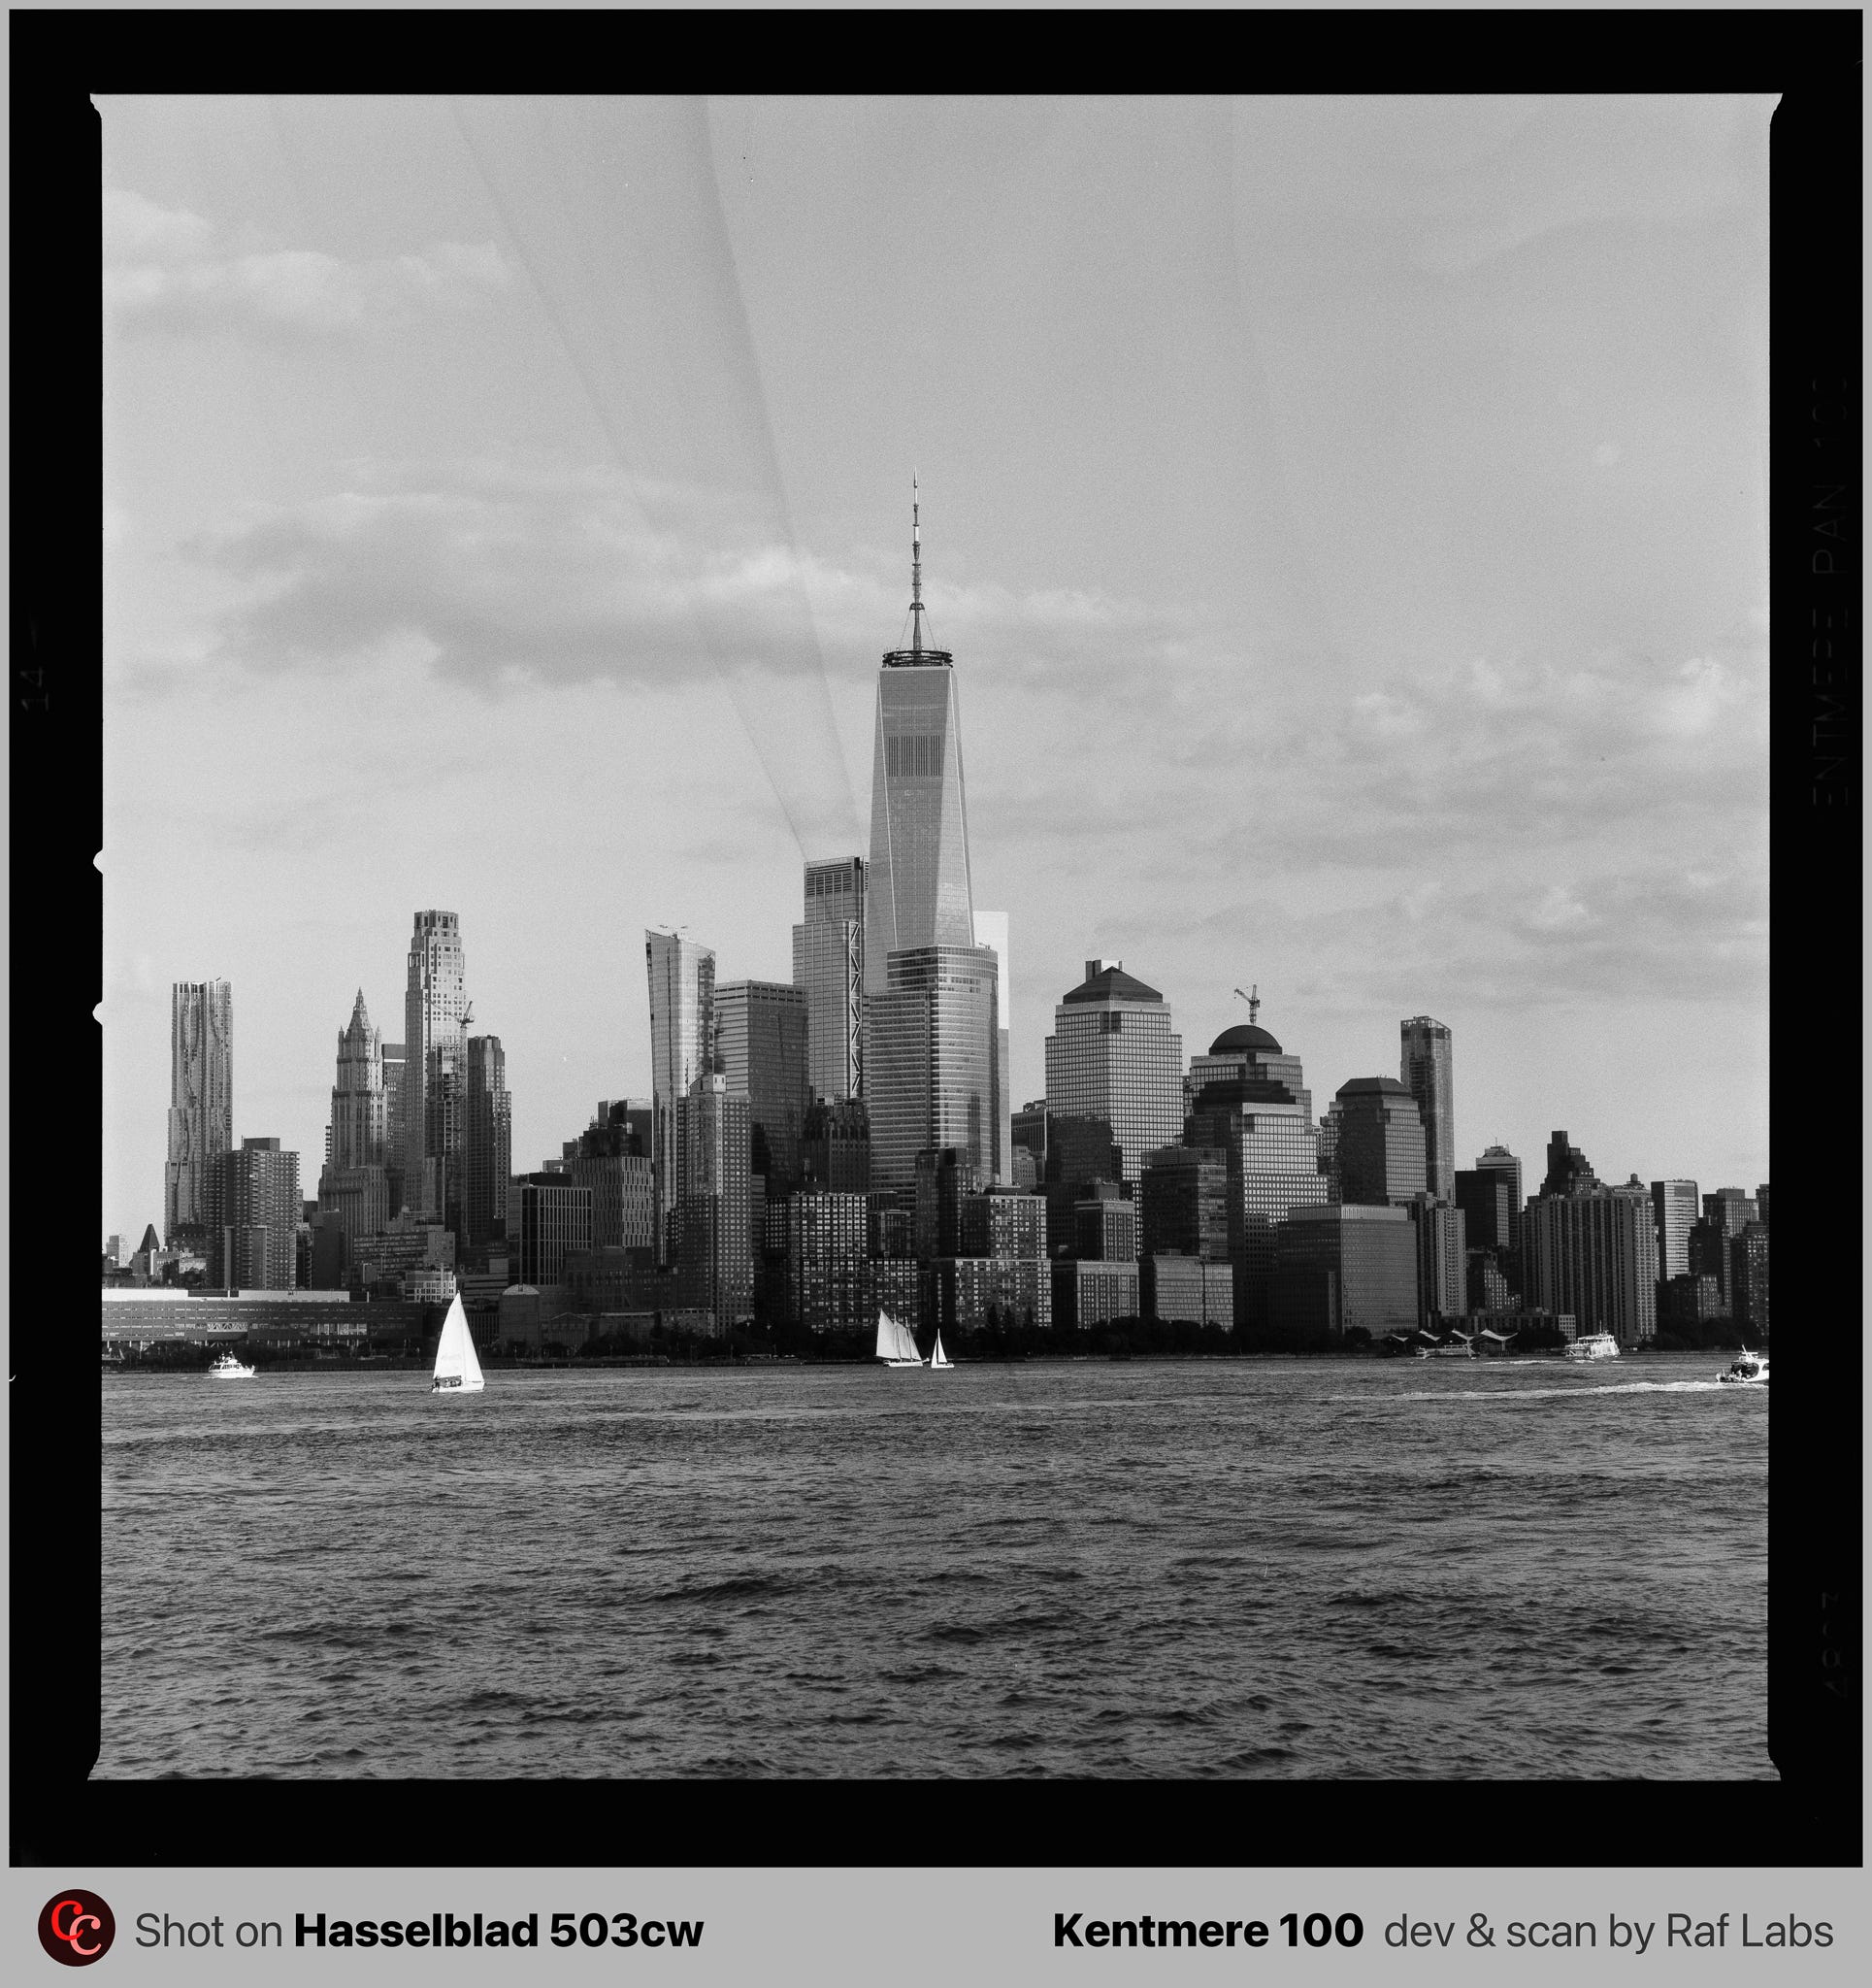
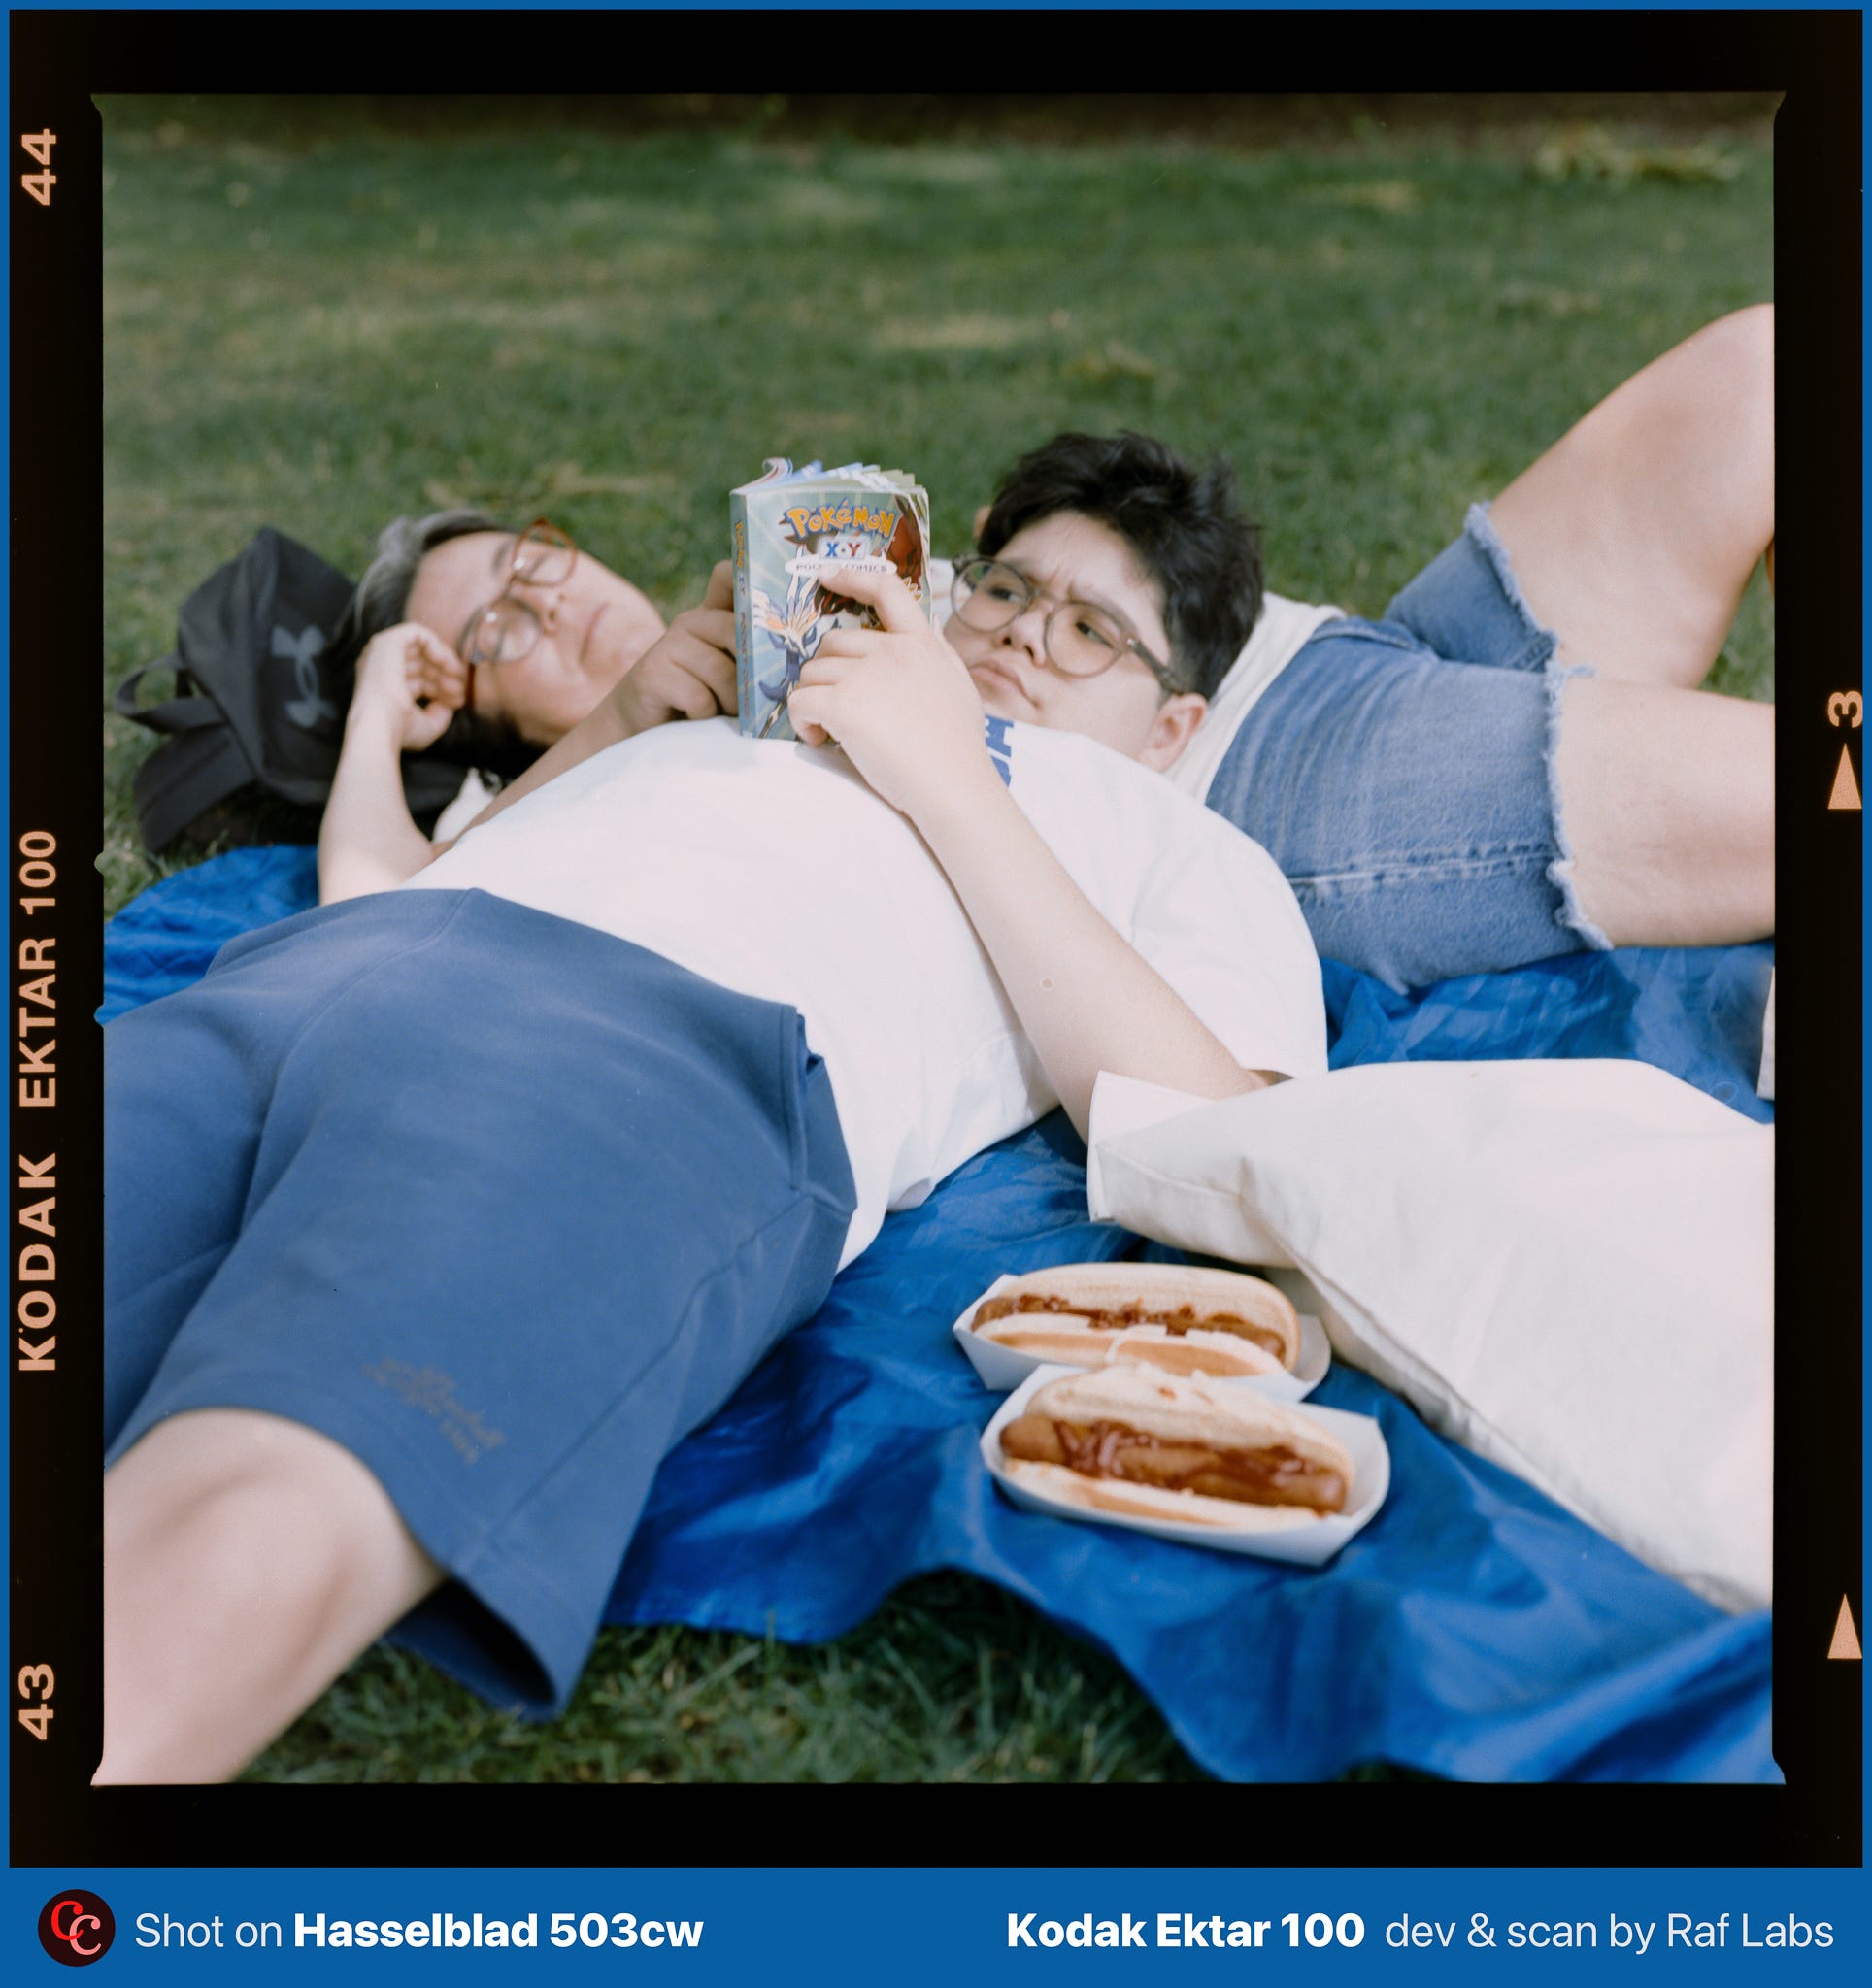
Here are some photos I took using an incident light meter, the Sekonic L-308X-U. Exposure is nailed in every single one, edits are minimal, as you can see per the film border, which is always black, and with consistent coloring on the lettering.
If you liked this post, subscribe to CameraClara. Posts are free for the first 3 months, then it gets automatically paywalled, if you don't wanna miss anything, consider being a paid subscriber, it will light my day up!


Using a light meter and observing light while shooting is an important exercise that will let you enjoy correctly exposed photographs more and more.
