Film soup tutorial: how Juno and I created monstera-like effects with beer on 35mm film
Photos by Juno, who shot 2x35mm rolls and handled to RafLabs for experimental beer development
Why film soup? The philosophy of controlled chaos
Traditional film photography obsesses over technical perfection: exact temperatures, precise timing, consistent chemistry. Film soup laughs at these rules. You surrender control, accepting that destruction and creation exist in the same moment.
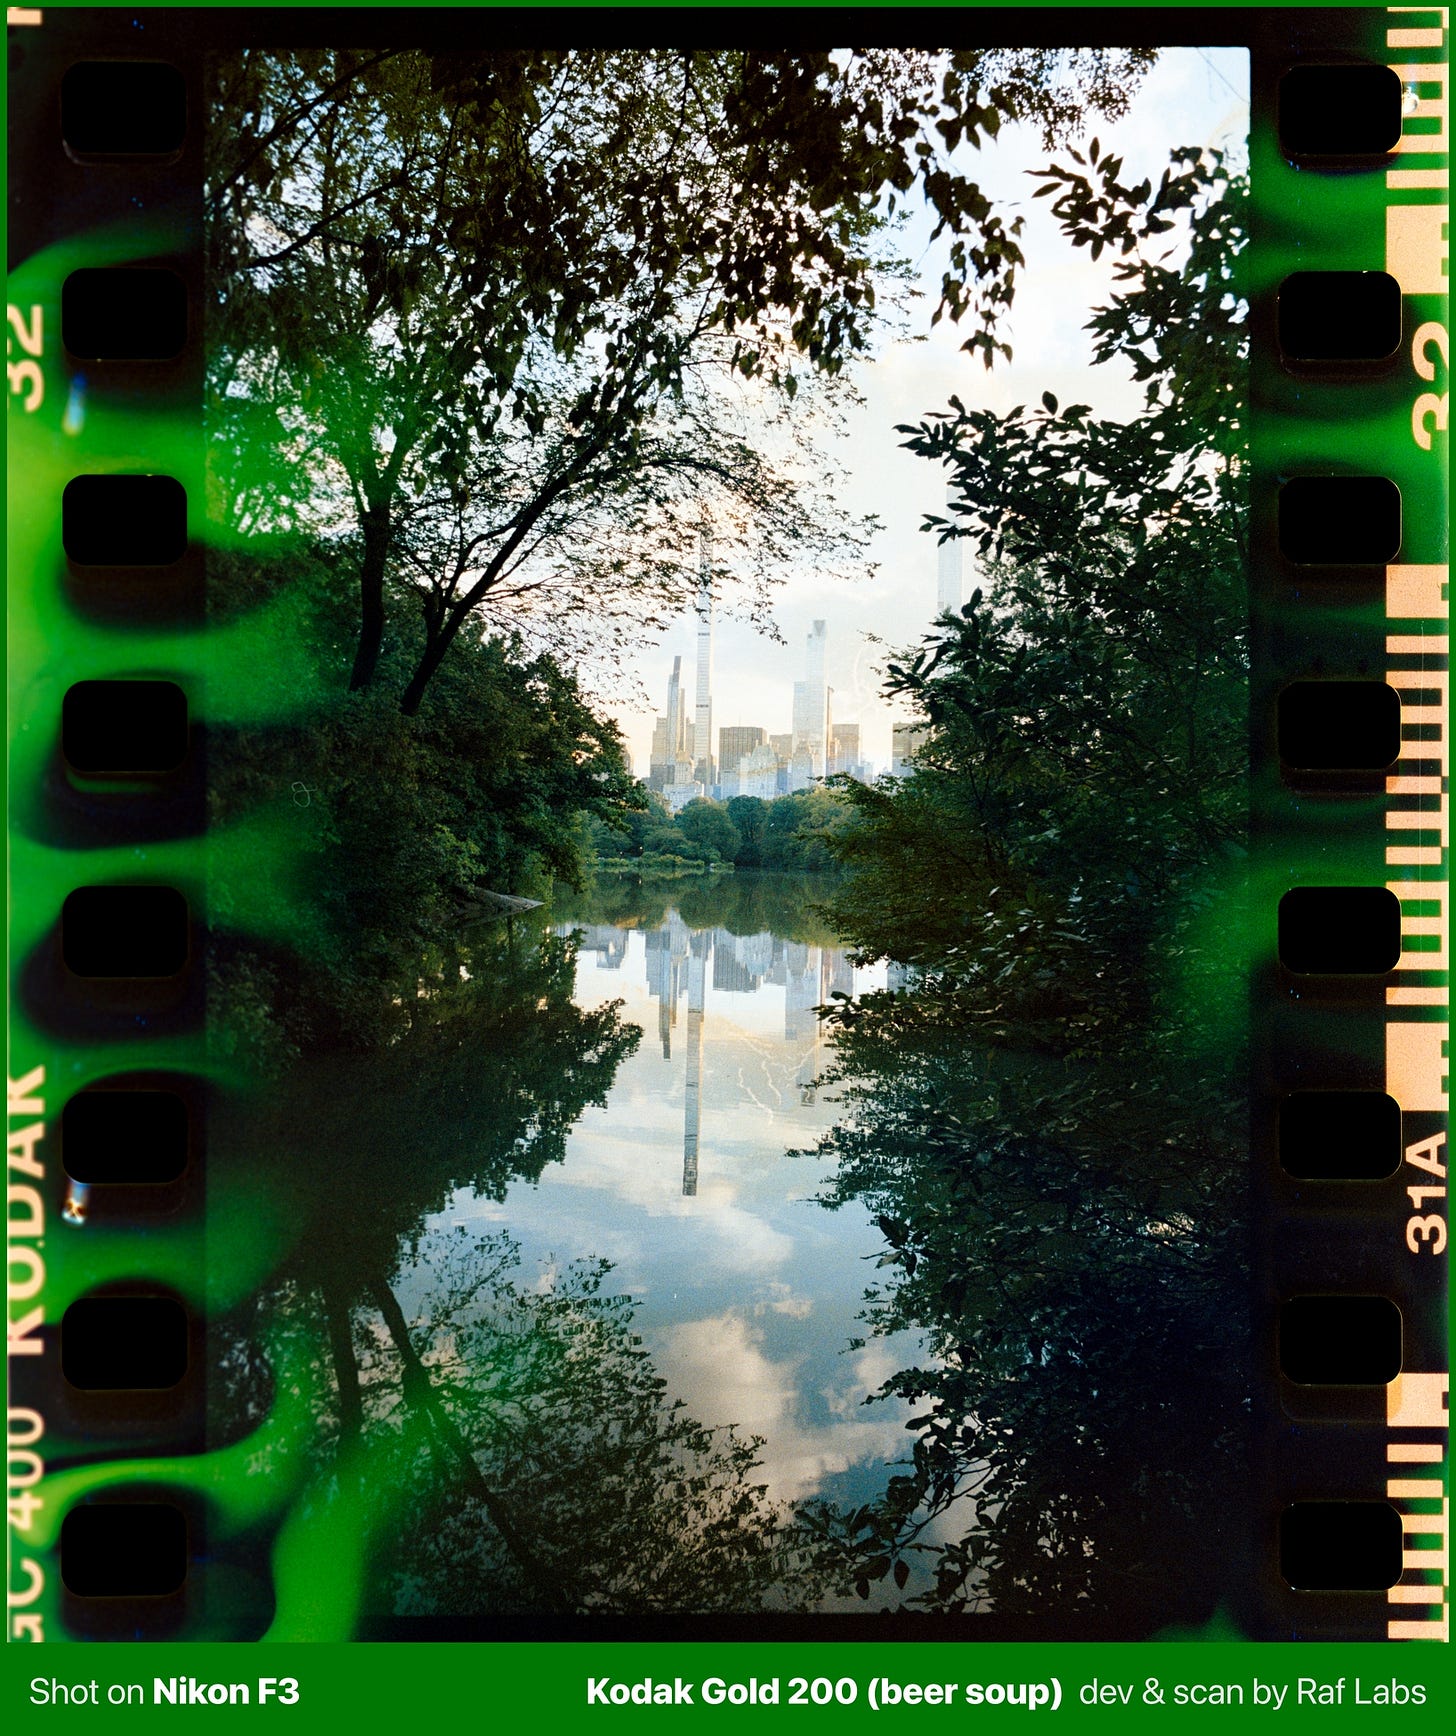
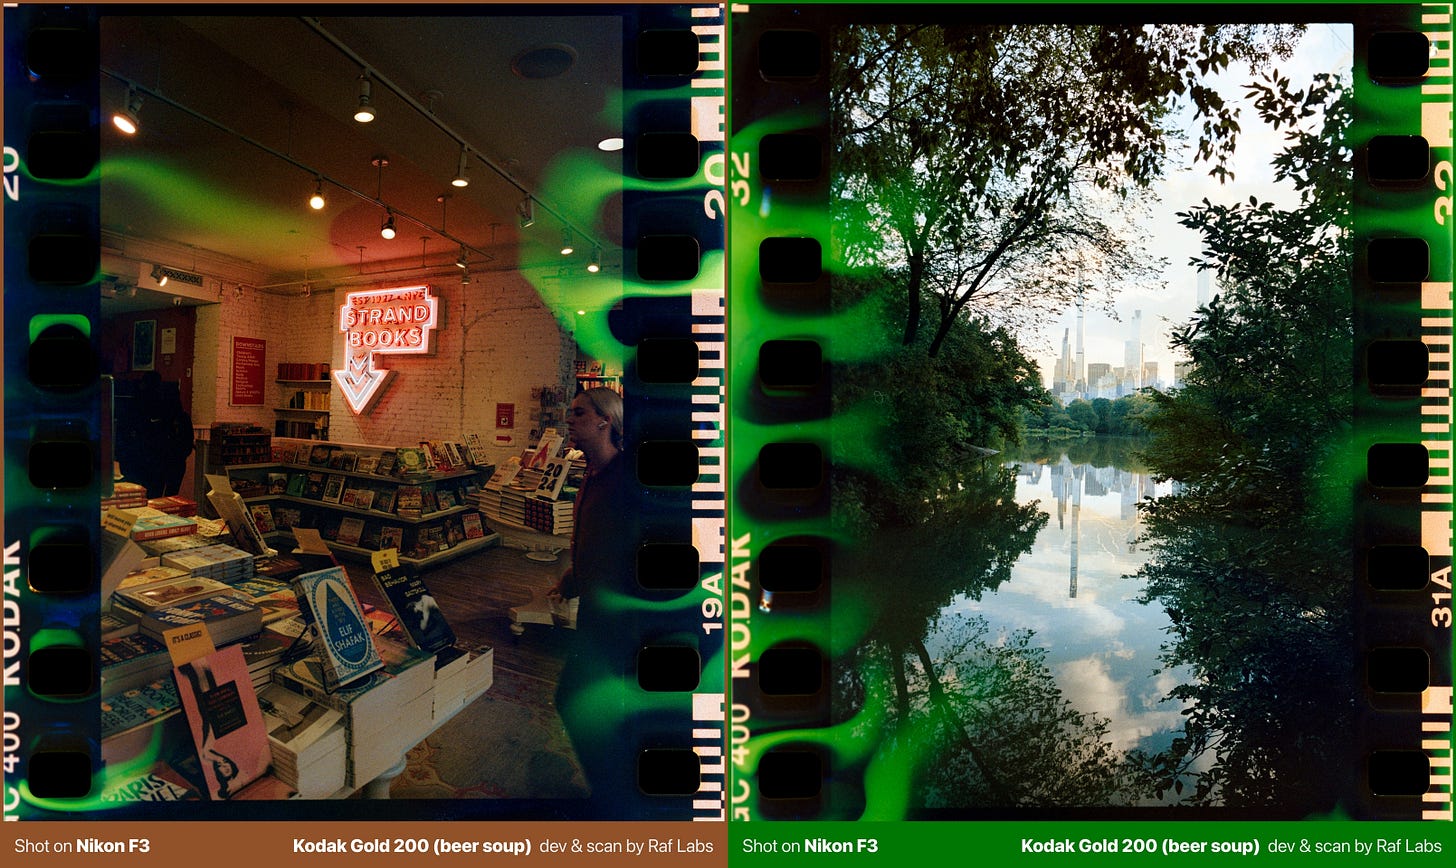
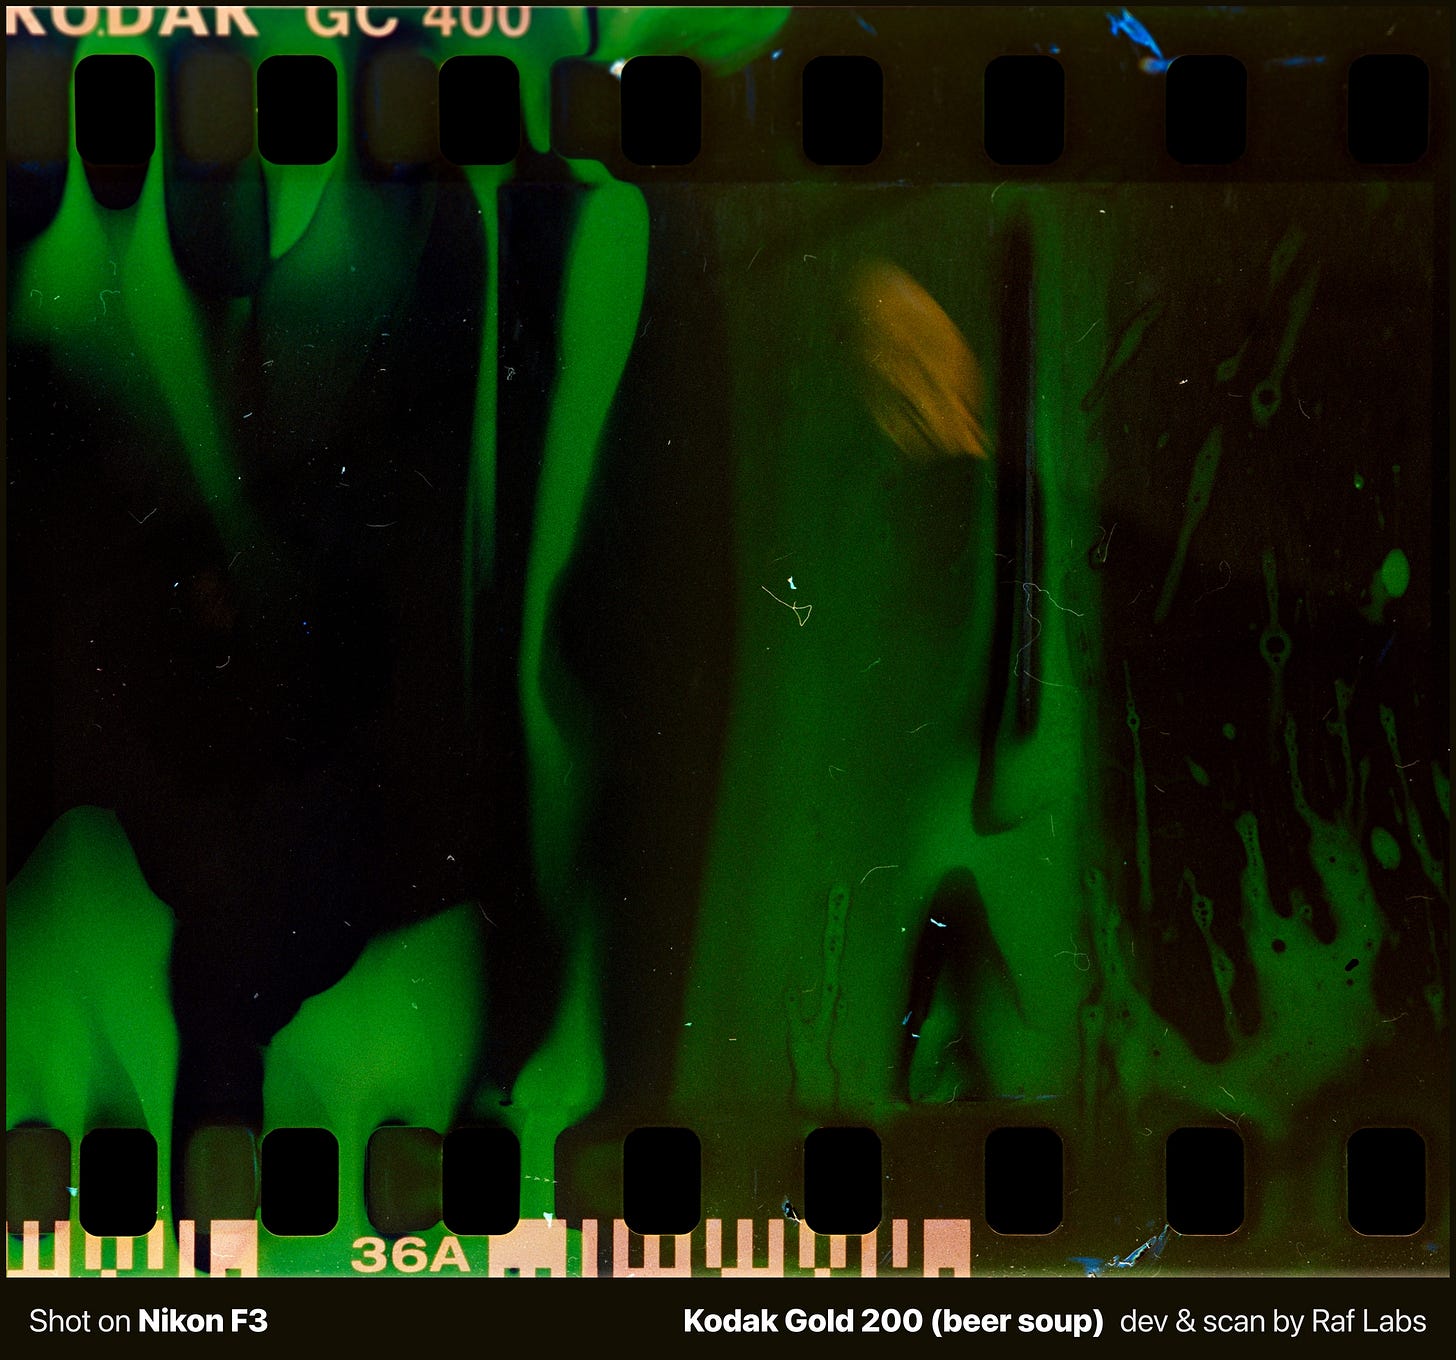
I recently collaborated with my friend Juno (@juno.fpv) on a beer soup experiment using two different film stocks: Kodak Gold 200 and Kodak Portra 400. Juno shot both rolls, and after souped them in beer, he was kind enough to have them developed at RafLabs. The results ranged from subtle orange halos to wild green patterns that look exactly like monstera plant leaves spreading across the film borders.
A guide to film soup

Film soup is an experimental analog photography technique where you submerge exposed 35mm film in liquid and acidic solutions to create unpredictable chemical effects on your images. Unlike traditional film processing, film souping intentionally damages the emulsion layer, producing color shifts, chemical burns, and abstract patterns that transform ordinary photographs into surreal art.


Do it with your own rolls!
First, shoot your film before souping to avoid running sticky film through your camera. Once you have your exposed roll, get a glass (or any container) and pour beer into it. Then, drop the entire canister in, ensuring the film is fully covered.
The waiting starts here: leave your film there from 2 to 24 hours (depending on how intense you want the effects), stirring occasionally. Choose an acidic beverage, like beer, coffee, or wine. The more chaos, the better, so you can wait 24 hours or even more, there’s no right or wrong in this process.
After soaking, rinse thoroughly under room-temperature water for 5 to 10 minutes to stop the chemical process. This drying phase is crucial and you should wait 1 to 2 weeks minimum before developing, that’s because wet film will damage your lab’s equipment and possibly ruin other people’s negatives. Once completely dry, develop carefully and ALWAYS INFORM YOUR LAB ABOUT THE SOUPED FILM (some Labs might not accept it).
Juno handled getting our experimental rolls developed at RafLabs, and I processed the unusual negatives beautifully. I usually develop 20 rolls out of my C-41 chemicals, and I waited for these rolls to be the last ones of the chemical bottles, before recycling them.
The science behind the effects
Beer contains three key components that attack film emulsion in fascinating ways. The sugars create sticky residues that trap bubbles against the emulsion, forming circular patterns and spots. In the Gold 200, these sugars made the film so tacky it adhered to itself like glue. The acids eat through protective gelatin layers, allowing deeper penetration of other chemicals and creating those flowing, organic patterns visible in the museum and Manhattan shots. Meanwhile, the alcohol selectively dissolves certain color dyes while preserving others, causing dramatic shifts from normal tones to intense greens and oranges.
Temperature, concentration, and time all affect results unpredictably. The Gold 200 extended soak produced those distinctive monstera-leaf patterns along the edges, while the shorter Portra 400 treatment yielded subtle, dreamlike effects.
Our step-by-Step film soup process
Jokes aside, let me now write about the film soup process, in case you want to try it your own!
Our recipe: Beer Edition
Prep time: 30 minutes | Cook time: 24-36 hours | Servings: 36 exposures | Difficulty: Chaos 😂
For this recipe, you’ll need 2 rolls of exposed 35mm film (we used Kodak Gold 200 and Kodak Portra 400), preferably organic and locally sourced, regular beer at room temperature, a Paterson developing tank and reel for the fancier approach, a can opener (which wasn’t in my original recipe but trust me on this one), a dark bag for film extraction, and loads of patience (which cannot be substituted with anything else).
The Two Different Approaches
The Portra 400 got a gentler, 24h bath in a Paterson tank, producing subtle orange halos along the edges. The Gold 200 got complete chaos. After many hours in beer, the sugar made it so sticky I had to destroy the canister with a can opener and extract the film in a dark bag. The payoff: those wild green monstera-leaf patterns you see spreading across the borders, plus intense amber swirls that transformed Juno’s Strand Books and cityscape shots into something otherworldly.


Film Soup Tips for Best Results
Start with cheaper film stocks for yo
ur first attempts like Kodak Gold 200 or Fujicolor 200, since you’re literally destroying film and might hate the results. Always soup after shooting unless you want to risk sticky film jamming your camera’s advance mechanism. Hot liquids create more dramatic effects than cold ones, and different film stocks react completely differently to the same recipe, so experimentation is key.
Common Film Soup Ingredients and Their Effects
Coffee creates grain and sepia tones that give images an aged, vintage feel. Wine produces purple and red color casts perfect for dreamy, romantic effects. Lemon juice increases contrast and creates spots, making images look like they survived an acid rain storm. Dish soap generates bubbles and circular patterns across the frame. Tea provides subtle brown toning for a gentler approach. Bleach removes color layers entirely but use it carefully unless you want transparent film.
Drying and Development Considerations
Never send wet film to a lab or you’ll contaminate their chemistry and potentially ruin an entire day’s worth of other customers’ film. Many labs refuse souped film entirely, so always call ahead to confirm they’ll process it. If your regular lab won’t accept it, home development works using exhausted chemistry that you’re about to throw out anyway. Some photographers dry their film in rice or silica gel packets for faster results, though air drying works fine if you’re patient.
A thank you note to Juno
All the stunning images you see in this post are from Juno’s photography. He shot both rolls and was kind enough to have RafLabs develop the souped film after our experiment. Check out more of his work on Instagram.


