

Dehancer film simulation, a review from a film expert
shooting digital is fun again.

Last week I was in Brazil. I shot three rolls of Portra 400, came home, developed all three at once, and every single roll came out blank. Bad chemistry. Half an entire trip, gone.
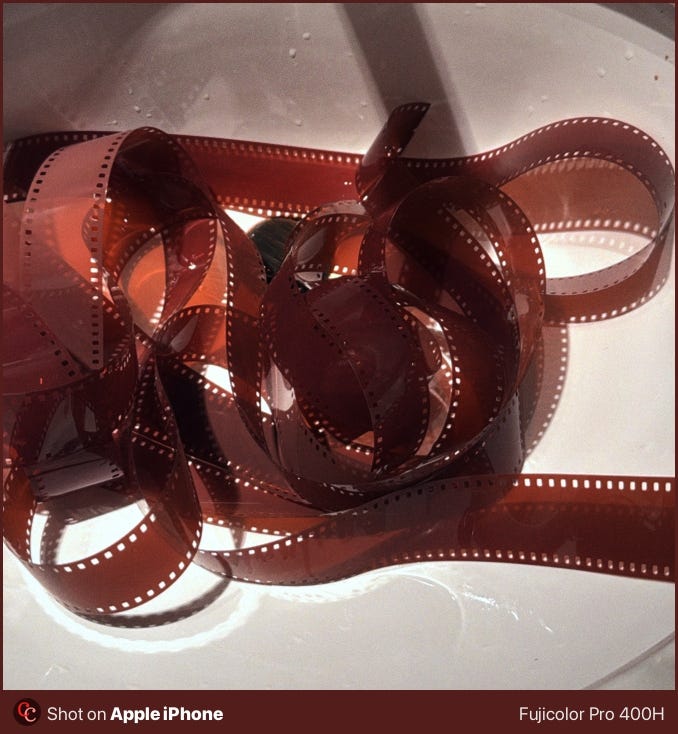
Film is expensive, slow, and fragile. I’m not quitting it. But I need a backup plan, and I need that plan to be good.
Why I care about film simulation
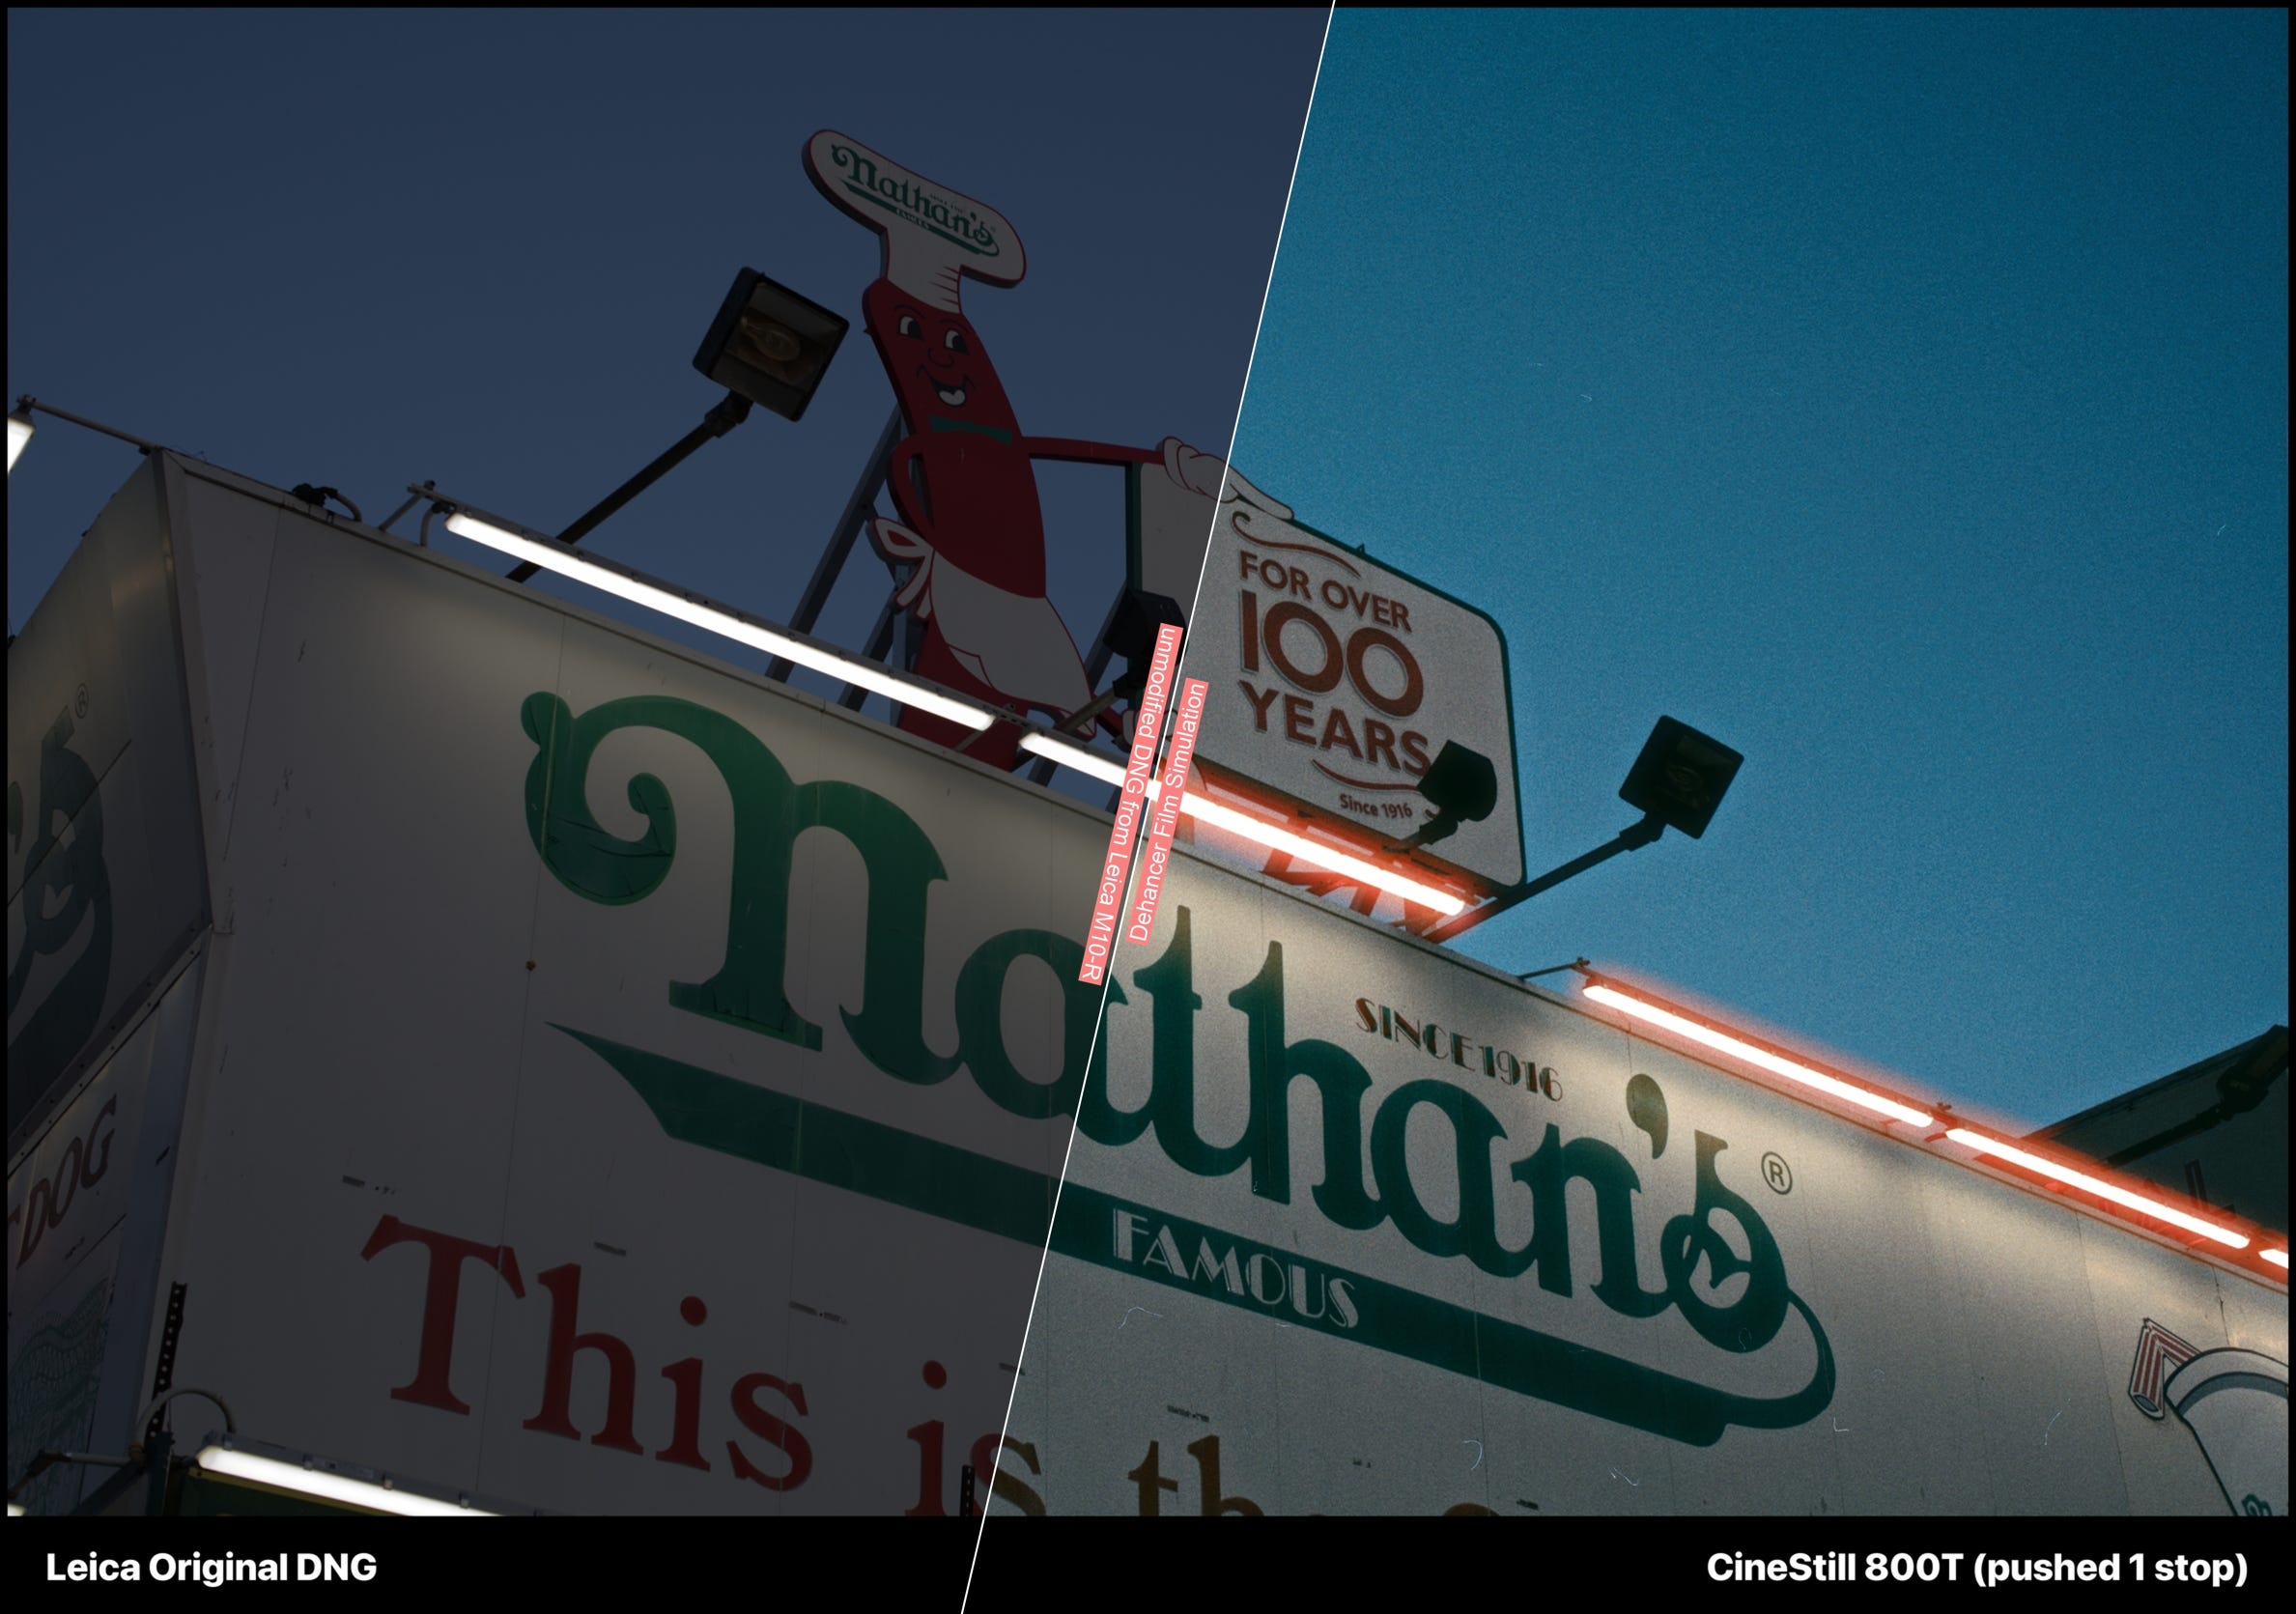
I can’t stand the look of digital straight out of a digital camera, so I shoot RAW in DNG and run everything through film simulation software.
What I need from the software is simple: don’t crash, stay consistent across a full session, and produce grain that looks like actual film grain, not a texture pasted on top.
My wallet thanks.
How Dehancer got here
Dehancer started in the cinema and video world. Two or three years ago, when I first looked into it, there was nothing useful for still photographers. Everything was built for video editing applications like DaVinci Resolve, Final Cut Pro, or Premiere.
Now they have a Lightroom Classic plugin, and more importantly, Dehancer Desktop: a standalone app currently in beta. There’s a HIGH industry need for applications to perform film simulations on PHOTOS rather than videos, and even though, 10 out 10 videos on YouTube about Dehancer are related to DaVinci Resolve. I am here to change that.
Dehancer Desktop solves the workflow problem
The Lightroom plugin creates a virtual copy, exports a TIFF to Dehancer, and brings it back. That doubles your storage per image. On Adobe Creative Cloud, where storage costs add up fast, this becomes a real problem at volume.
Dehancer Desktop skips all of that. You import RAWs directly, apply your simulation, copy and paste edits across images, batch export to JPEG. No TIFFs. No doubled storage. No Lightroom dependency.
It’s beta, macOS only, and it still crashes here and there. But the core workflow is already solid, at least to me.
What works
The film profiles are accurate. Dehancer calibrates them from analog darkroom prints using colorimetry and densitometry, not from scanner output. The grain reacts to exposure and tonal values instead of sitting flat on the image. You can control size, intensity, and resolution. Over sixty film profiles, including cinema stocks, with print film simulation and push/pull controls.
The halation nation!
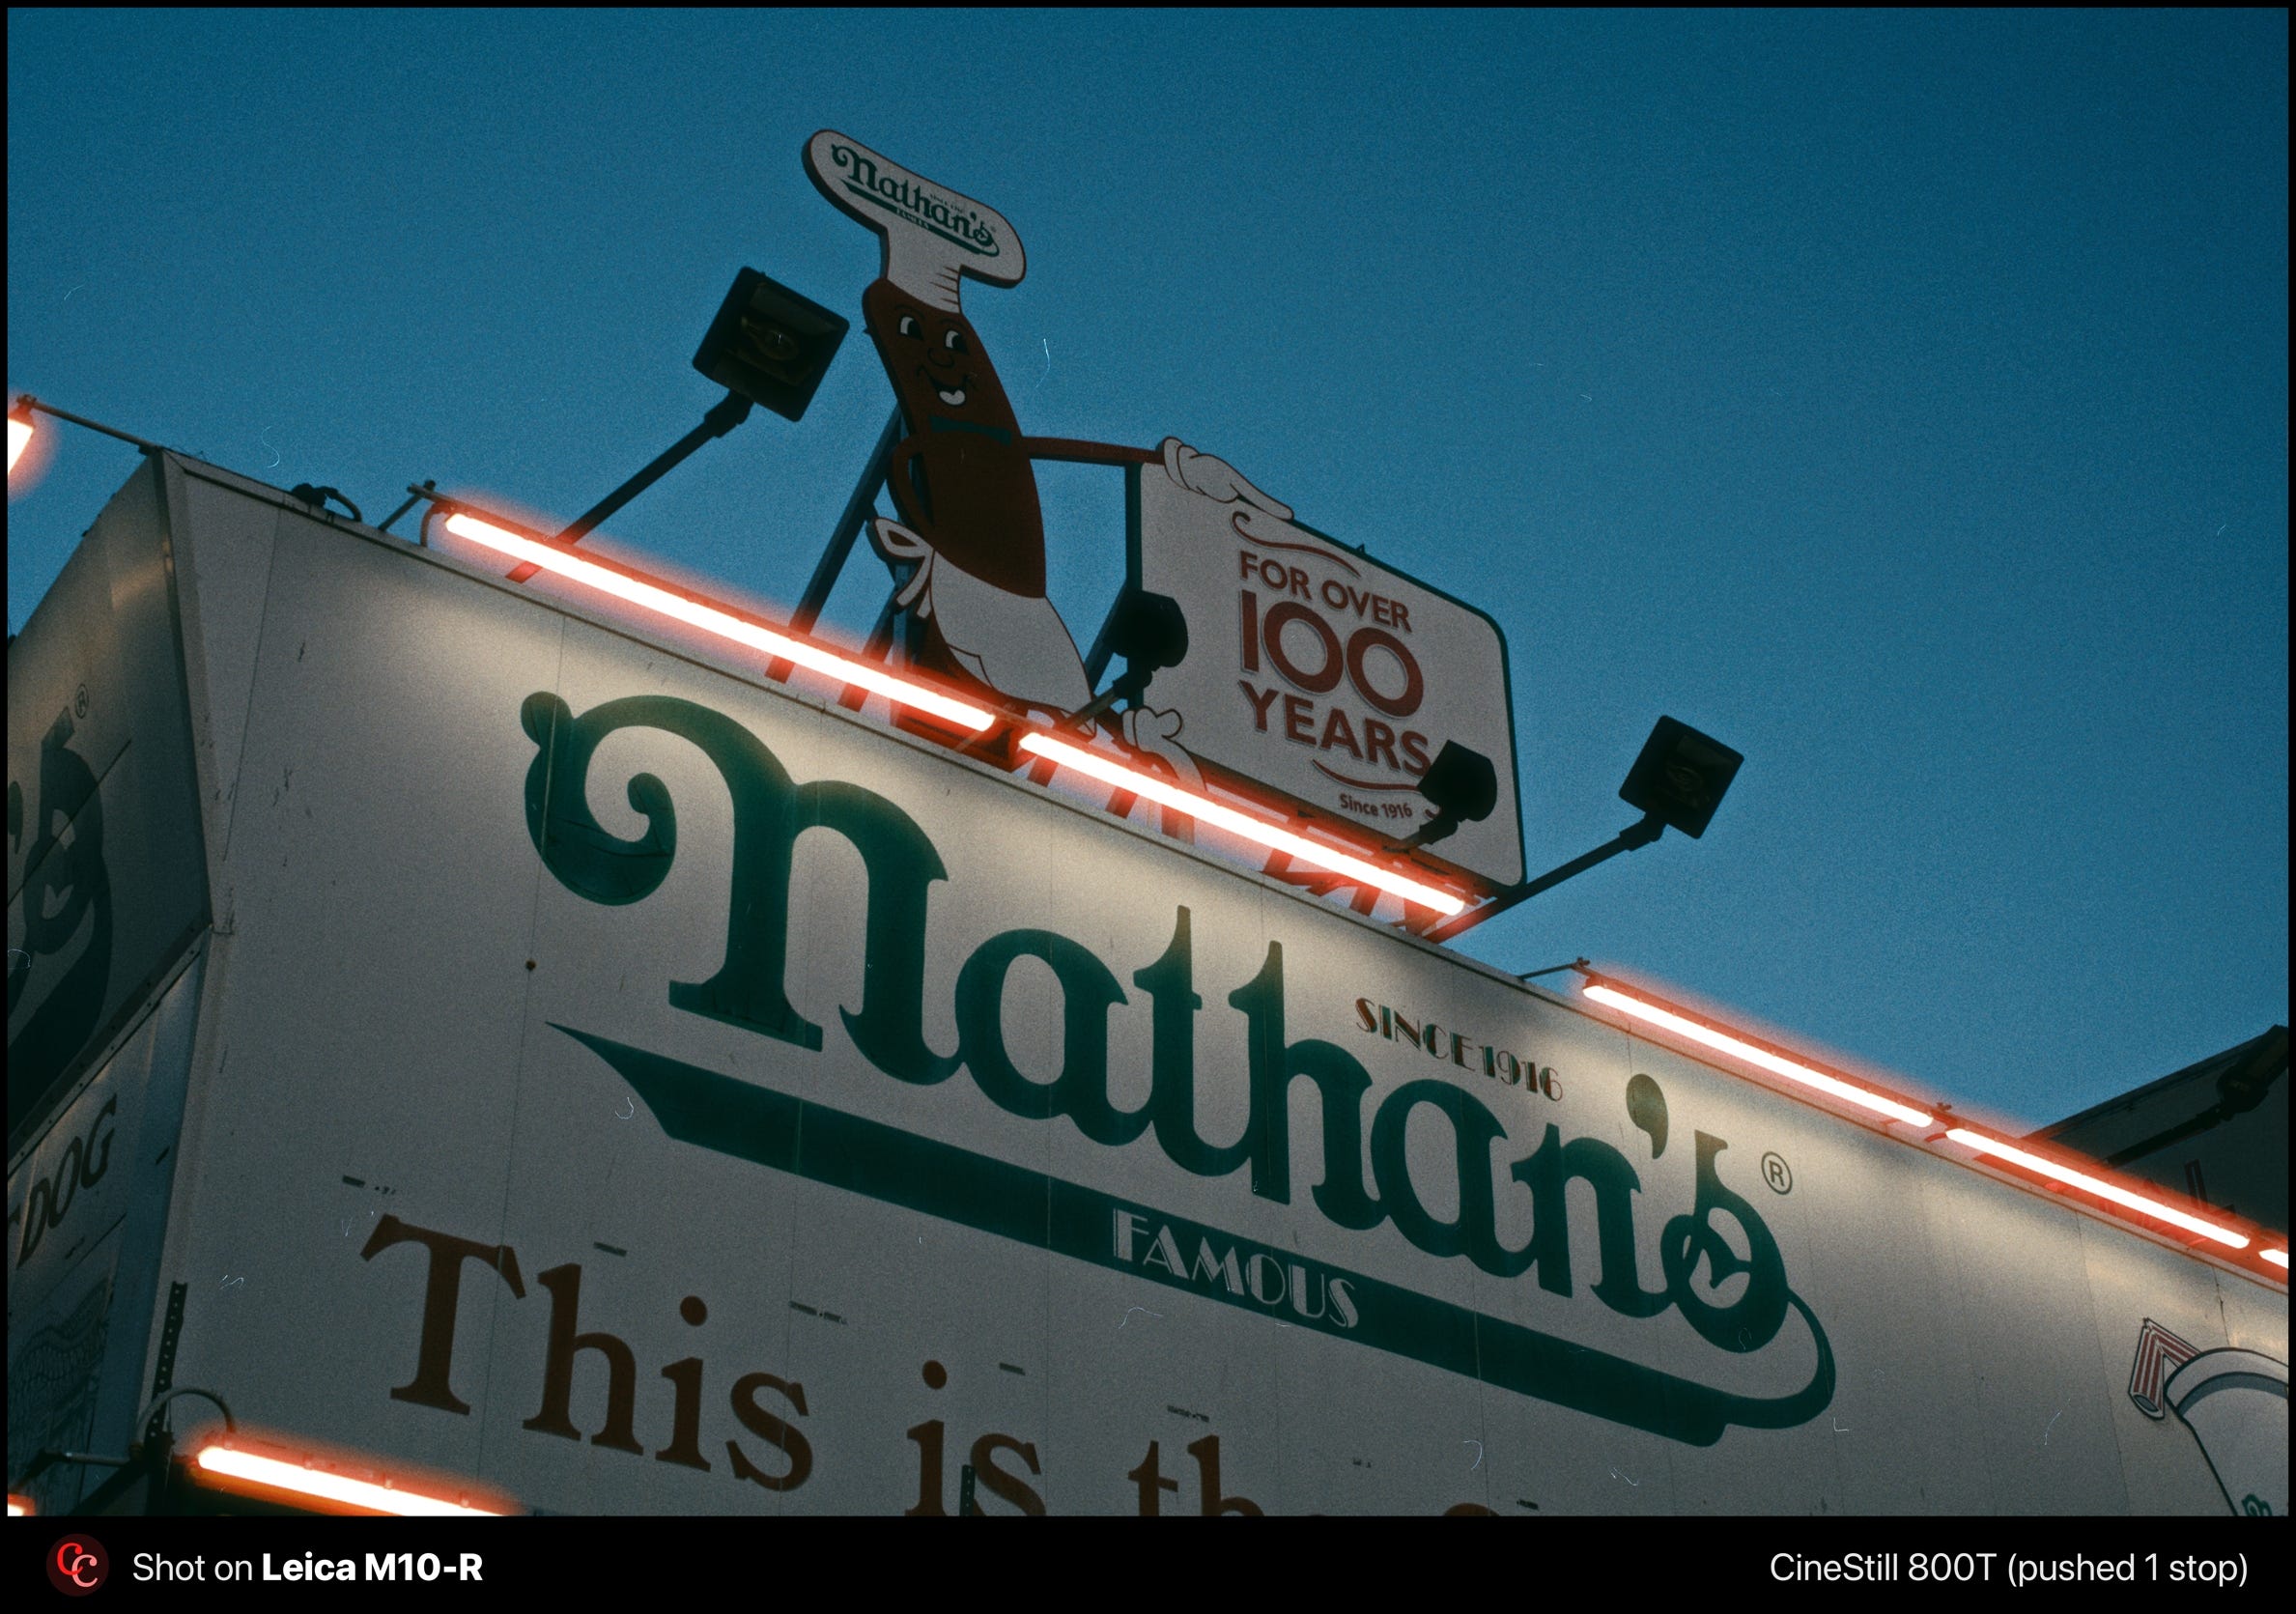
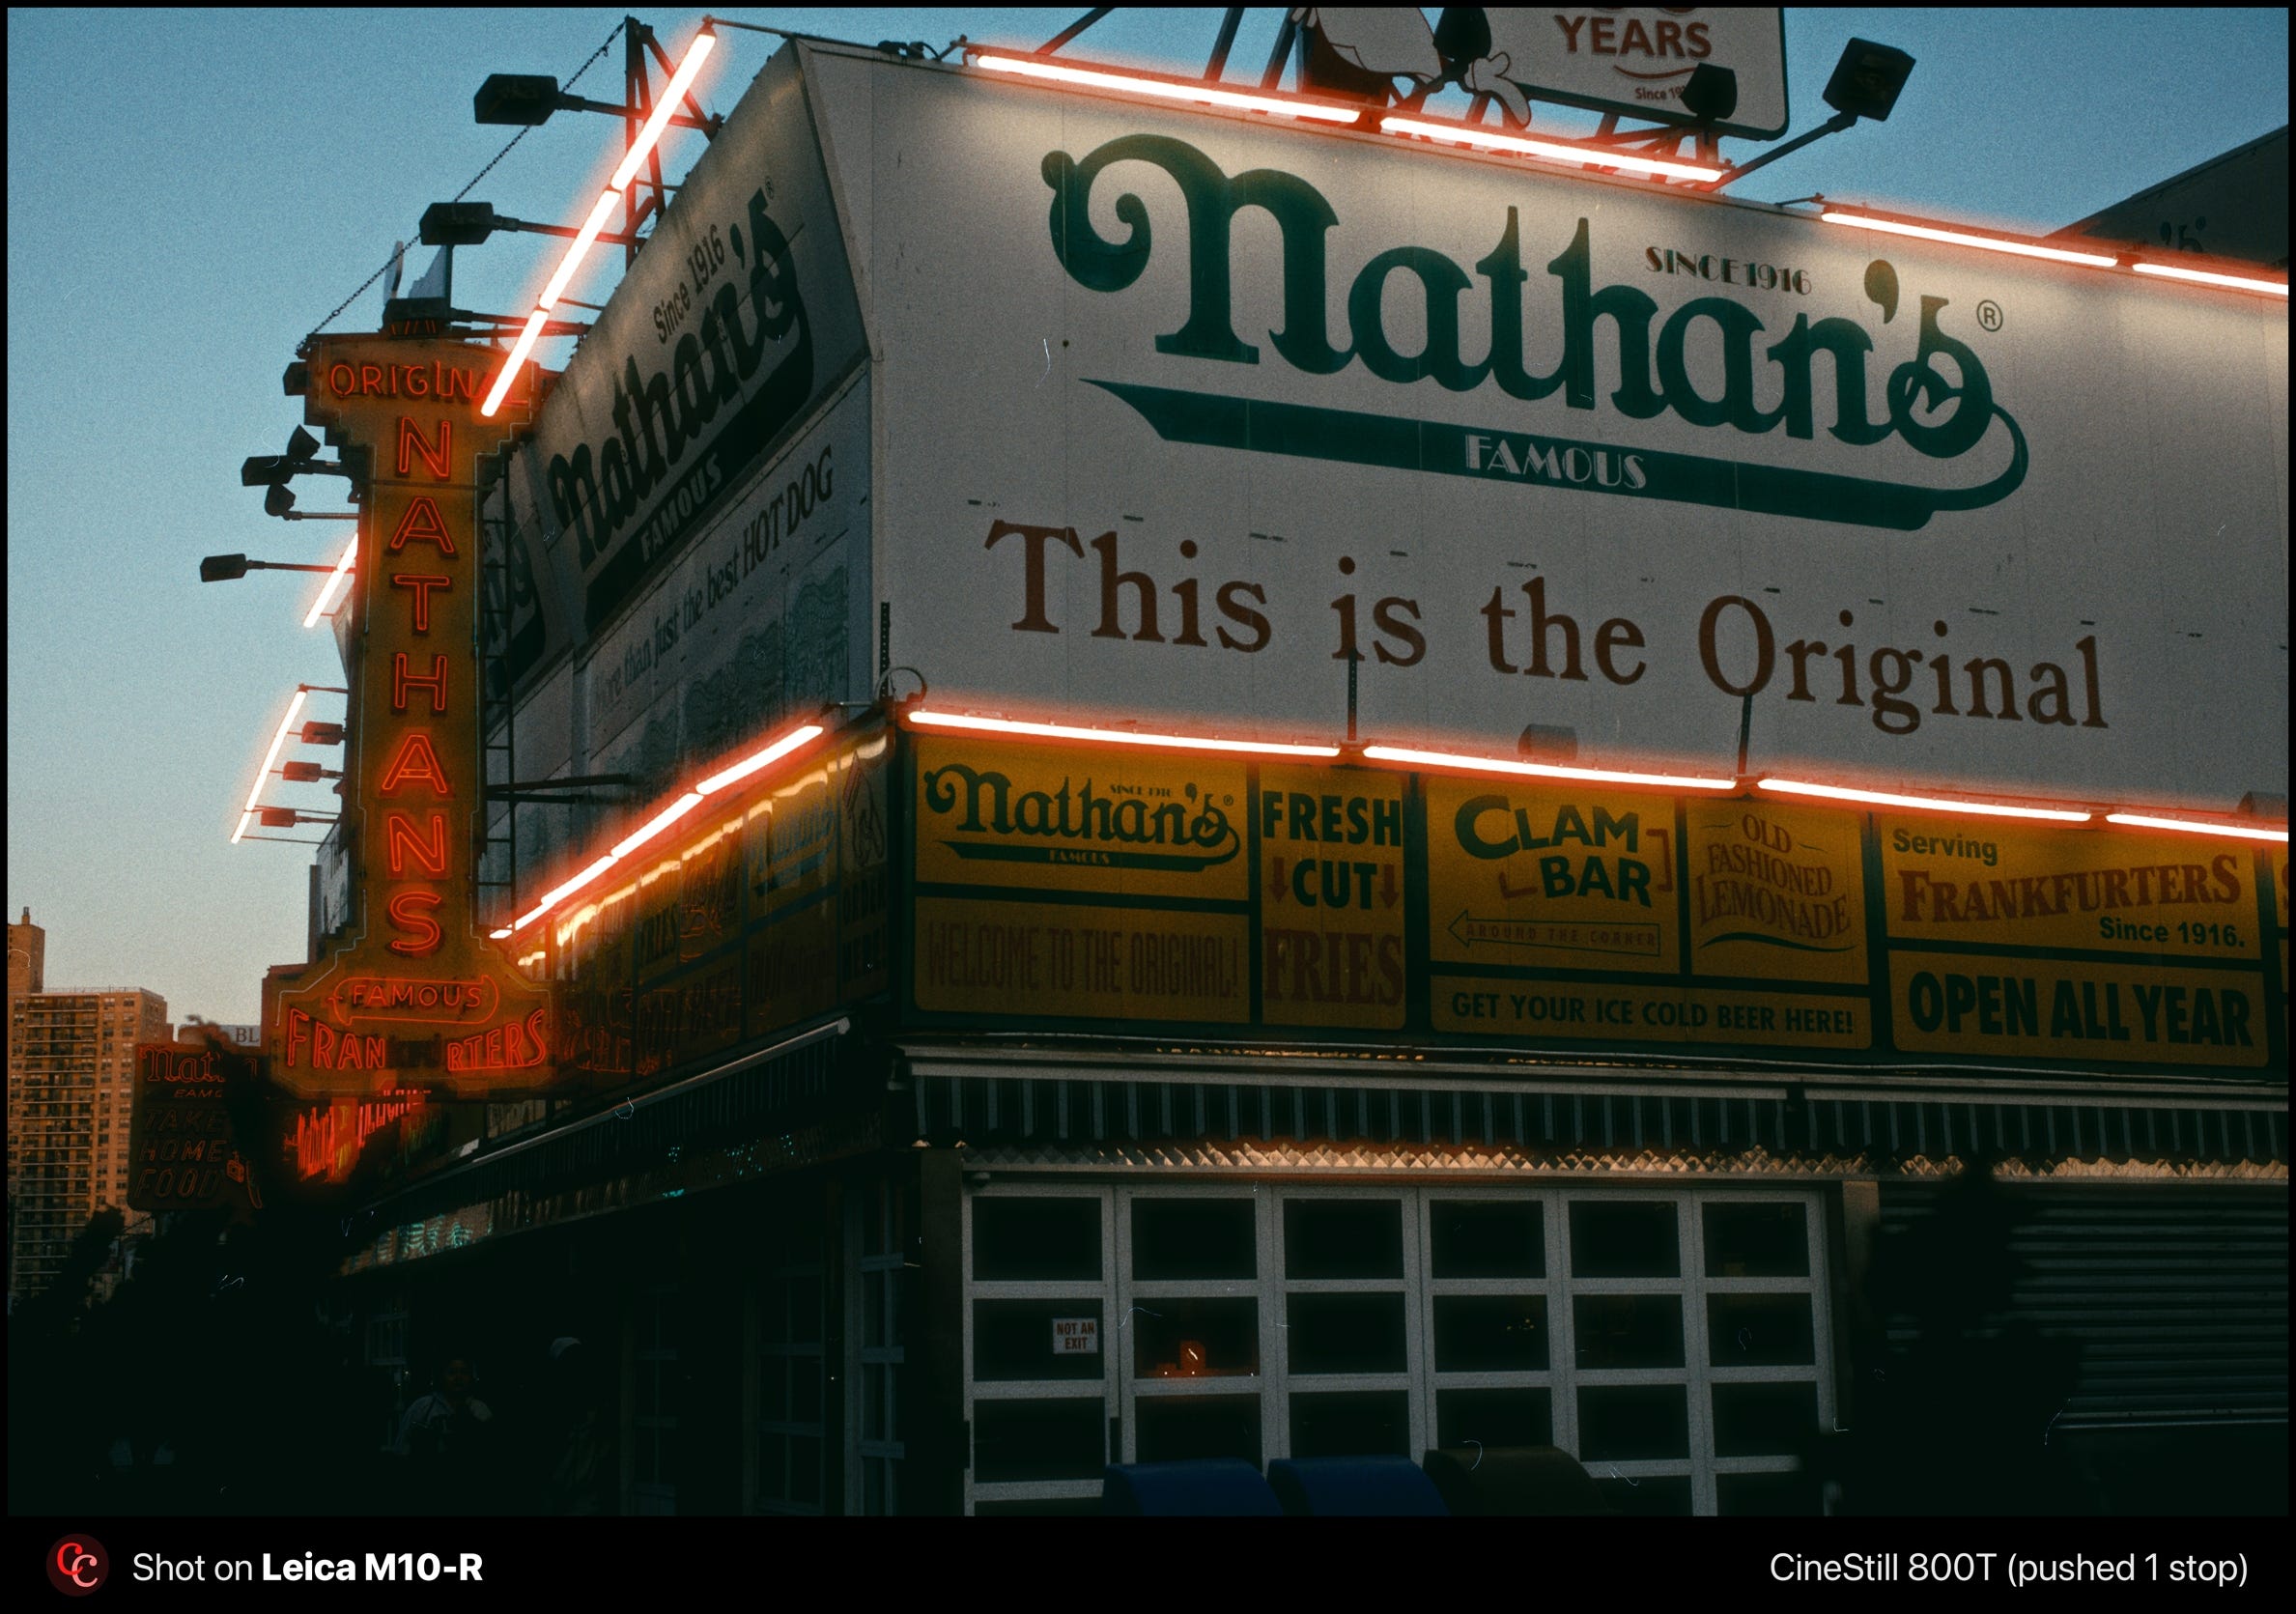
Halation is the red-orange glow around bright highlights on film stocks like CineStill 800T and 400D. It happens because light passes through the emulsion layers, bounces off the film base, and scatters back into the red-sensitive layer. The behavior is non-linear: it depends on the intensity and spectrum of the light source, the film format, and the emulsion chemistry. CineStill’s halation is extreme because the remjet layer that absorbs residual light has been removed, and the chemical layer closer to the film is the red one.

Most software treats halation as a radial red glow applied around bright pixels. That misses the physics. Real halation only appears where luminance exceeds the film’s latitude. Dehancer offers halation controls, which already puts it ahead of most tools on the market.
My first impression was not ideal. The halation bled into shadows and midtones where it had no business being, and the results looked artificial. Then I spent more time with the sliders and realized the tool is actually decent. It just demands fine-tuning for every single photo. There’s no “set it and forget it” here.
And here’s the thing: your eye needs to be trained. You need to know what would and wouldn’t produce halation in a real shot. Which highlights are bright enough, which light sources have enough red in their spectrum, where the glow should stop. I have a lot of experience shooting CineStill 400D and 800T, so I can spot when the simulation is off and adjust accordingly. If you don’t have that reference, you might end up overcooking.
With careful adjustment, the results can be convincing. But if you’re careless with the parameters, the halation will pass through dark elements and ruin the image. It’s a tool that rewards patience and punishes laziness.
After spending a good amount of time dialing in my own CineStill 800T look in Dehancer, I decided to sell it as a preset.
Watch out some of the built-in presets
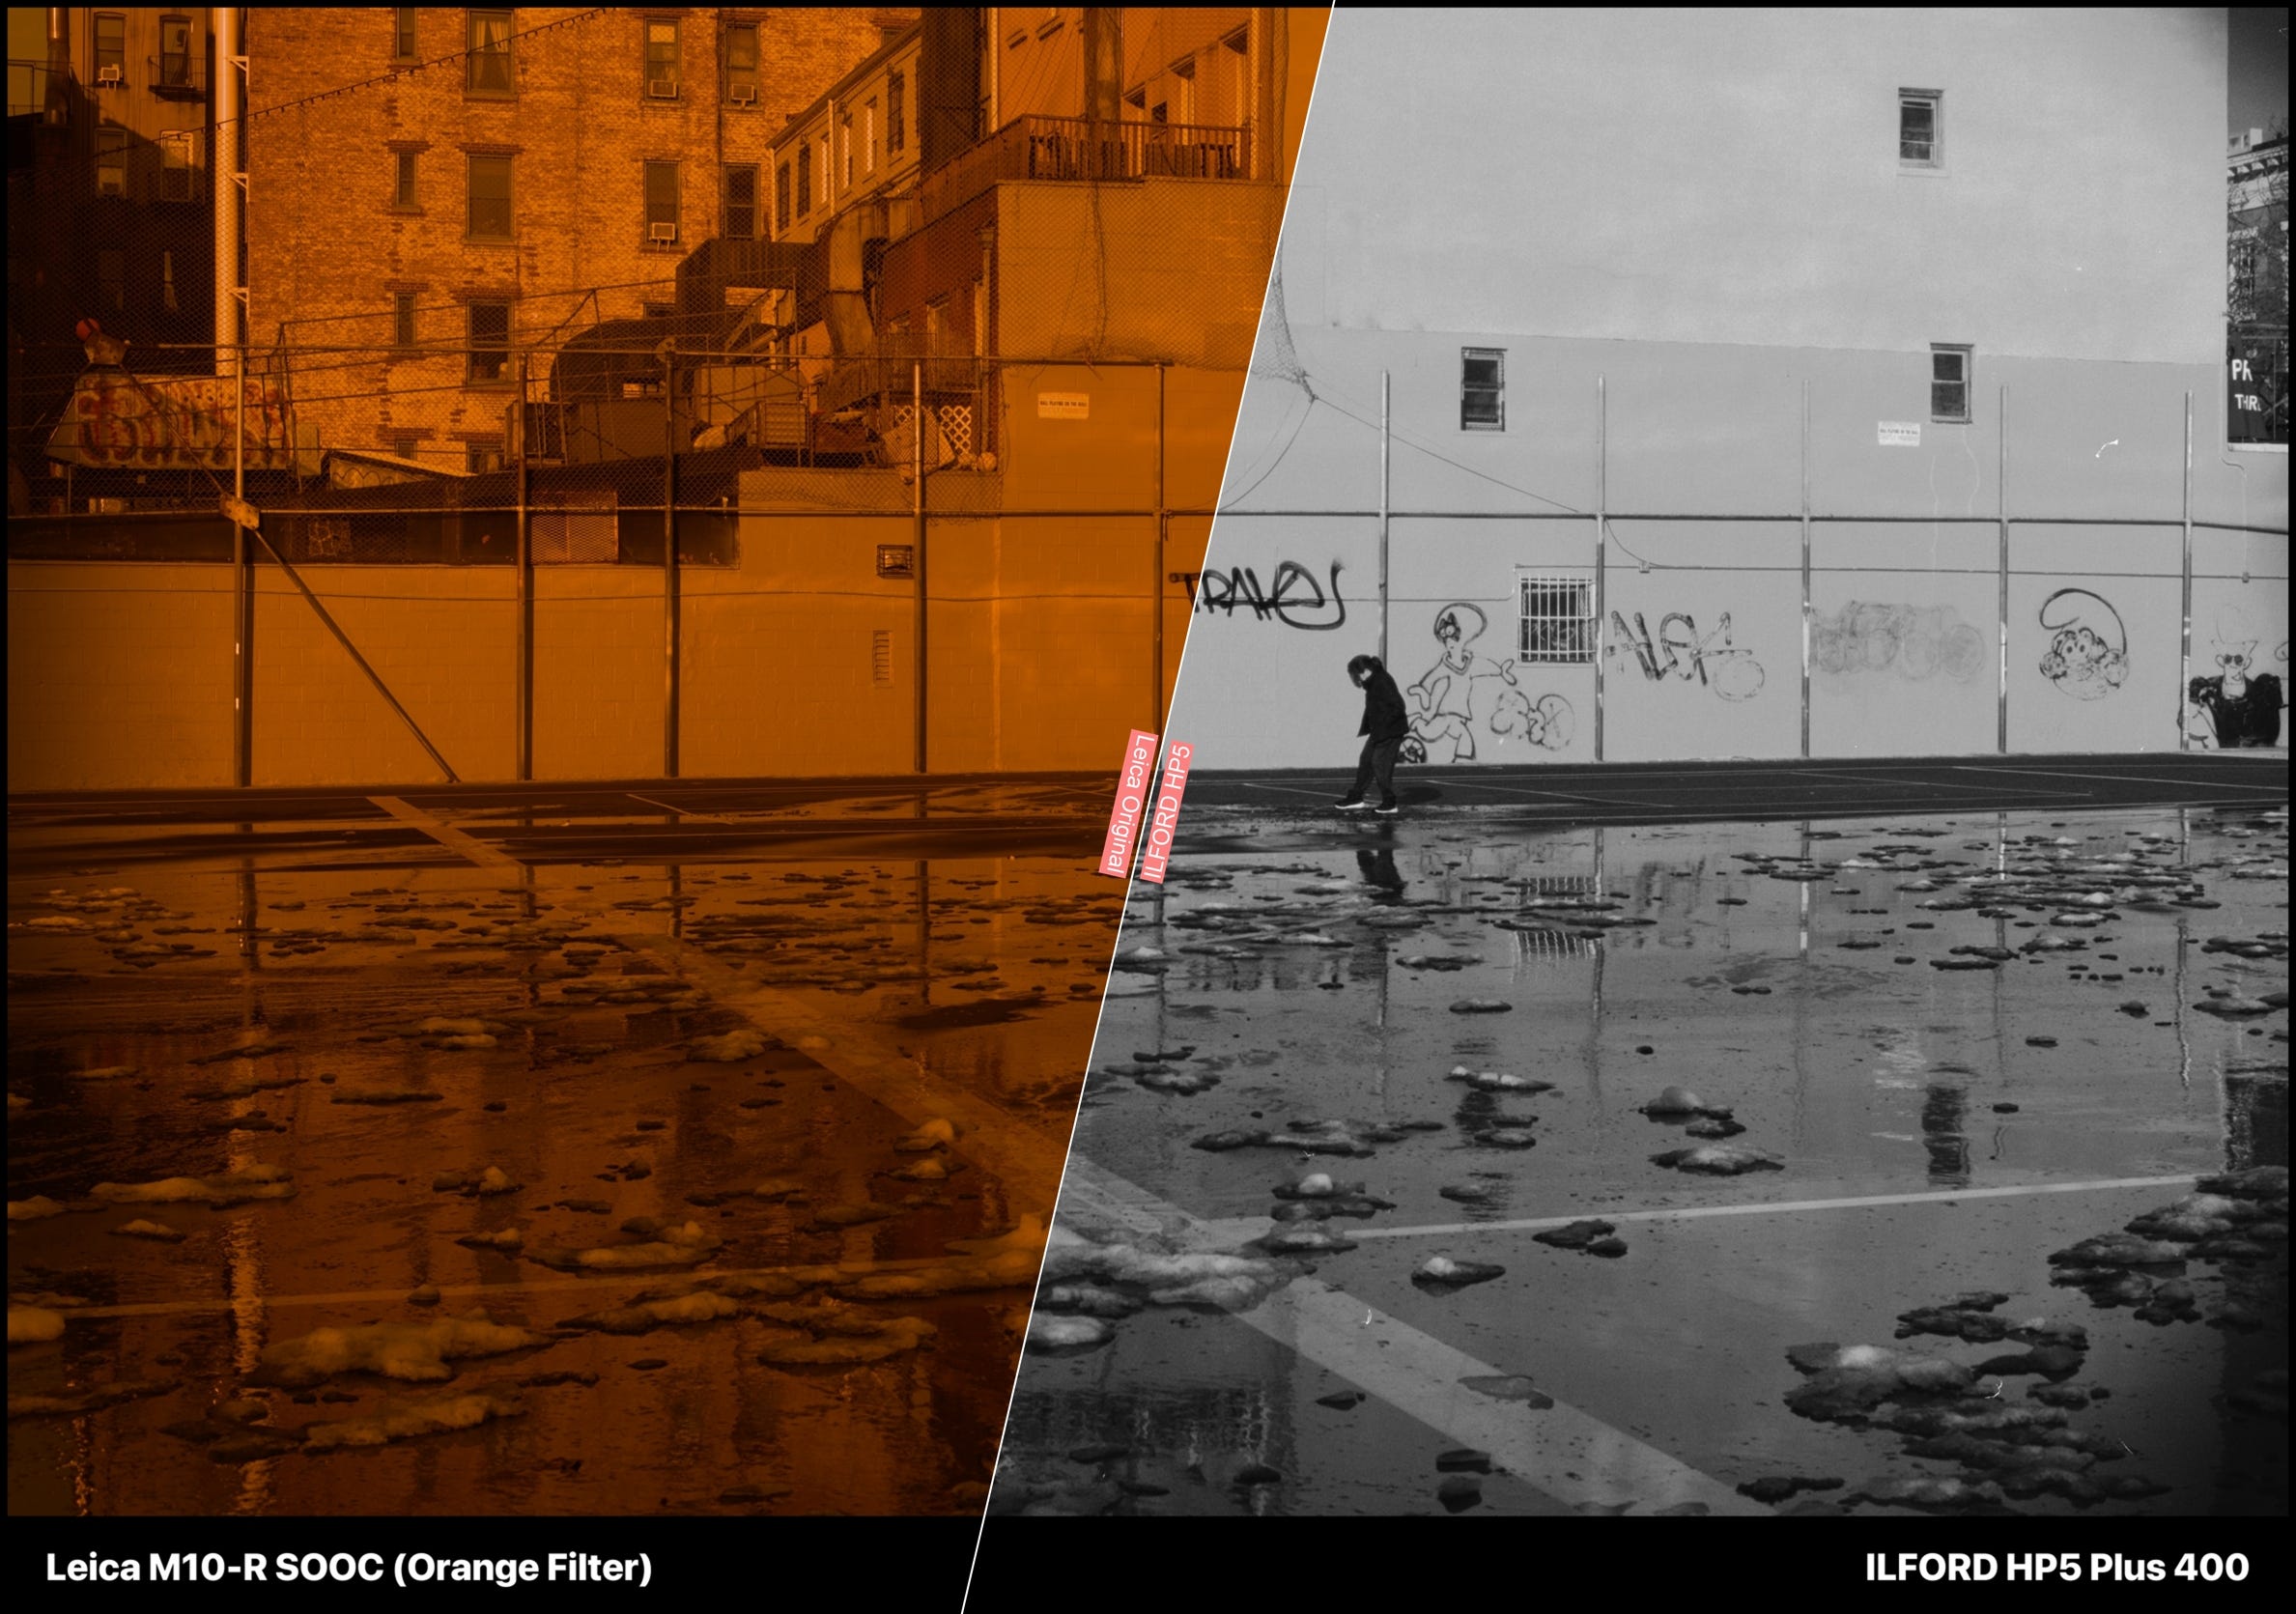
The built-in presets don’t just switch the film profile. They also apply print simulation, color head, and other adjustments. The ILFORD HP5 preset, for example, produces a sepia tone that I know the HP5 never had.
I also noticed the Ilford XP2 simulation renders more neutral than HP5 in Dehancer, which seems backwards. XP2 is a C-41 chromogenic stock with a natural tint; HP5 is traditional B&W with no tint at all. The HP5 preset’s print simulation causes this.
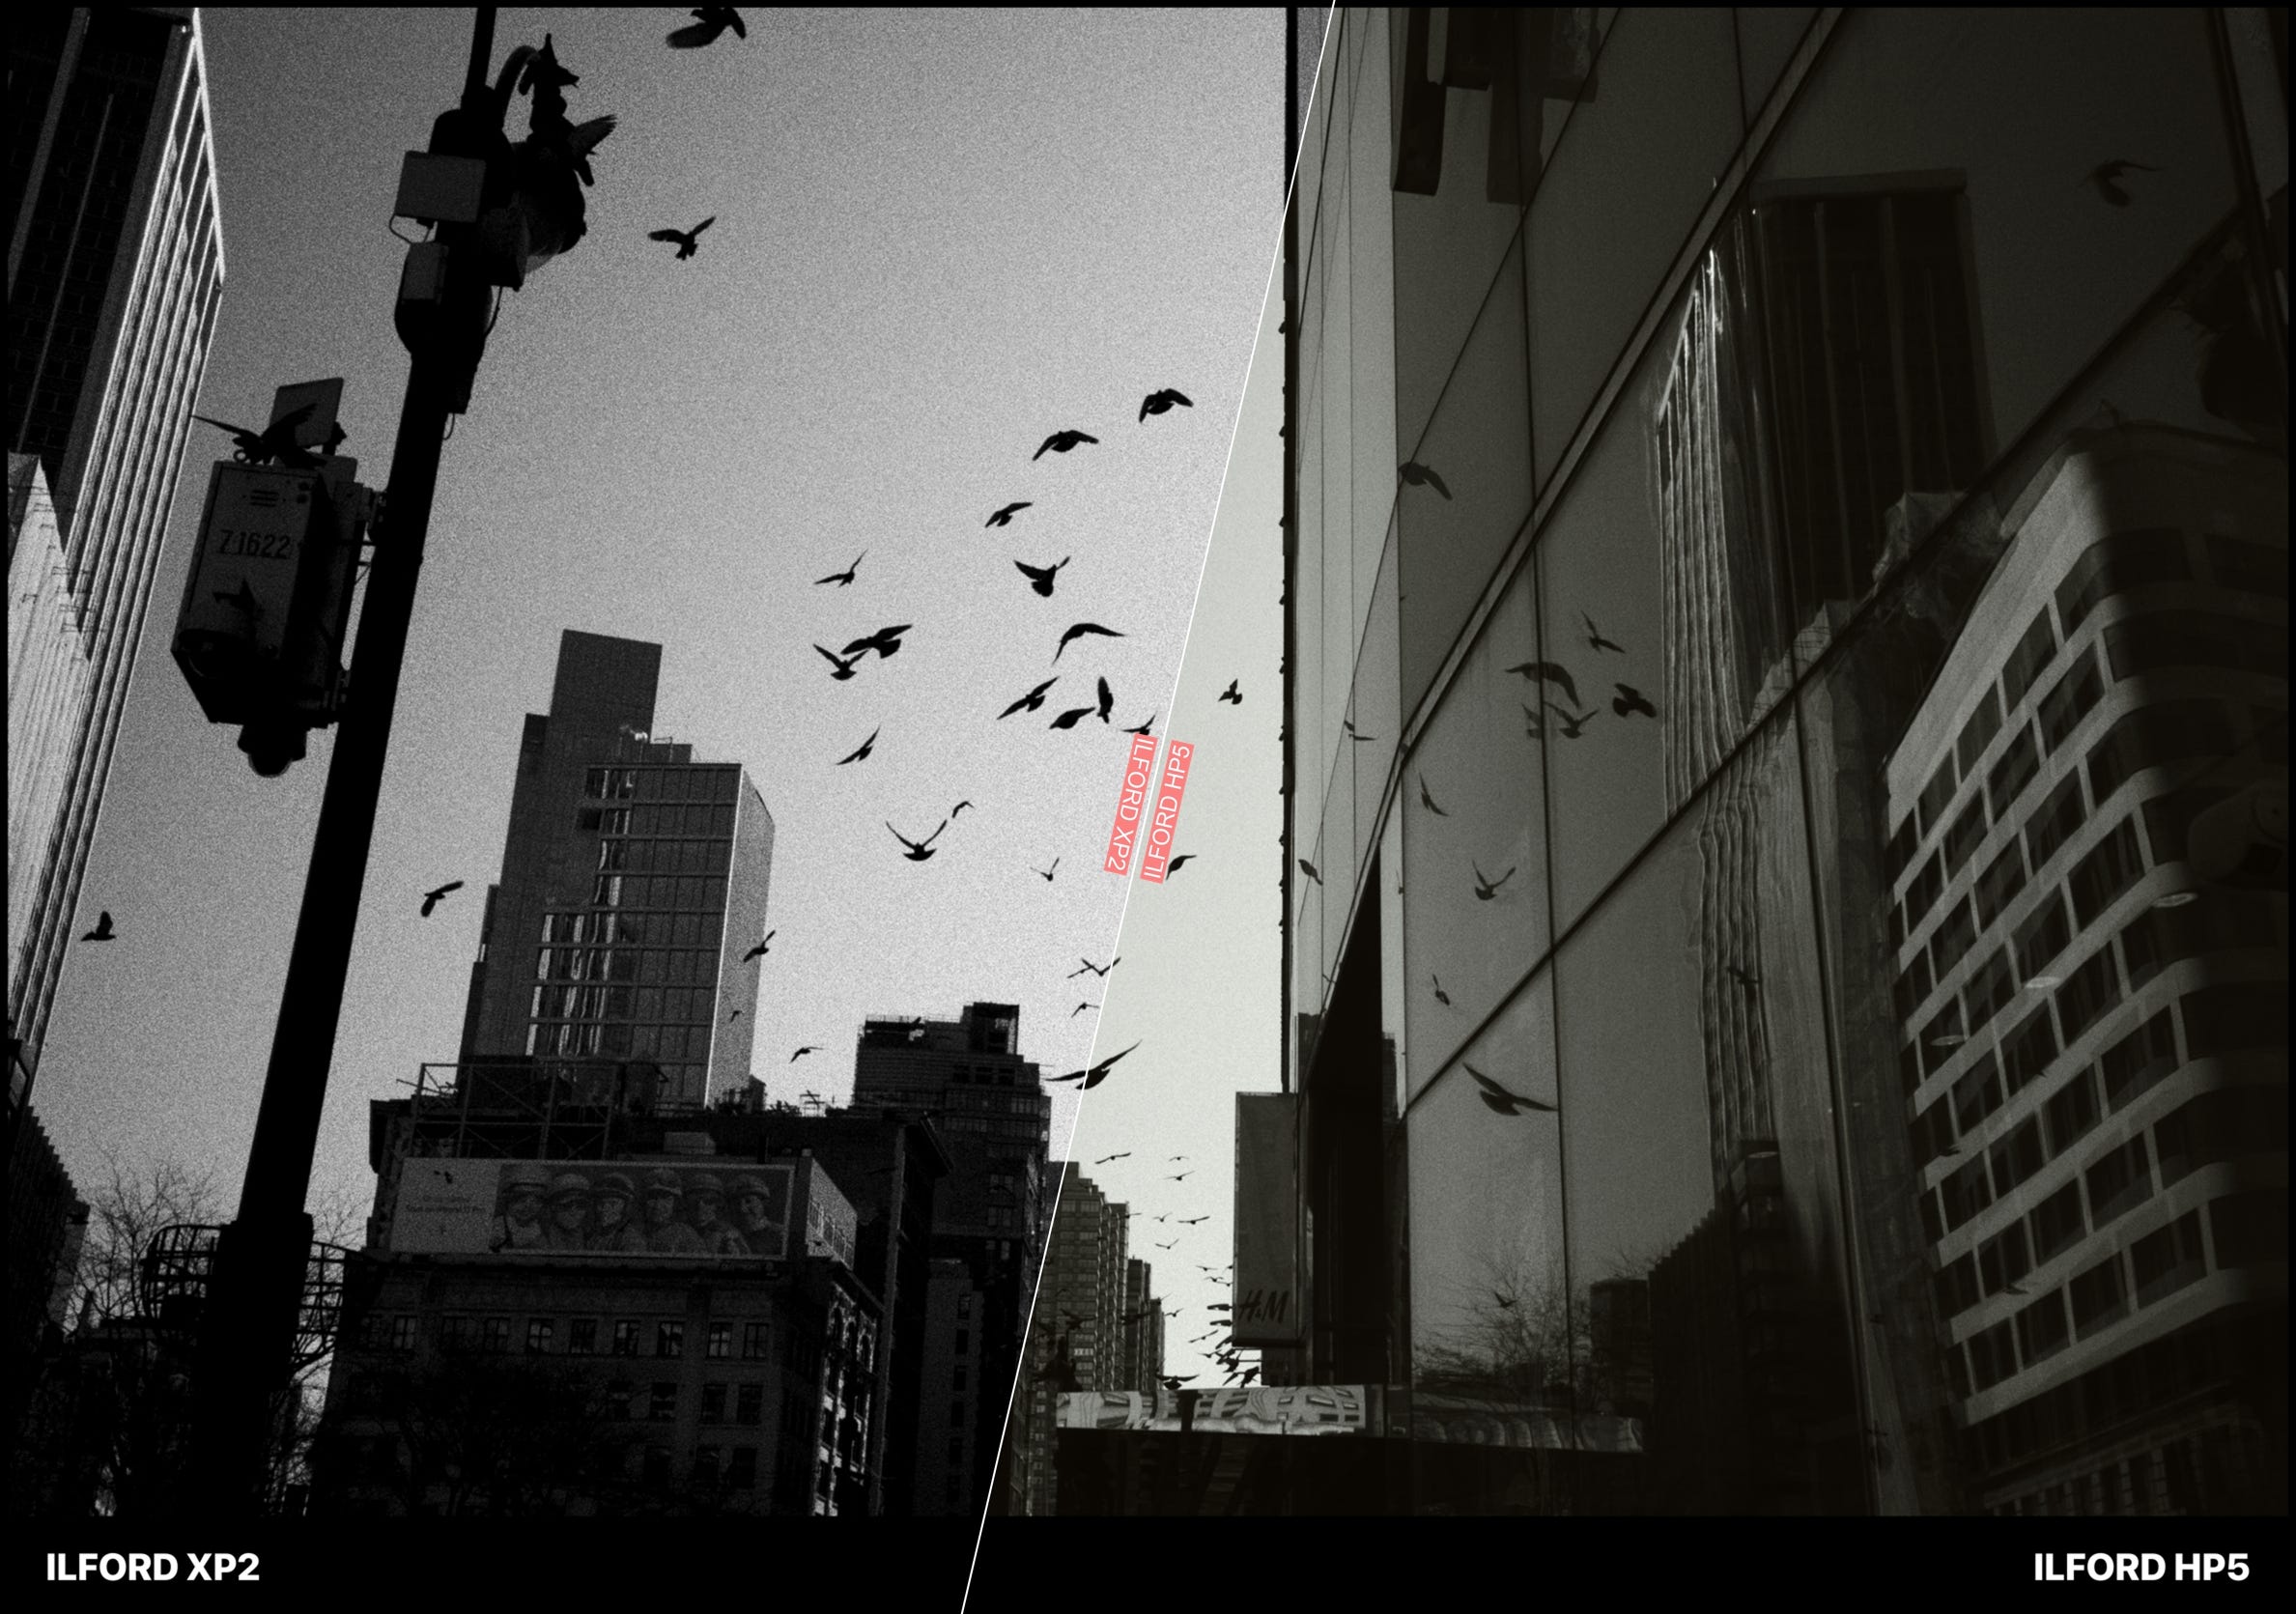
Strip it back to just the film profile, no print, no color head, no developer, and the result is clean black and white. The way it should be.
This feels like a leftover from Dehancer’s cinema origins, where the negative-to-print pipeline is standard. For still photography, I believe presets should default to the film profile alone.
The next step
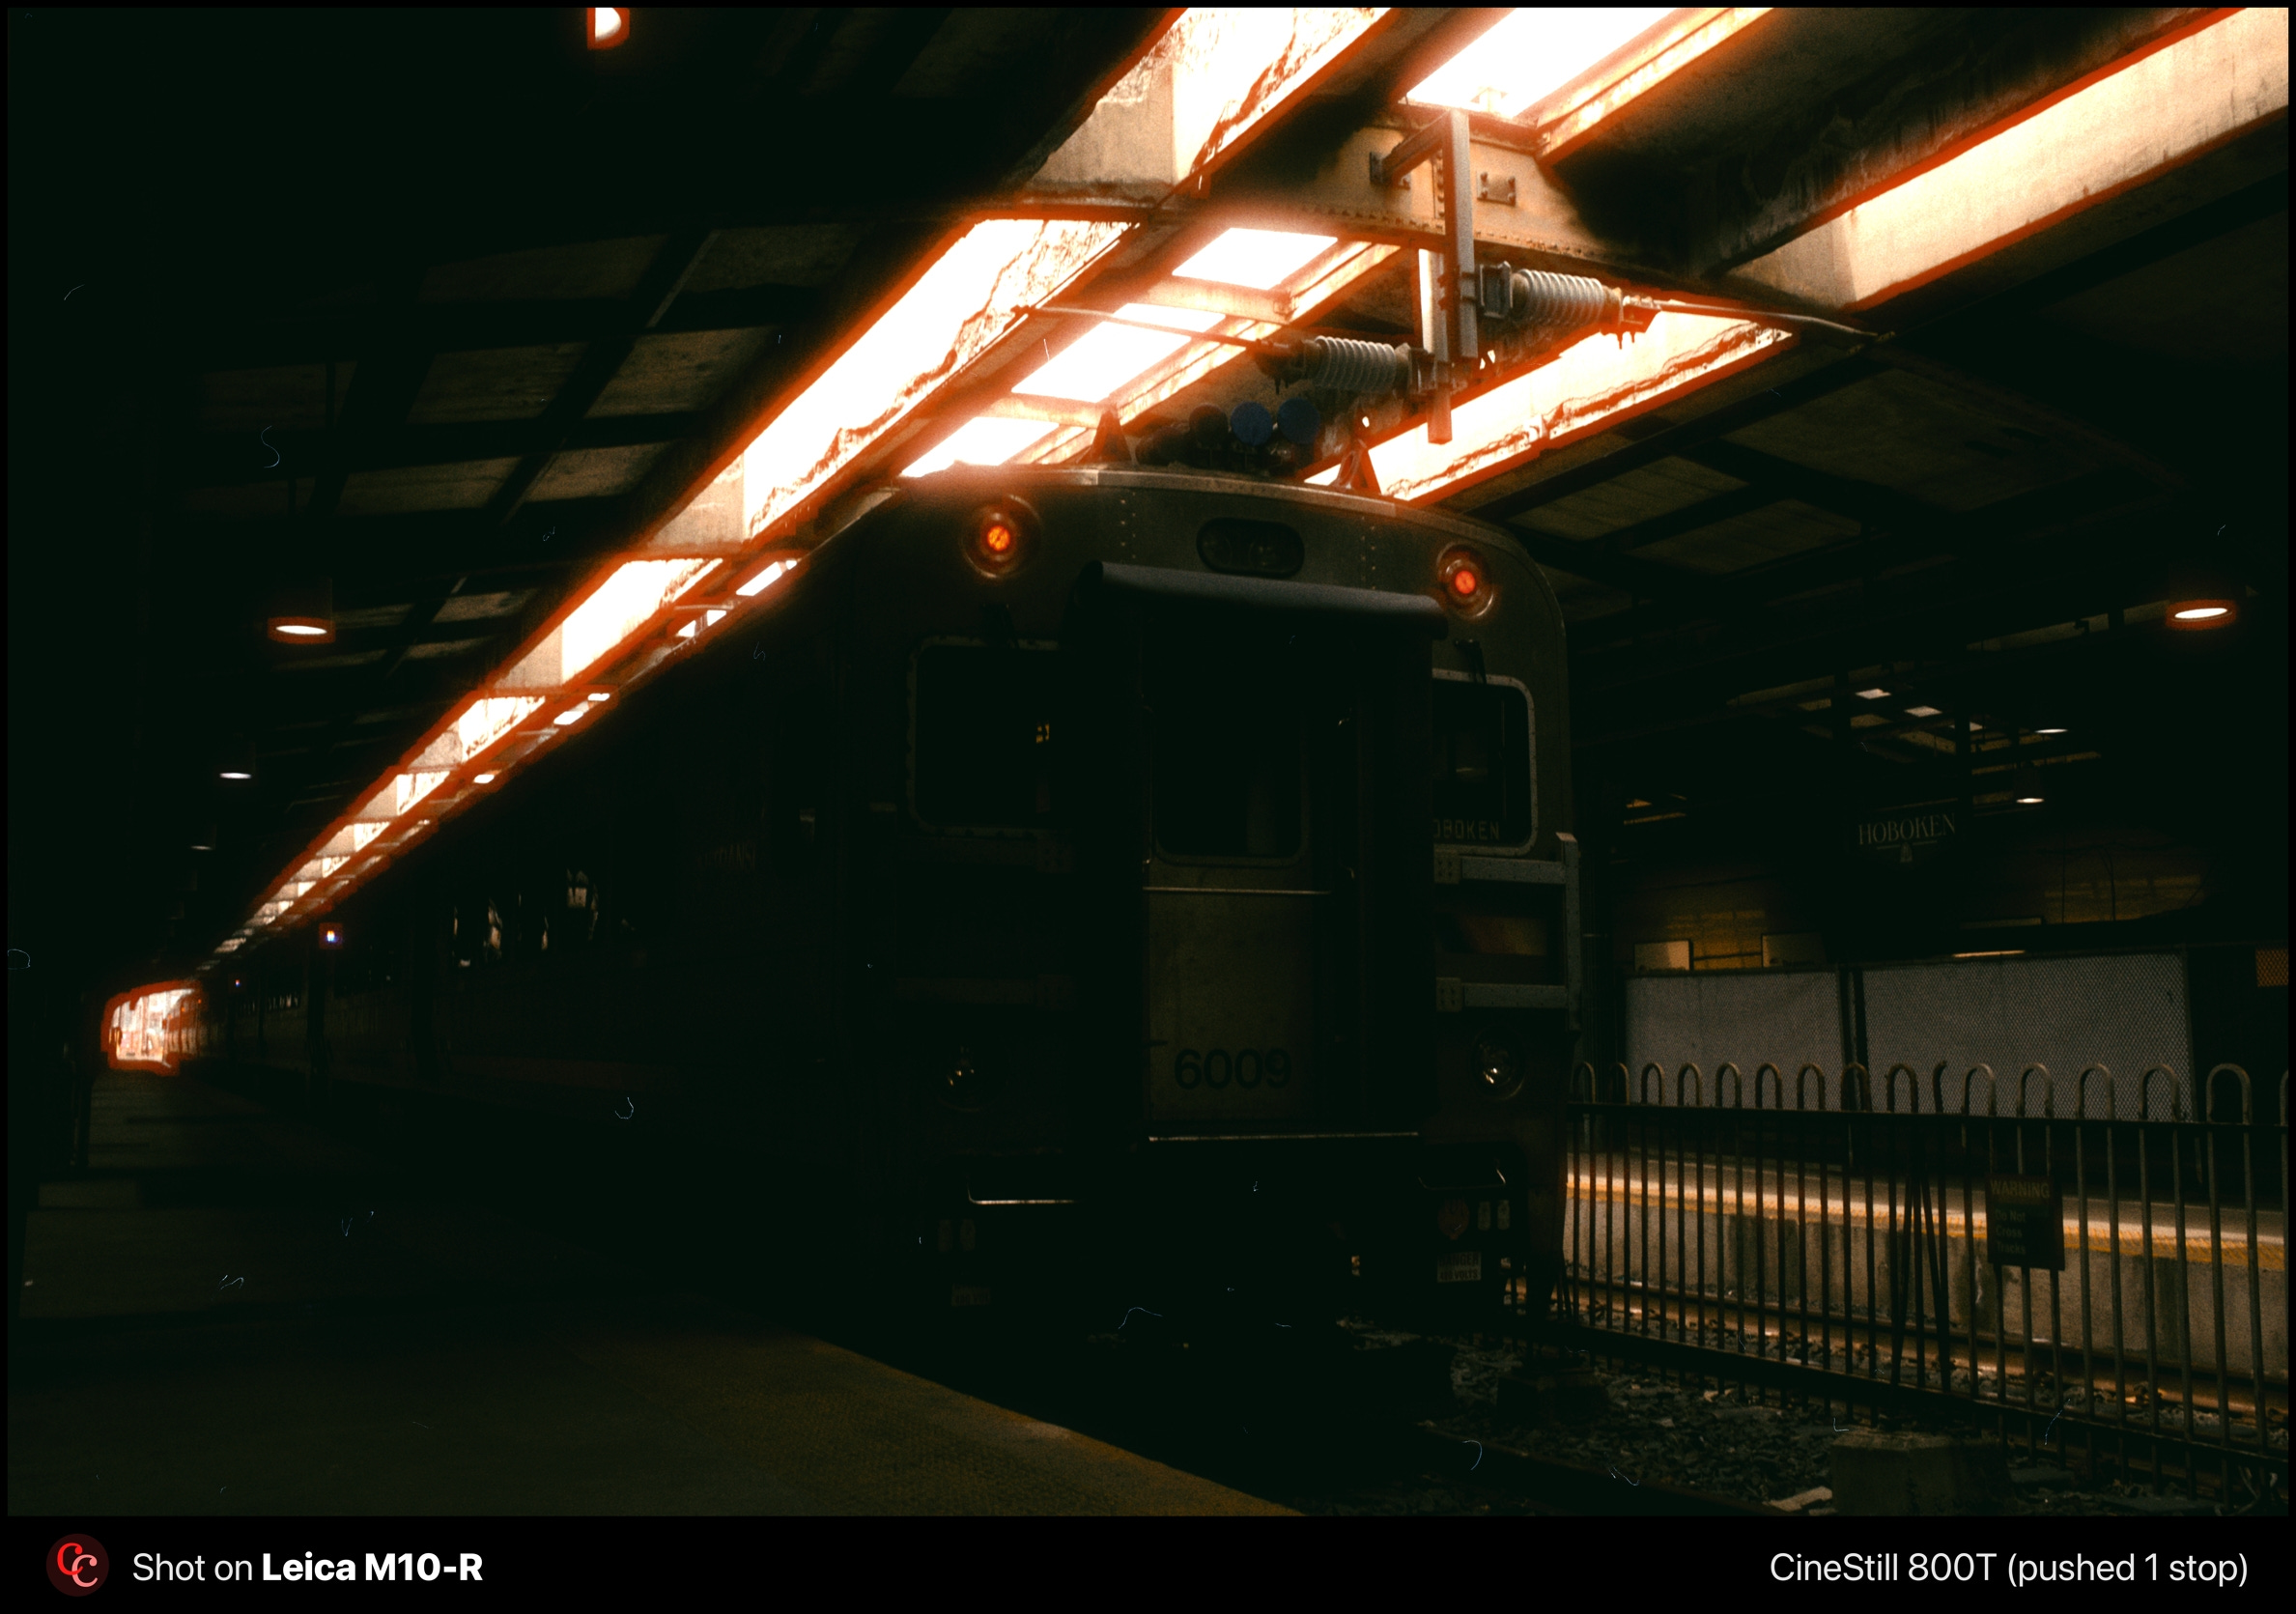
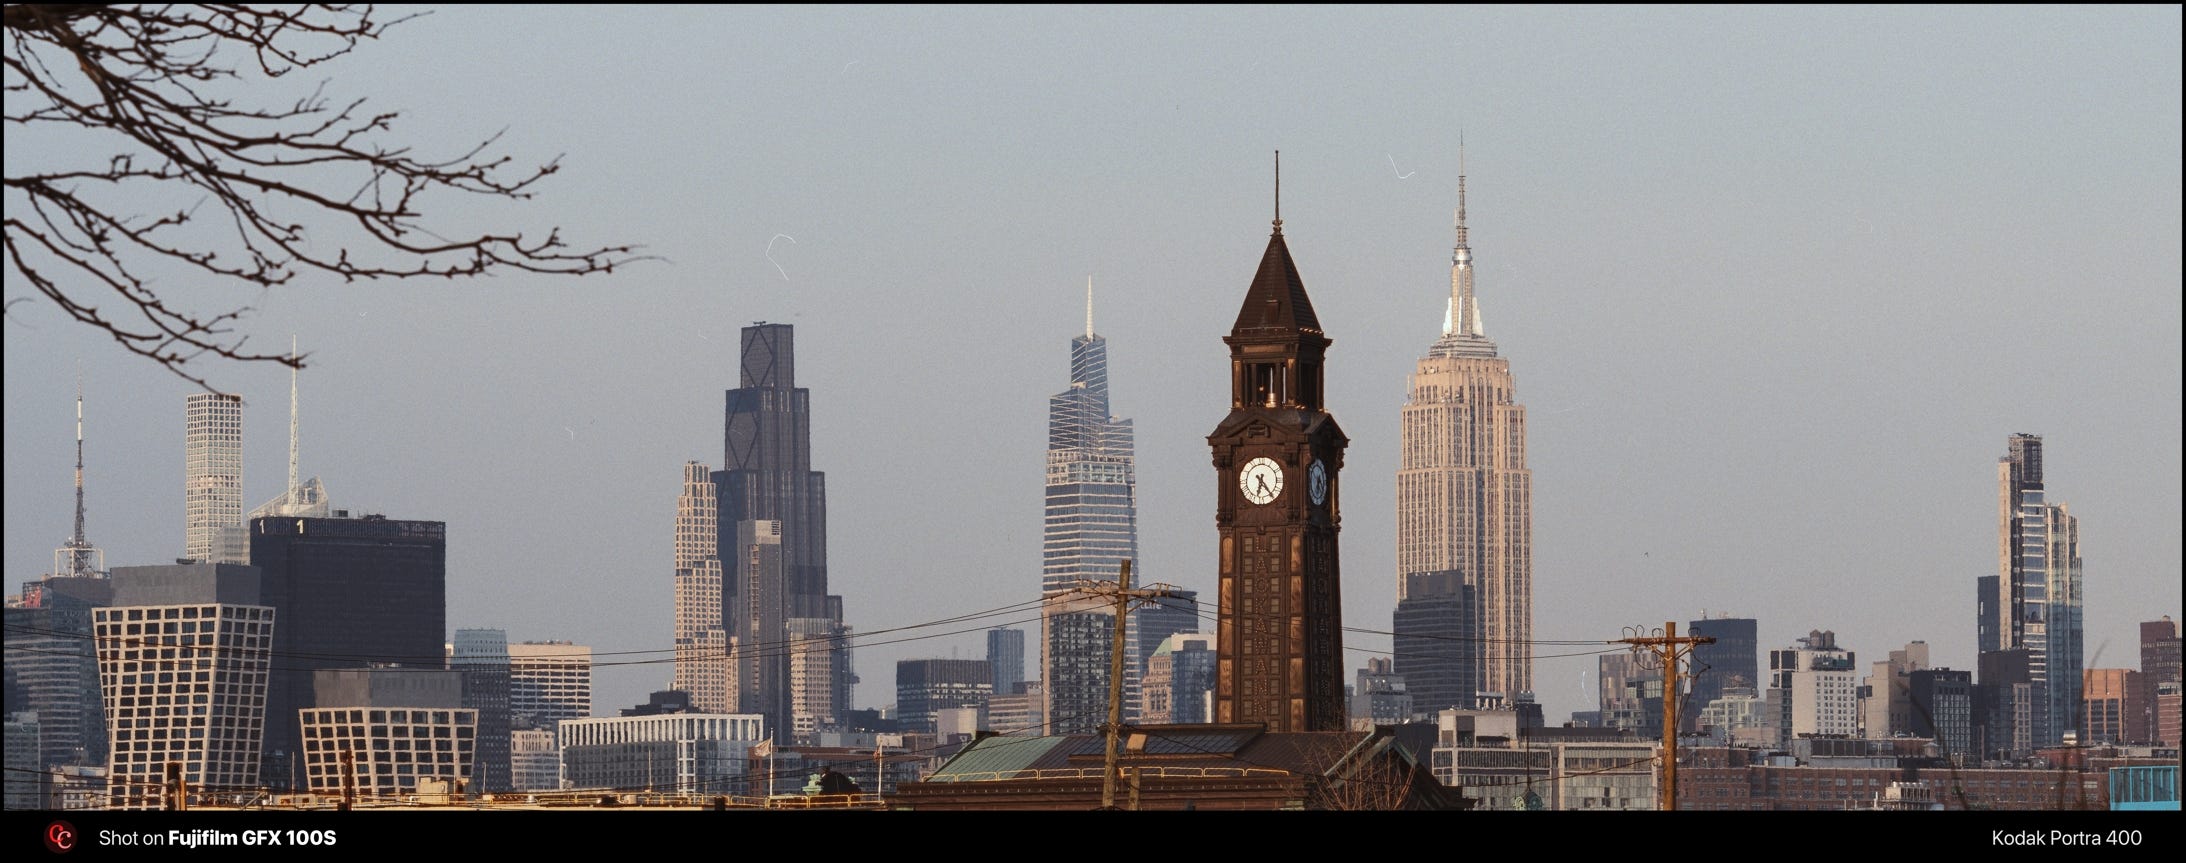
I think that the next step for me is to adapt my digital way of shooting to match what Dehancer would need to nail film simulations. I got a Pro Black Mist filter to use when I want to emulate the 800T. This photo was made using it.
Bottom line
Dehancer Film is the most capable film simulation tool I’ve used for photography. The profiles are accurate, the grain is convincing, and Dehancer Desktop finally solves the batch processing problem for photographers who shoot volume and want to save on Cloud storage.
Halation is usable but demands trained eyes and per-image tuning. The presets carry too much baggage from the video side. But the foundation is there. In the past, here in Camera Clara, I had reviewed DxO Film Pack 8, and the fact they don’t have halation in their presets annoyed me a bit.
Also, handling digital versions of my photos teaches me more and more about the film stocks I'm used to working with. Creating these digital presets out of what I think film looks like helps me train my eye, helps me noticing things I took for granted when I just shot film. This turns me into a better light writer.
I’ll be posting video tutorials on how I use Dehancer in my workflow. And I’m planning a direct comparison between real film scans and Dehancer simulations of the same scenes. Stay tuned.
Shooting digital is fun again.

Disclosure: Dehancer provided me with a license to test their software. No financial compensation was involved. These are my honest opinions.

Interesting post! I’ve faced similar disappointments with shooting film. I don’t want to give up film, but I do like the idea of being able to make my digital photos look more filmic. I like using a pro-mist filter at night on my digital camera. I’ve even used it with film. 🙏🏽🎞️📷🔥
This was terrific. I’m very interested in the video tutorials.